söndag 20 december 2015

WIP, mechanicum stuff and knights


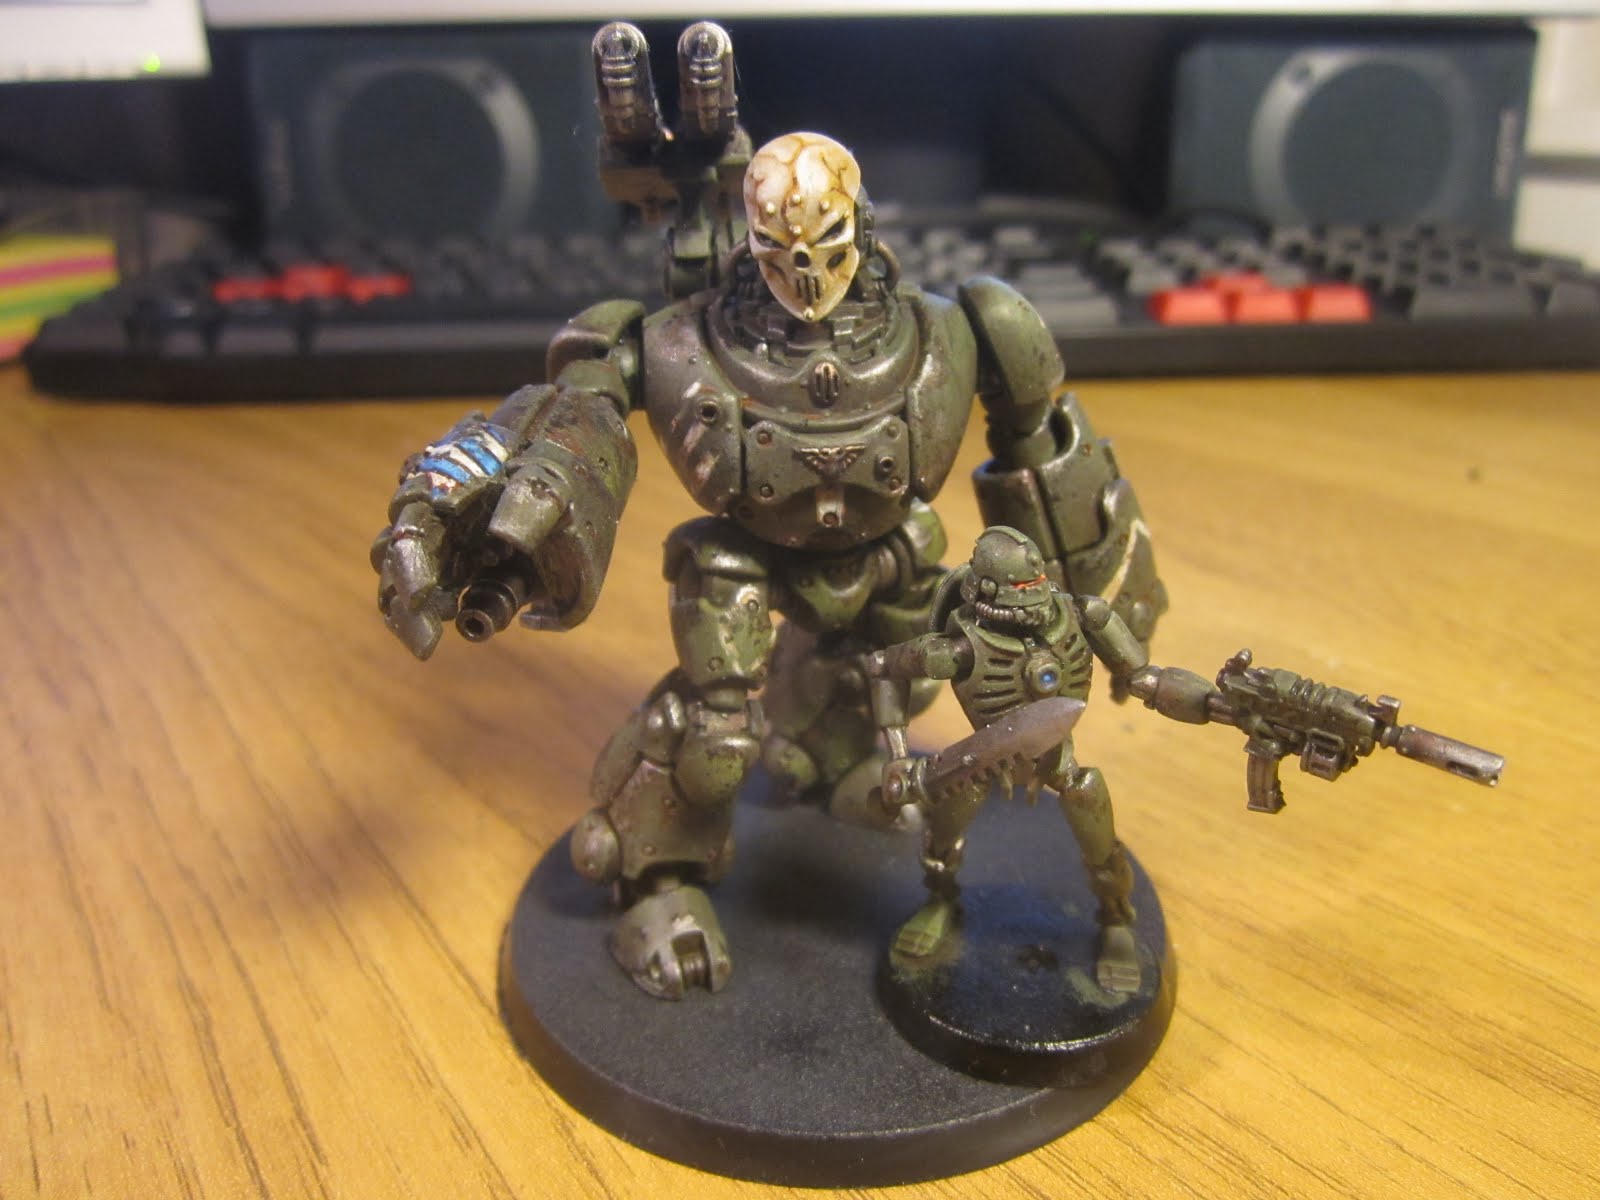
So, I am home for Christmas and my plan is to get something done. First off I just show the mechanicum stuff I painted during my last stay away from home. This consist of two fairly standard sicarians with dual wielding swords. I also tried a new skitarii conversion using necron parts and some of the mechanicum parts leftover from the sicarians and the ranger squad. I like the mechanicum models, but I do not think they cut it for the main stay of the skitarii troops, in this sense I am more into the necron feel of legions of cybernetic warriors/robots doing their human masters bidding. Rangers and Vanguard are to me special troops working on the fringes of the skitarii legion.
I also finshed and assembled the battle robot and as I took the pictures I realised I forgot to heat stain the flamers so I need to go back and do that.


Apart from this I have worked a bit on the Knights and mainly on the Gatling totting guy, the War Monger. I added a top handle to the gun so that it can be carried in one hand when not used. Also added the receiver ports for the ammo feeds. The I started building the ammo containers that will be hanging off the back. Since it is quite a massive gun I did not want the ammo containers to be to small. I am pretty ok with how they look at the moment, I am however not to sure about the vents on the ammo exit ports. I might need to adjust them so that the coolers are not so far in. There is space for ammo to pass but the eye makes it look like there is a collision. I am not user how much of this will actually be visible but if I should do it I suppose I should do it right. Next up is the ammo feeds, there will be two of them. I have actually started with this process but that will be another post, especially on the topic of making curved plasticard things.


onsdag 9 december 2015

A long way from home


This month I have been at home 4 days so hobby time has been short. luckily I have a set of paints away from home and have been able to get some brush time in. One of the things I have been chipping away is the mechanicum robot. I am not sure I will use the shoulder armor I prepped, I quite like the way it looks now. I will paint them up and we will see what will happens but so far I am happy.

söndag 29 november 2015

Very short post


I am just home and repacking for yet another trip so I have not done much really. I finished a pre heresy Knight and worked a little on the WLK, getting the legs assembled and posed in a new position, adapted the fingers of the power fists so that the can grip the handles of the weapons and finally got the weapon in some sort of order. Not much but it is something

torsdag 12 november 2015

Mechanicus stuff


Well, life is hectic, so no time for hobby. At least not in any big chunks, so the knights have been on hold while I have finished of some models that has been hanging around almost finished. Then I also could not resist buying some Kastelan robots. The later is for my home away from home studio as I finished the last of the skitarii last time I was there.
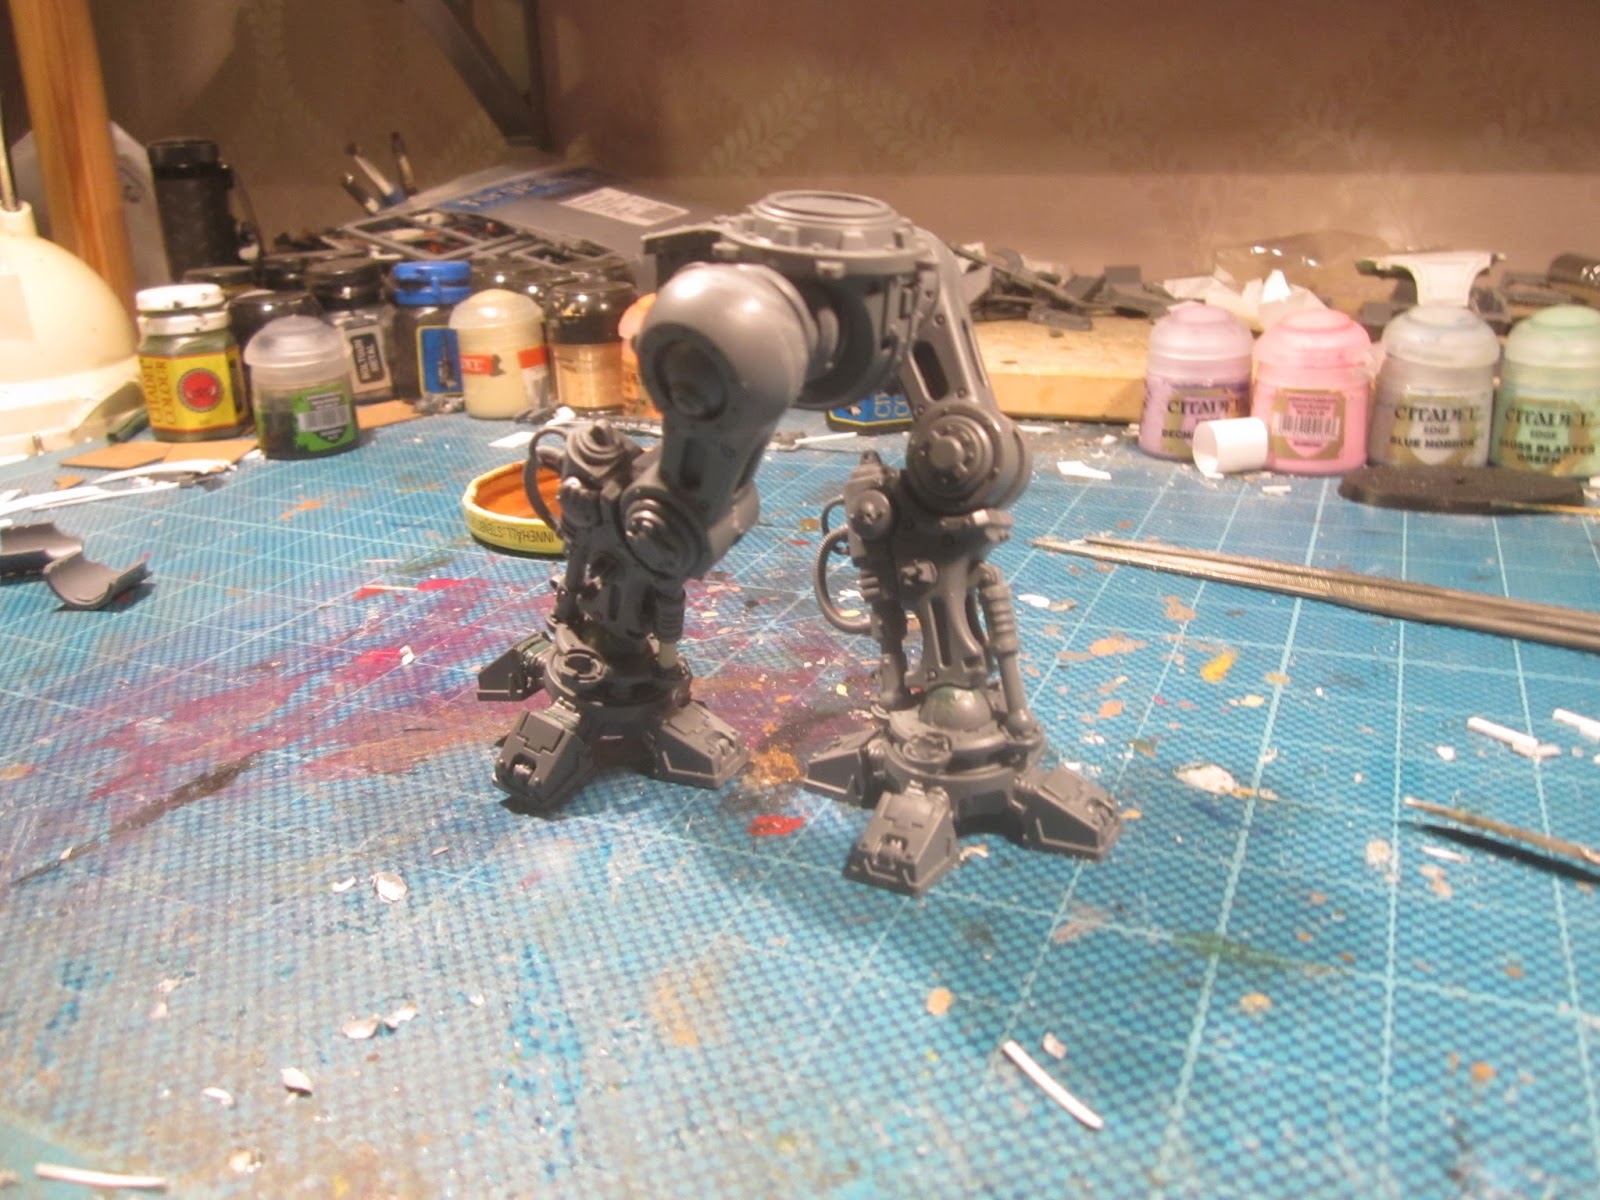
After building one of the robots I must say I am a huge fan of the Kastelan models, (except the head design) as the kit is very versatile in posing etc. This is how they should have done the knight legs. Just cut away the pegs and you can do almost anything. I also had to fiddle around with the arms a bit. I think they looked a bit stumpy with just the guns, and hands are always cool... so I mashed them together. I also switched the head for some left over bits from a defiler, looks much better than the original in my opinion. The original head got turned into shoulder armour. I also had the beef up the back mounted gun by making it twin linked. I also added the fuel tanks to the back instead of the side to make it less awkward.

So this is it for a while now as there will not be much progress the coming weeks.


söndag 1 november 2015

WIP; knights etc


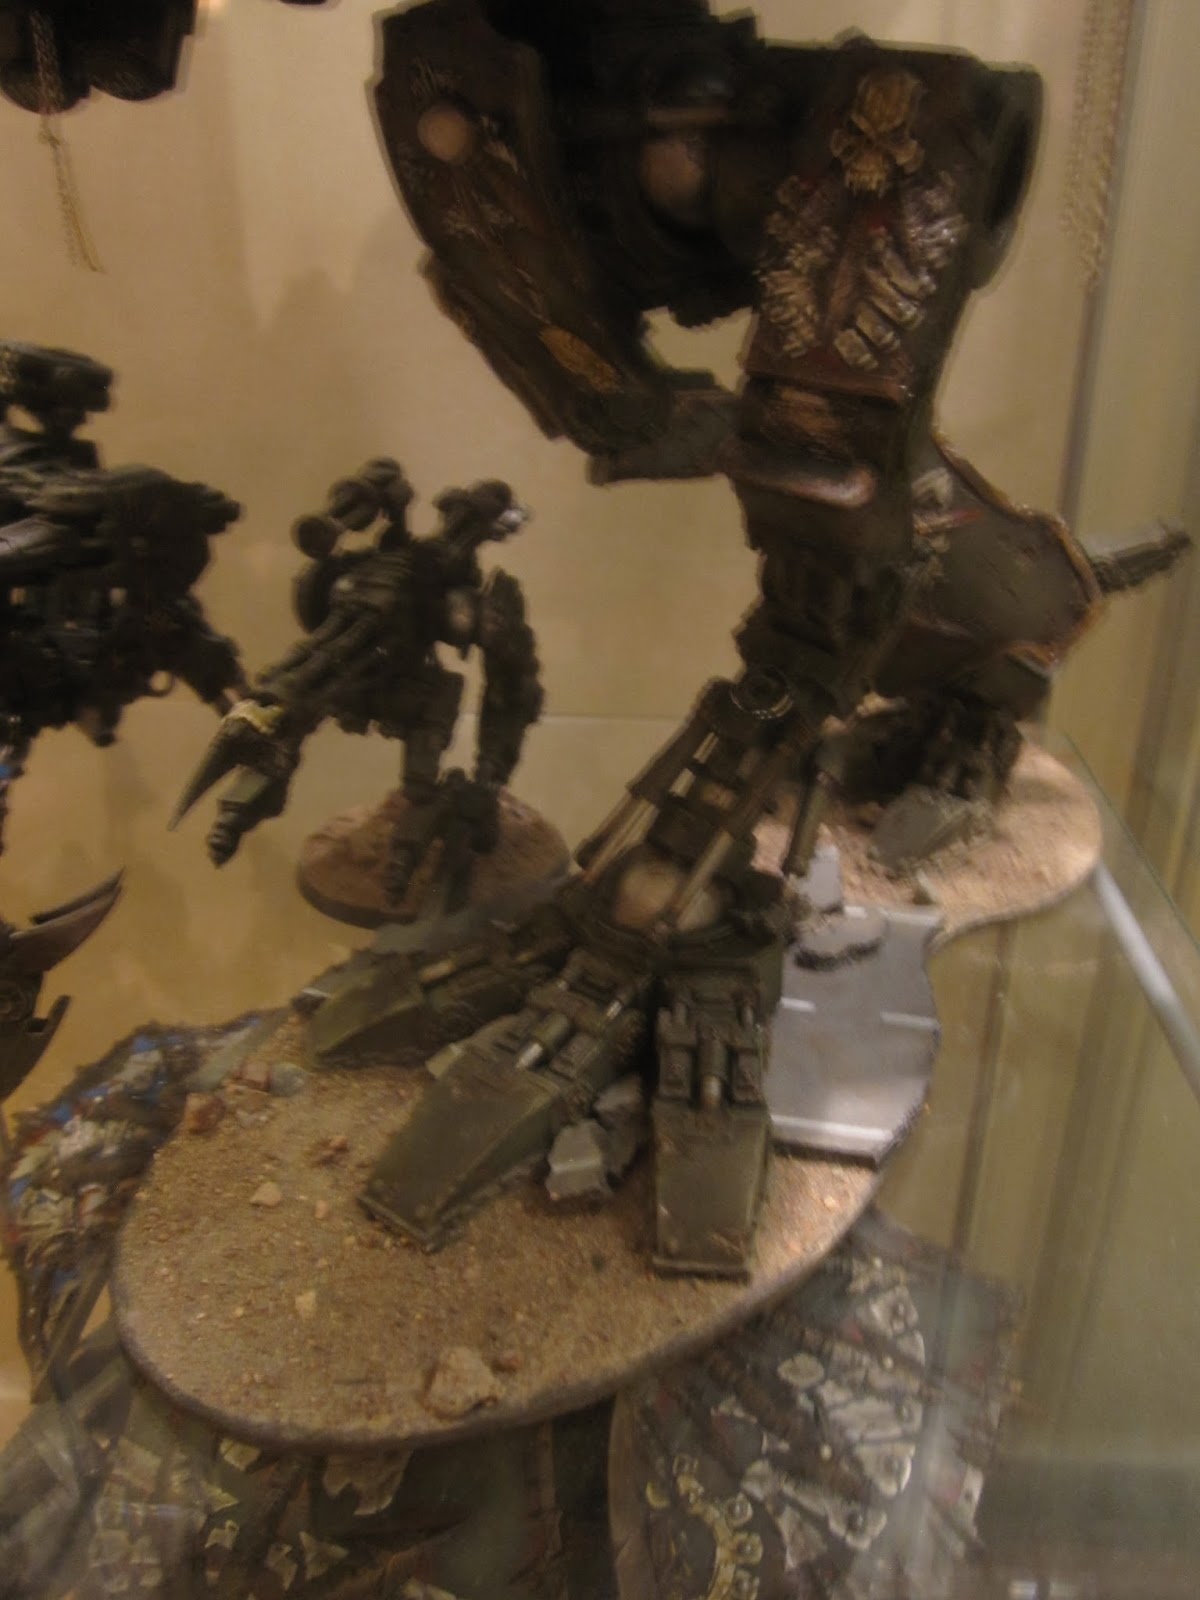
Just a short update on the Knight progress. Since last time I have been working on bases, I know that I am not big on these as I want the model to be the centre of focus. But to make the stands of the Knights work I need them to interact with the ground and hence I need to make the bases first. As mentioned in a previous post I am playing around with cork and sand for the bases and I will carry this through to these Knights also. Well, as I was going to make some base work I also thought I would finish the bases for the Titans as well. As I was in a bit of a hurry when I glued the bases plates to the feet of the titans I did not really think to much about what the bases should look like. I think I was just going to add the sand. But I really liked the effect of the cork on the Knight base so I decided to do something with this also for the Titans. But as they were already glued to the bases I had to work around the feet rather than having them stand on the cork. In the end I ended up doing some road surface which cracks beneath the tread of the titans. I know that the way the broken pieces lie around the holes are not the way the would end up in reality but it was the best I could to with what I had and I needed to cover the holes between the feet and the road. I think it looks passable at least. So most of my time has gone into making and building bases this week but in the end I also managed to get the legs for the War Lord Knight built.


Also, I took some photos of the titans out side in natural light, to see if I could get the real colour across.


O, and by the way, I got request to show the Gatling mounted gas canisters I decided not to use...


måndag 19 oktober 2015

War Lord Knight WIP


So, I managed to get some time off this weekend so I fiddled around with the Knights. Just wanted to show a little of the progress with the War Lord Knight. I built the shoulder mounted thermal cannons which turned out to be a case of kill your darlings. I had imagined building a large revolver type of magazine with gas canisters instead of the pair mounted on the side. I actually assembled six tanks in a revolver mount, but it turned out to be to large and made the whole assembly back heavy and with out a flow to the aesthetics. So even though the magazines as such turned out as I wanted them they did not fit this build. Instead I focused on replicating the back mounted cannon I already build for my other knight with some minor tweaks. I also made a back mounted autocannon to go with the rest of them (I am planning a dual mounted auto cannons in the main body also). I think it is turning out ok and now it needs to get some legs so I can start with all the details.


lördag 17 oktober 2015

Taking a walk


My work with the Knights continue. This time I worked a bit on the War Dancer Knight, more precisely the legs. I want the knight to look like it is hunting with some grace, not lumbering forward. To achieve this I wanted a more human gait, were on foot is in front of the other, using the hips to walk, rather than swaying back and fort. Of course GW did not make the legs of this kit poseable... So we have to convert them. This conversion is in fact quite easy as the original legs are pointing outward and I wanted them pointing inward I just had to swap them around. This was achieved by first cutting of the hip joints and swapping them around. I then had to adjust the ankle joints a bit as the legs are now pointing inward instead of outward. I also opted to make the back foot a bit raised as if the Knight is about to take a step, this is not strictly necessary. I also opted to adjust the toes of the back foot to look a bit more dynamic.

Then I also played around with the bases. As I will have all Knights with different leg poses I need to have some support from the base for some of them, something to stand on, have the foot on top of etc. As I am not really a huge fan of making bases I normally just put some gravel on them an let it be as it is. Now, on these large bases that tend to look a bit desolate. So I decided to try out the cork method of making concrete slabs / road segments. This is very simple, just take a 4 mm cork sheet, tear it up, put some plaster on top, let dry and paint. For my first base (for my already painted Knight I choose to make it simple, just a few pieces lying around but not to much. I think they turned out ok so I will make the rest of the bases so that I can pose the knight on the rubble.

Well that is as far as I have come this week...  next week will be slow as I am away on businesses.