When I am not painting I am slowly shipping away on opus in the background. Lately I have been working on the wheels for the flight wing and some extra weapons turrets for Opus (as you can never have to much guns).


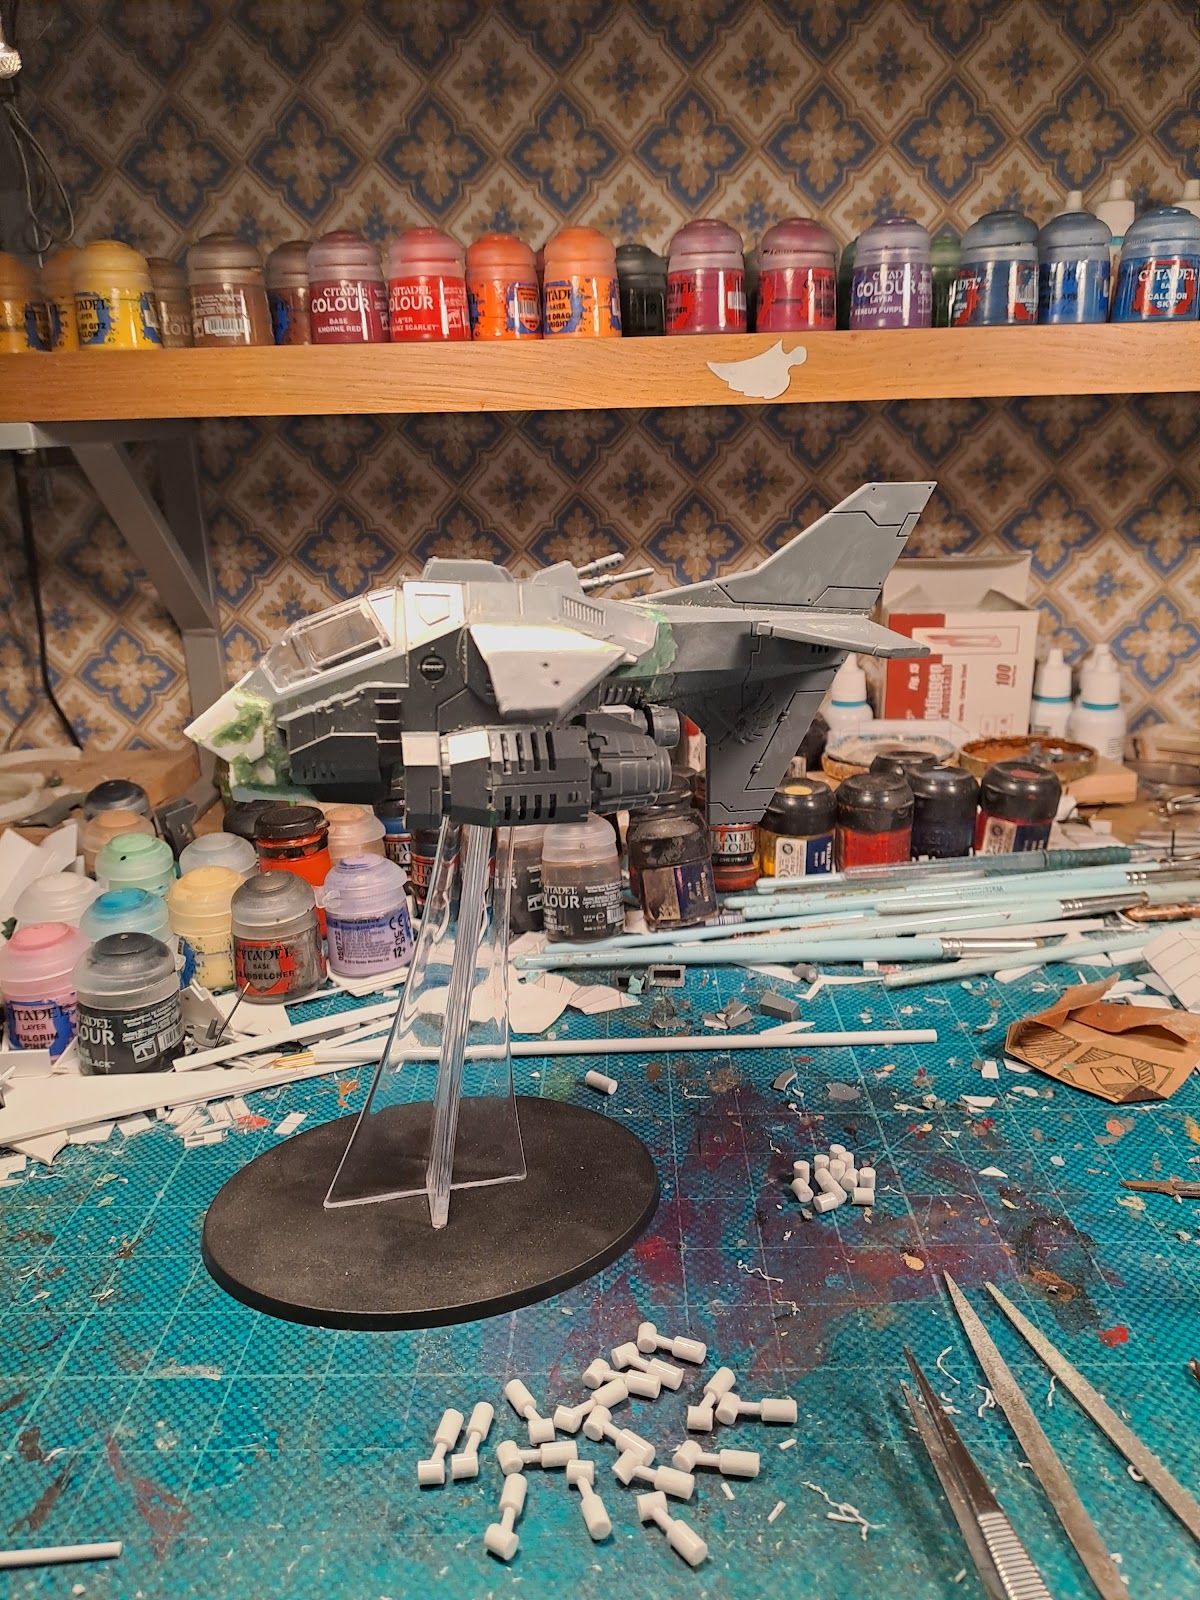
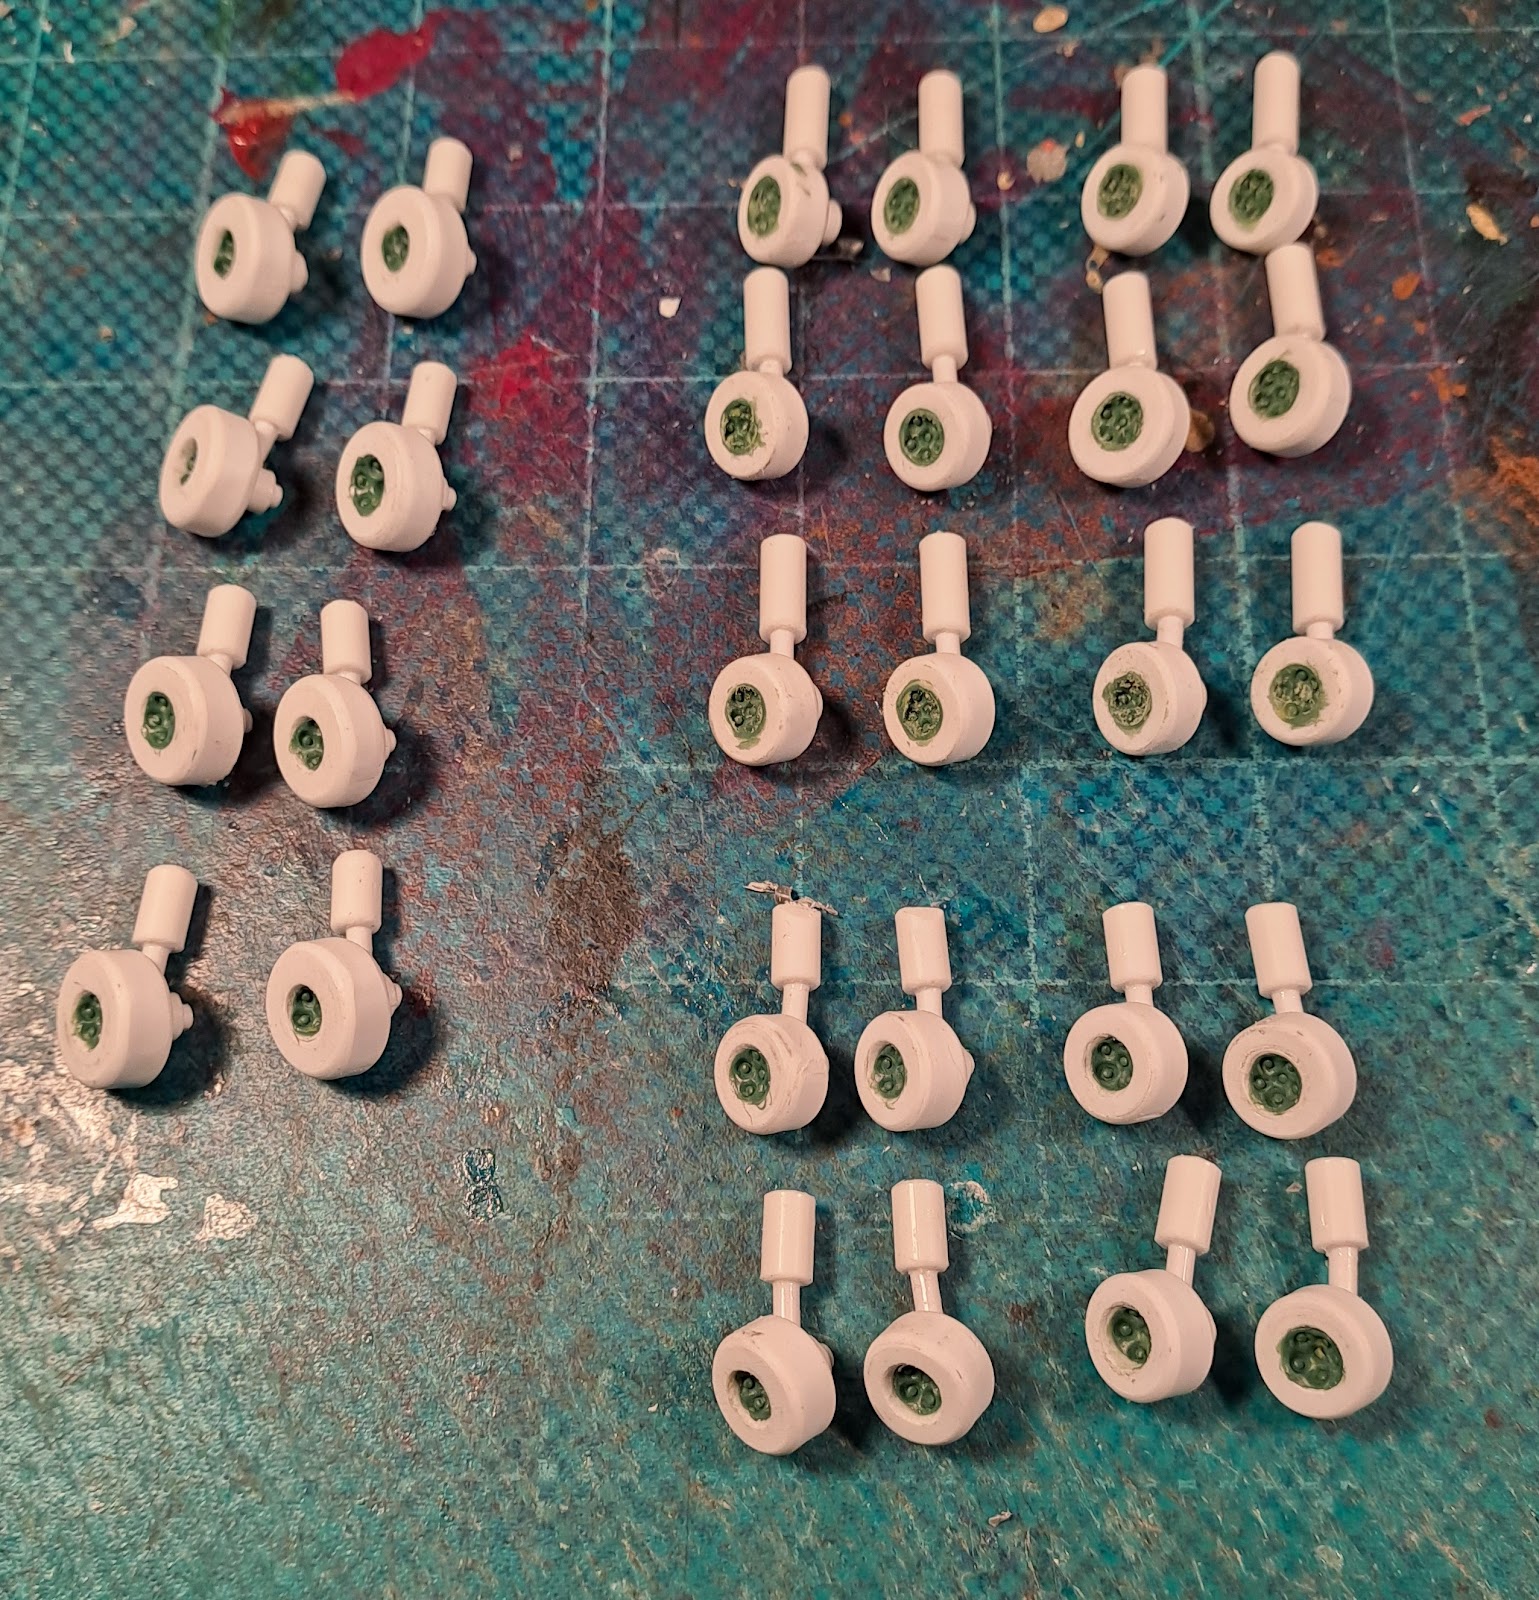
The wheels have been something I have been going back and forth with for some time. The aircrafts are originally VTOL and as such only came equipped with landing pads. As I am building a carrier with a flight deck and an angled recovery strip I have been thinking that they should have wheels instead of the pads. But the big question has always been where to get the wheels, and in quantities that I need. In the end I ended up making them from scratch. I took 0.3 mm plasticard stripes and made 5 mm wide rolls. I then sanded them flat on each side and rounded of the edges using sand paper and a power drill. In the end I ended up making 28 wheels to make the main landing gears. Now I just need to make another 18 smaller versions for the tail wheels. Once the wheels were done I made some struts using palsticard rods. I angled them slightly form the wheel hubs as I thought that made them look more dynamic. Over all I am very pleased with them.
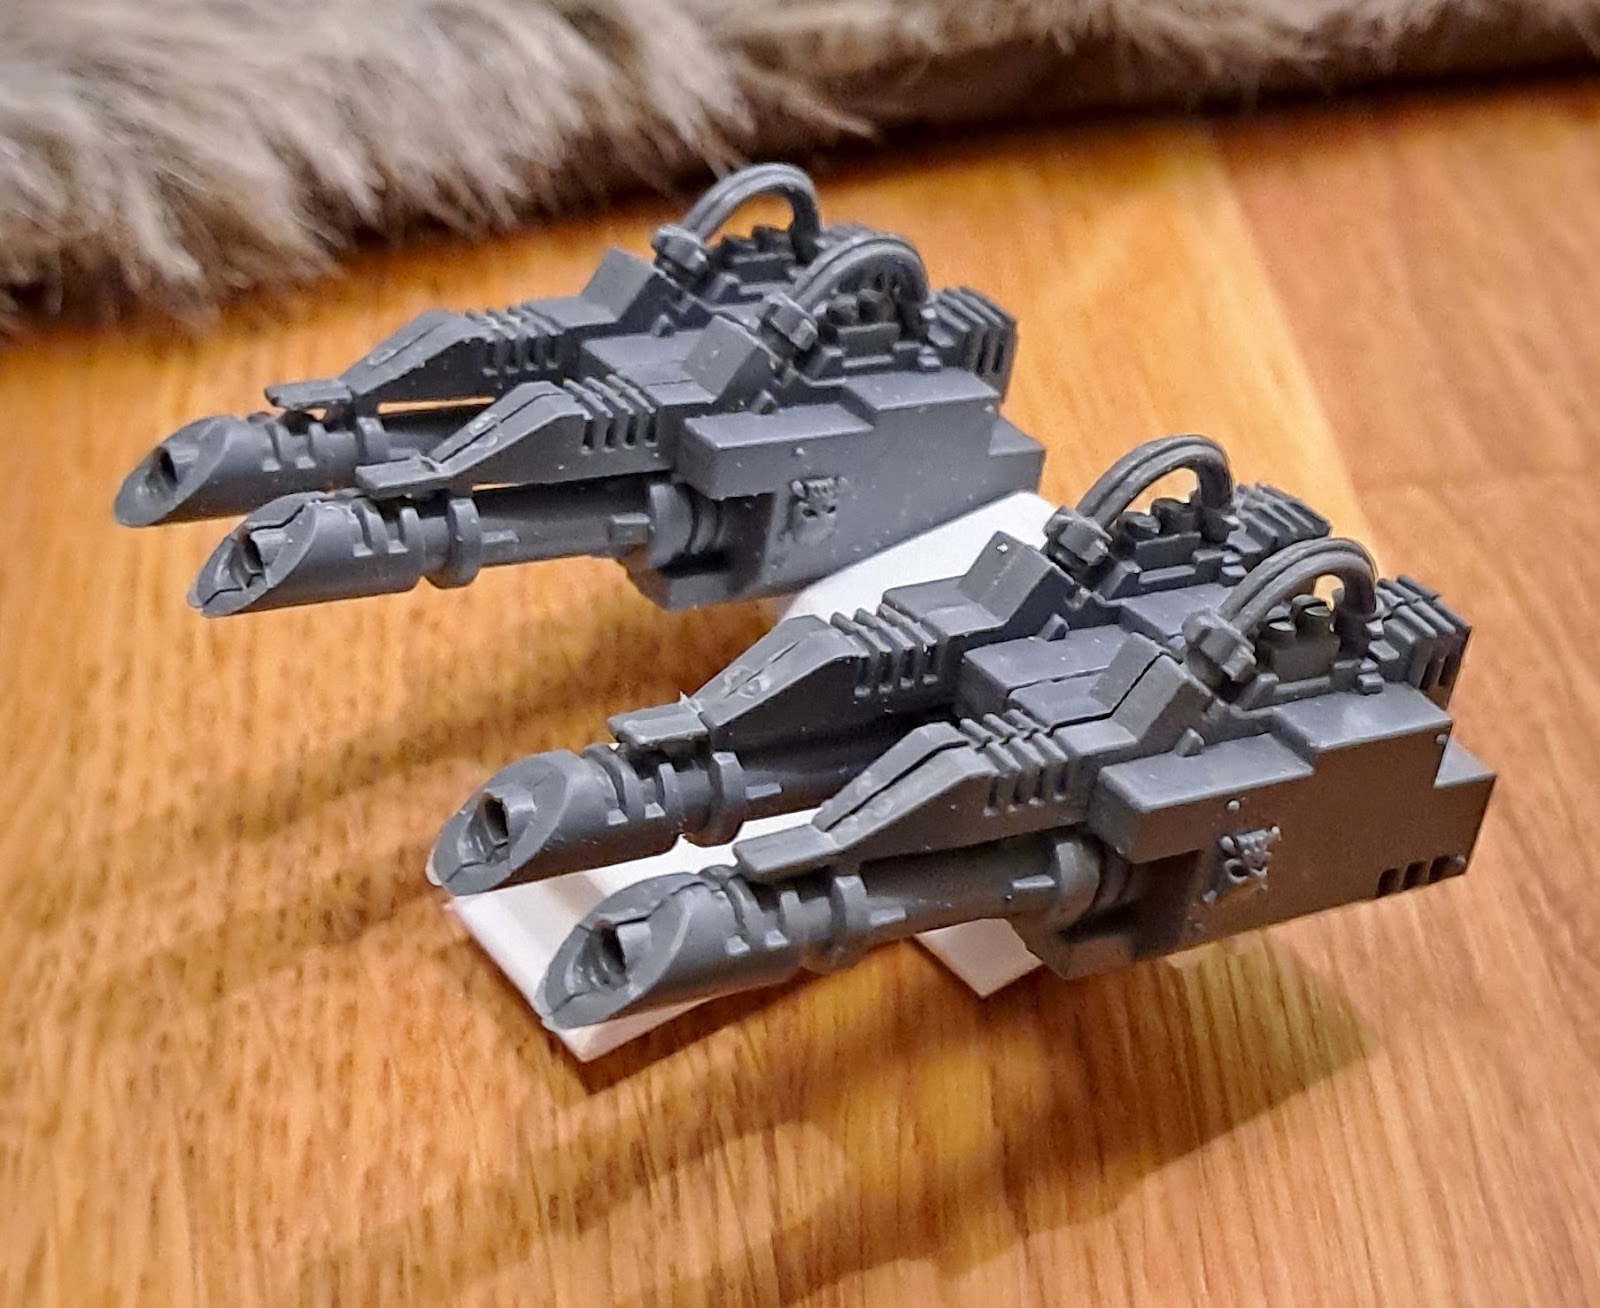
I then set about mounting them to the aircraft. On the main fighters I used two of the mounting points for the downward jet nozzles which turned out to look great. I also added some nozzles behind them to improve handling. These aircraft have the main gears at the front and will have a tail wheel.
On the fighter bombers I made the main gears at the back and a small dual carriage at the front, in a more modern set up. I really hope that the wheels will be able to take the weight of the craft as they have quite a slope (I was inspired by the F18 superhornet set up).
The remaining wheels will go onto the close air support planes that I just started to assemble. These will be mounted similarly to the AH64 Apache set up.


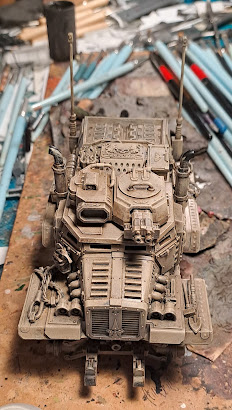
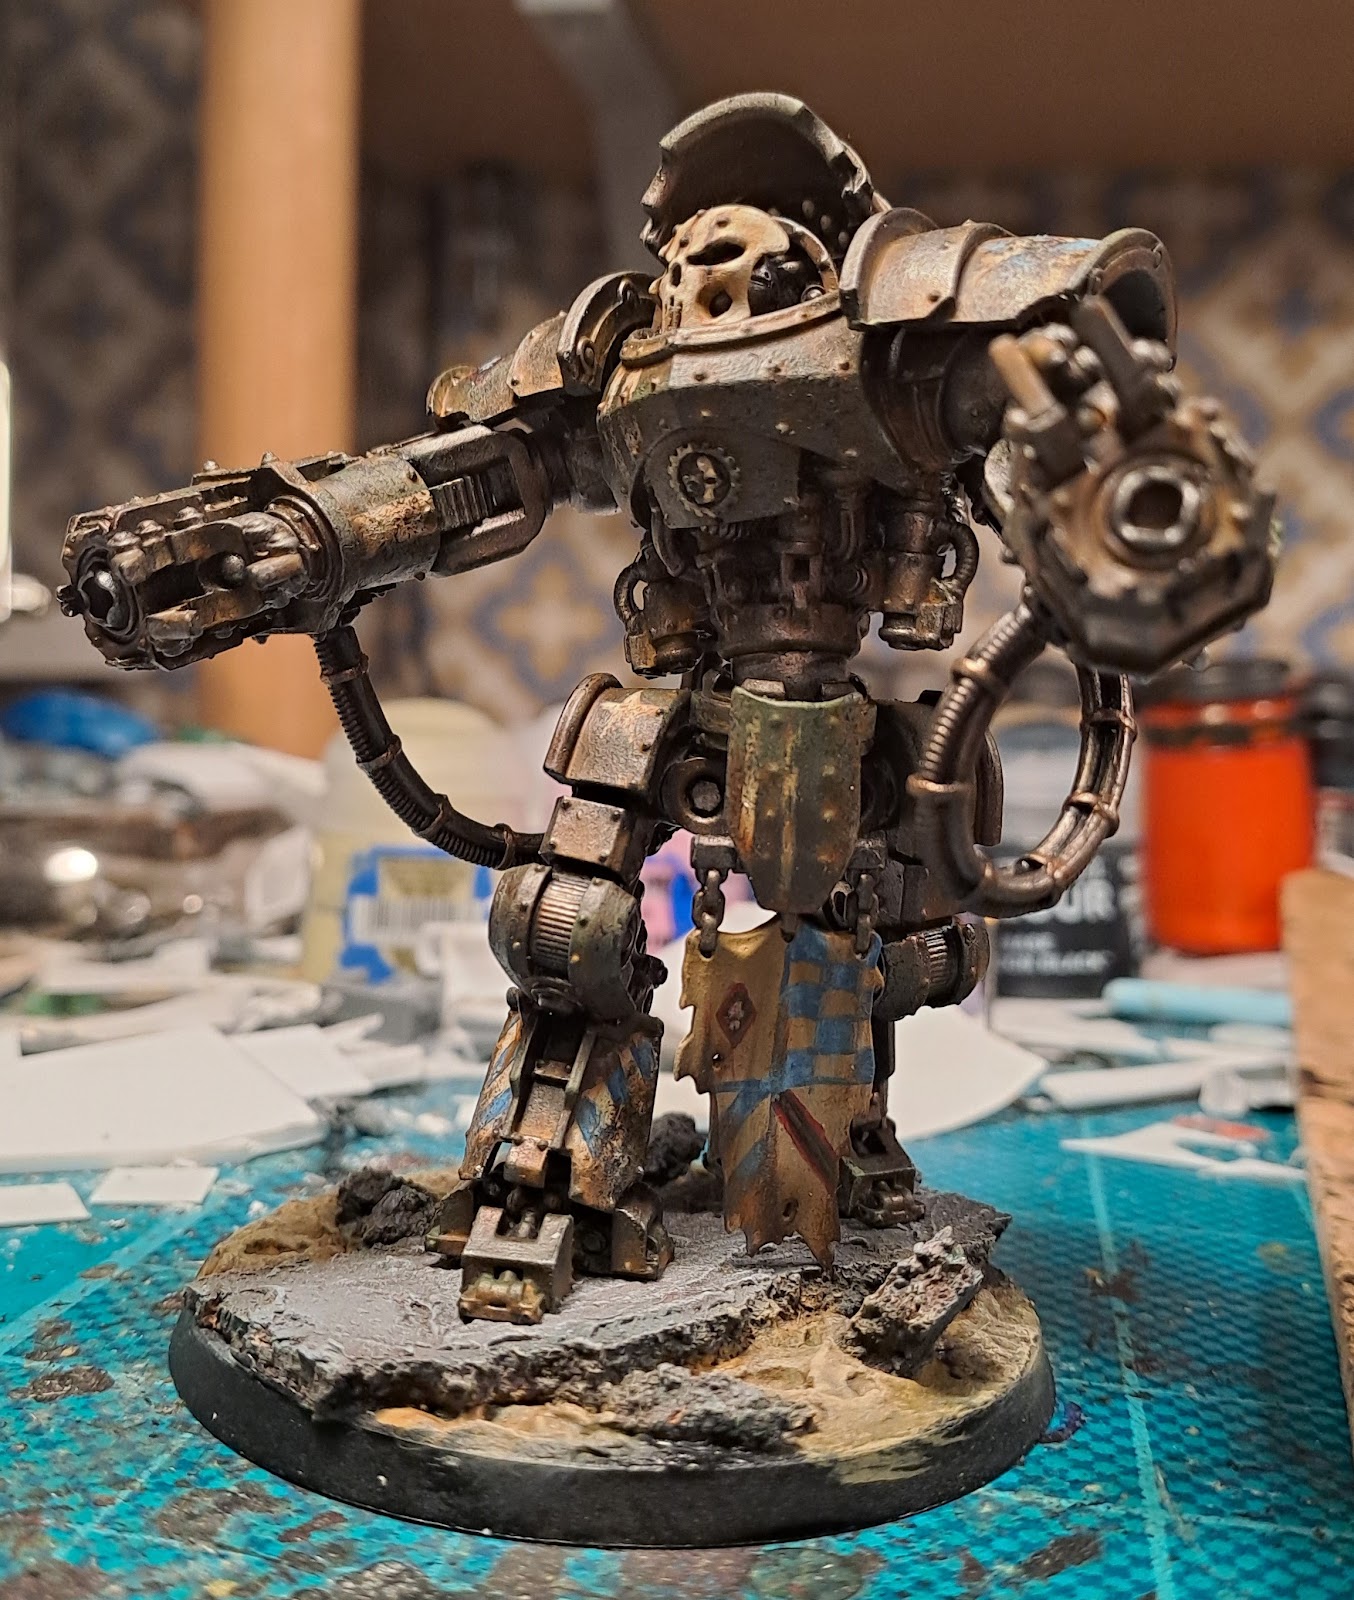
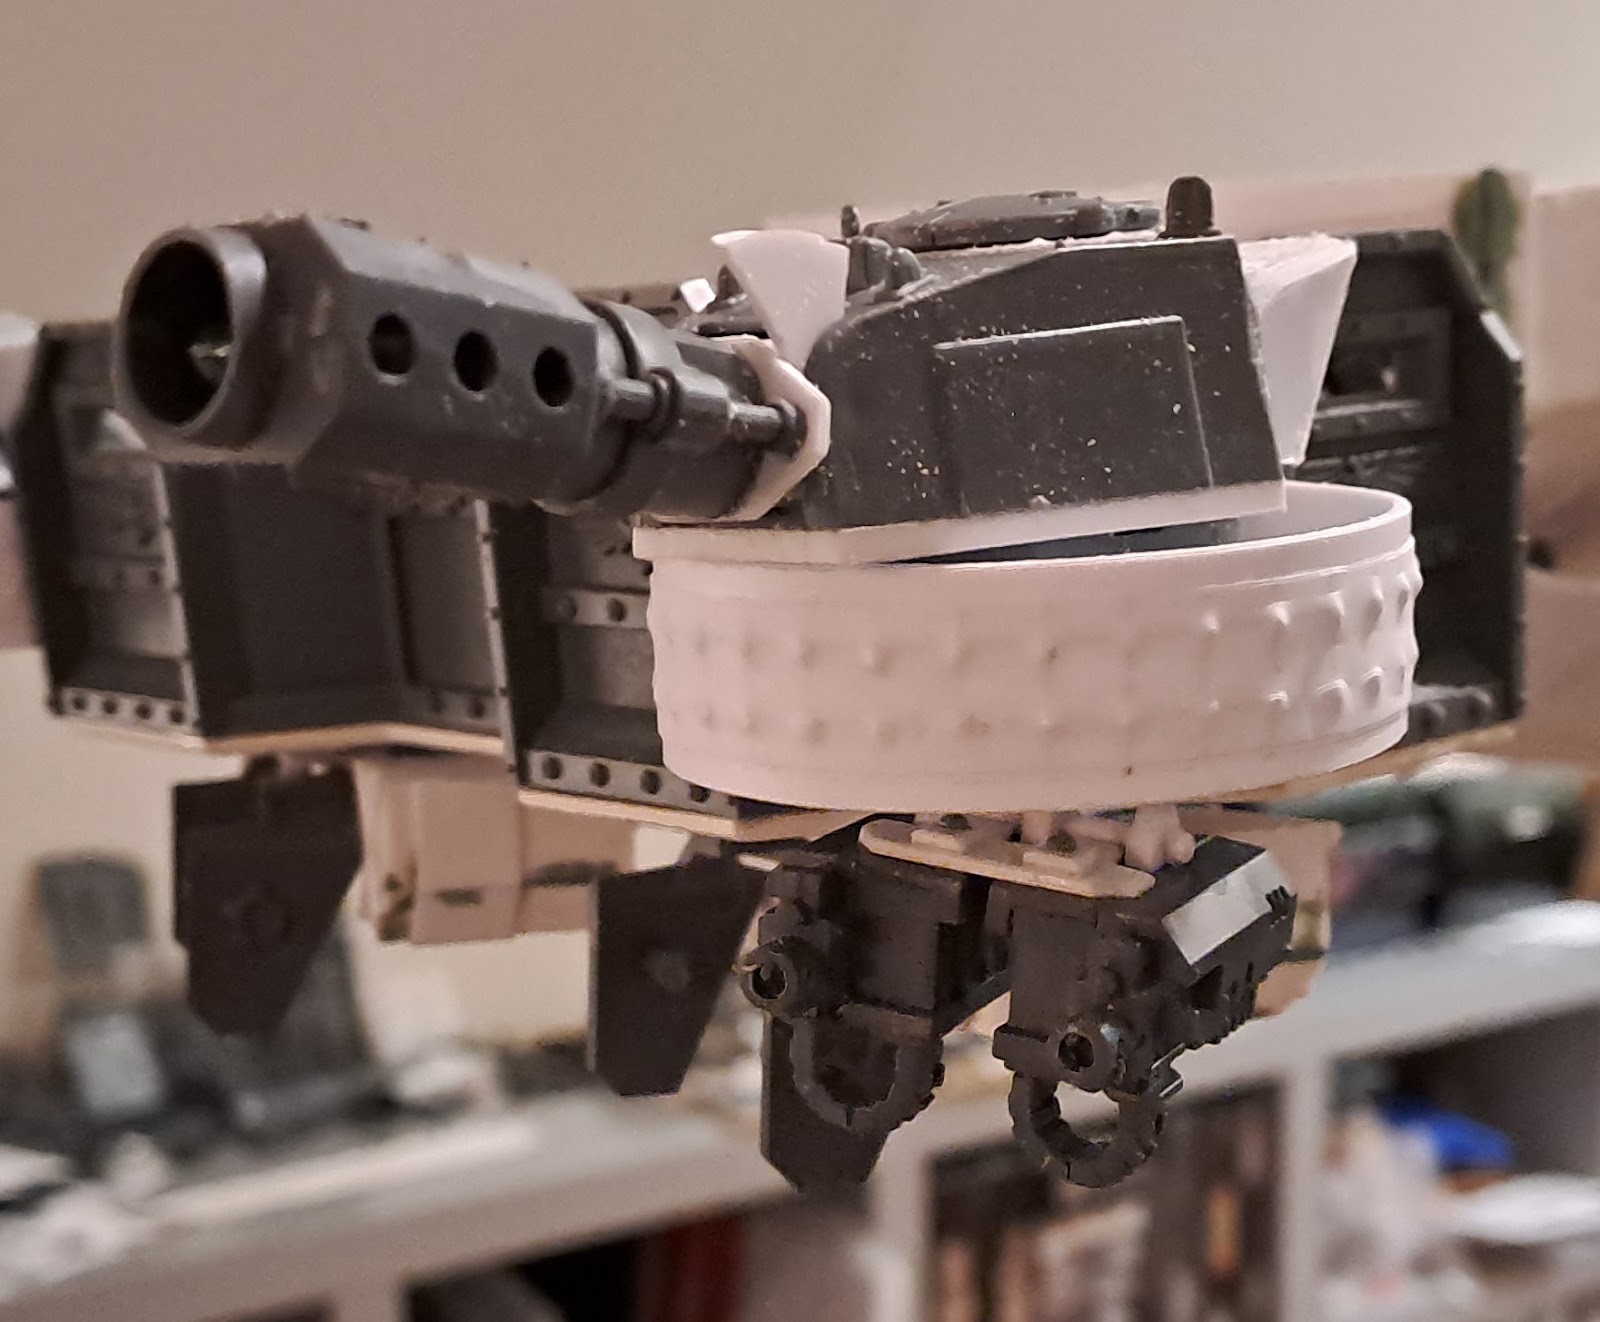
For the Opus I made to new cannon turrets for the front battlements. I had the turret bodies and some barrels left over and was initially thinking about mounting them on the main island but it is already very cramped with the main battle cannon turrets and all the AA emplacements. So when playing around I just tested some alternate positions and this turned out to look very good. It also solves the problem that I had with the horns on the flightdeck. With these to the sides the horns does not look so bad. Just need to beef them up a bit. I also had some heavy bolter sonsons left over as well as some las cannons, so I decided to make some underslung turrets for the battlements. I think they turned out ok and will complement what is already there.


I also made some progress on the main island where I added some lights and speakers to the siding. Still need to go in and clean them up a bit. I am also thinking about adding another row at the bottom but I am not sure.

Well that was some updates on the Opus Magna. There is so much that needs to be build for this model. I am seriously starting to wounder if it will ever be done.