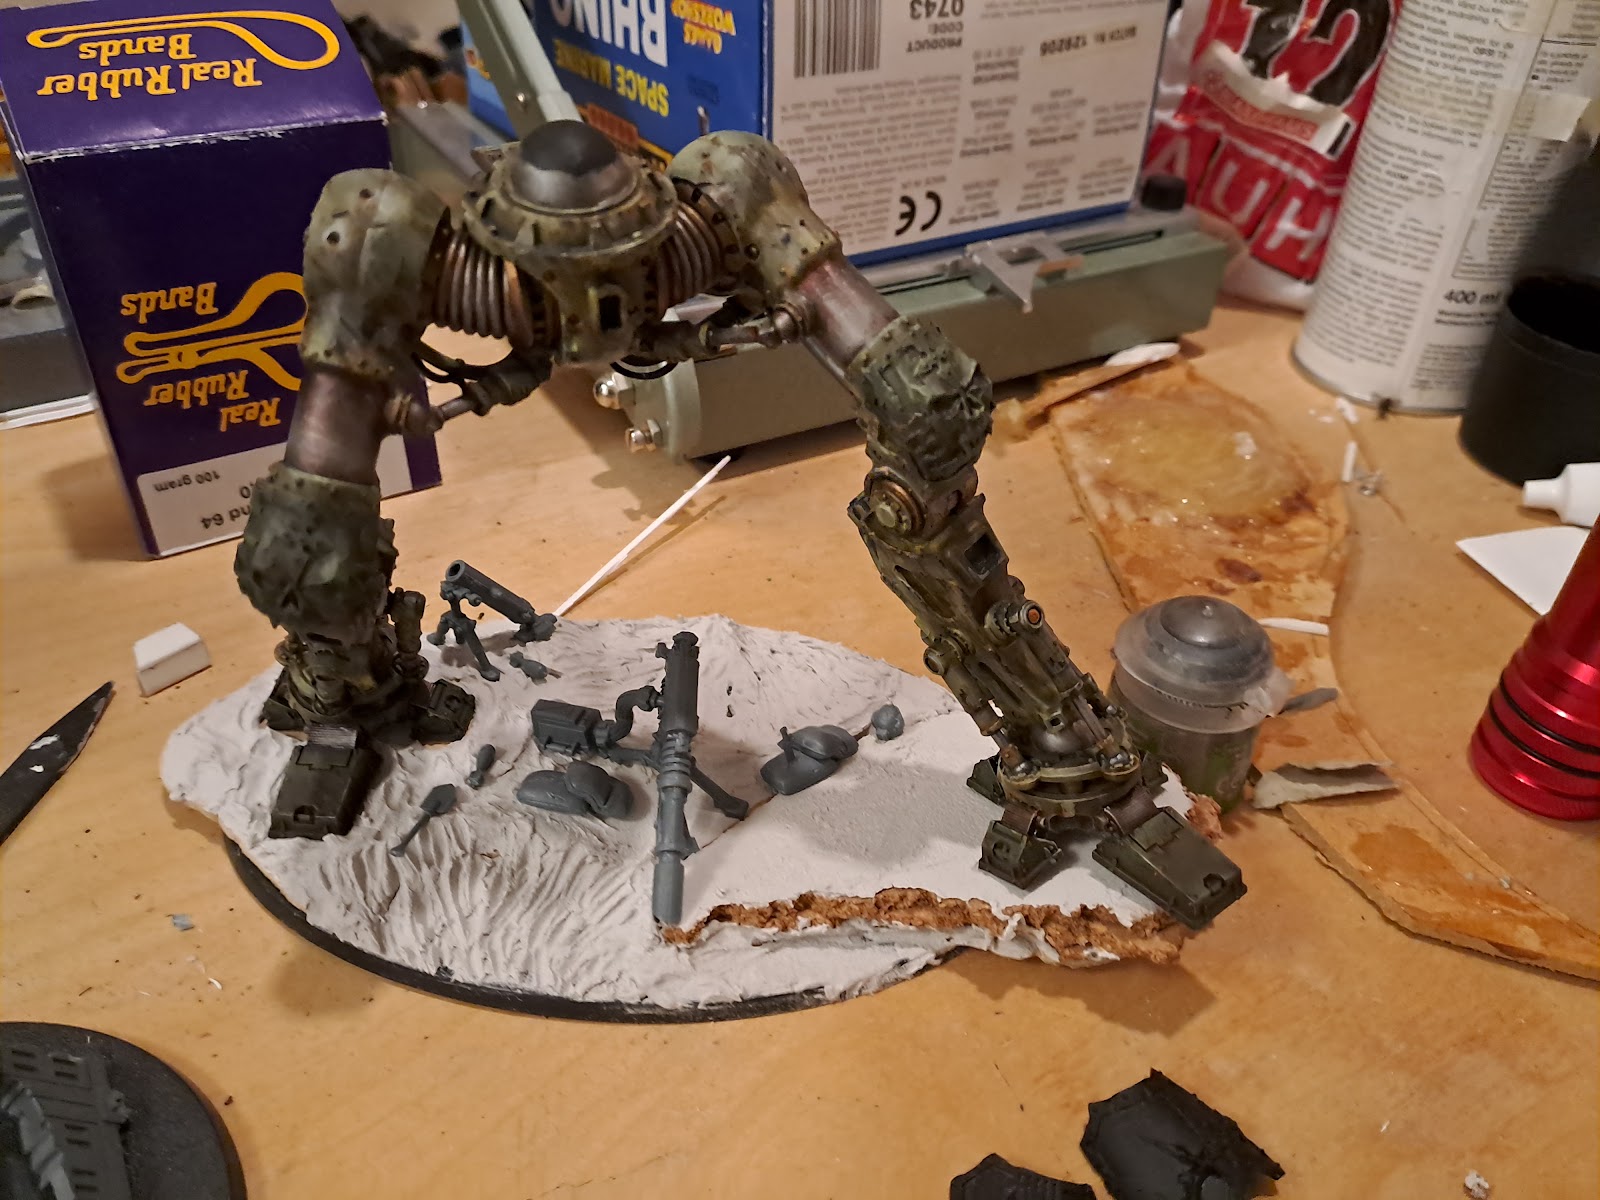
It is new hobby year and I stated out, working on my Christmas present Sicaran Battle tank that I got from my wife. After a few sessions I have now finished it in the livery of pre heresy Dark Angels. I love this model, it has such character. I have always wanted one since FW released their resin version but I could not really motivate the cost since I am not actively collecting HH. The plastic version is a great model and is fun to build and paint. I choose to paint the main hull as one piece and the turret, guns and exhaust separately to make it easier to access all parts. I was thinking about leaving the tracks off and paint them separately but decided that that would have it own problems, such as consistency along the track. I actually left some of the track guards off in the beginning so that I could paint the parts of the tracks that would later be covered just to get a nice continuity on the track. The tracks in my normal rusted metal that I have use on other models. The plates where then re-attached before painting the main hull.


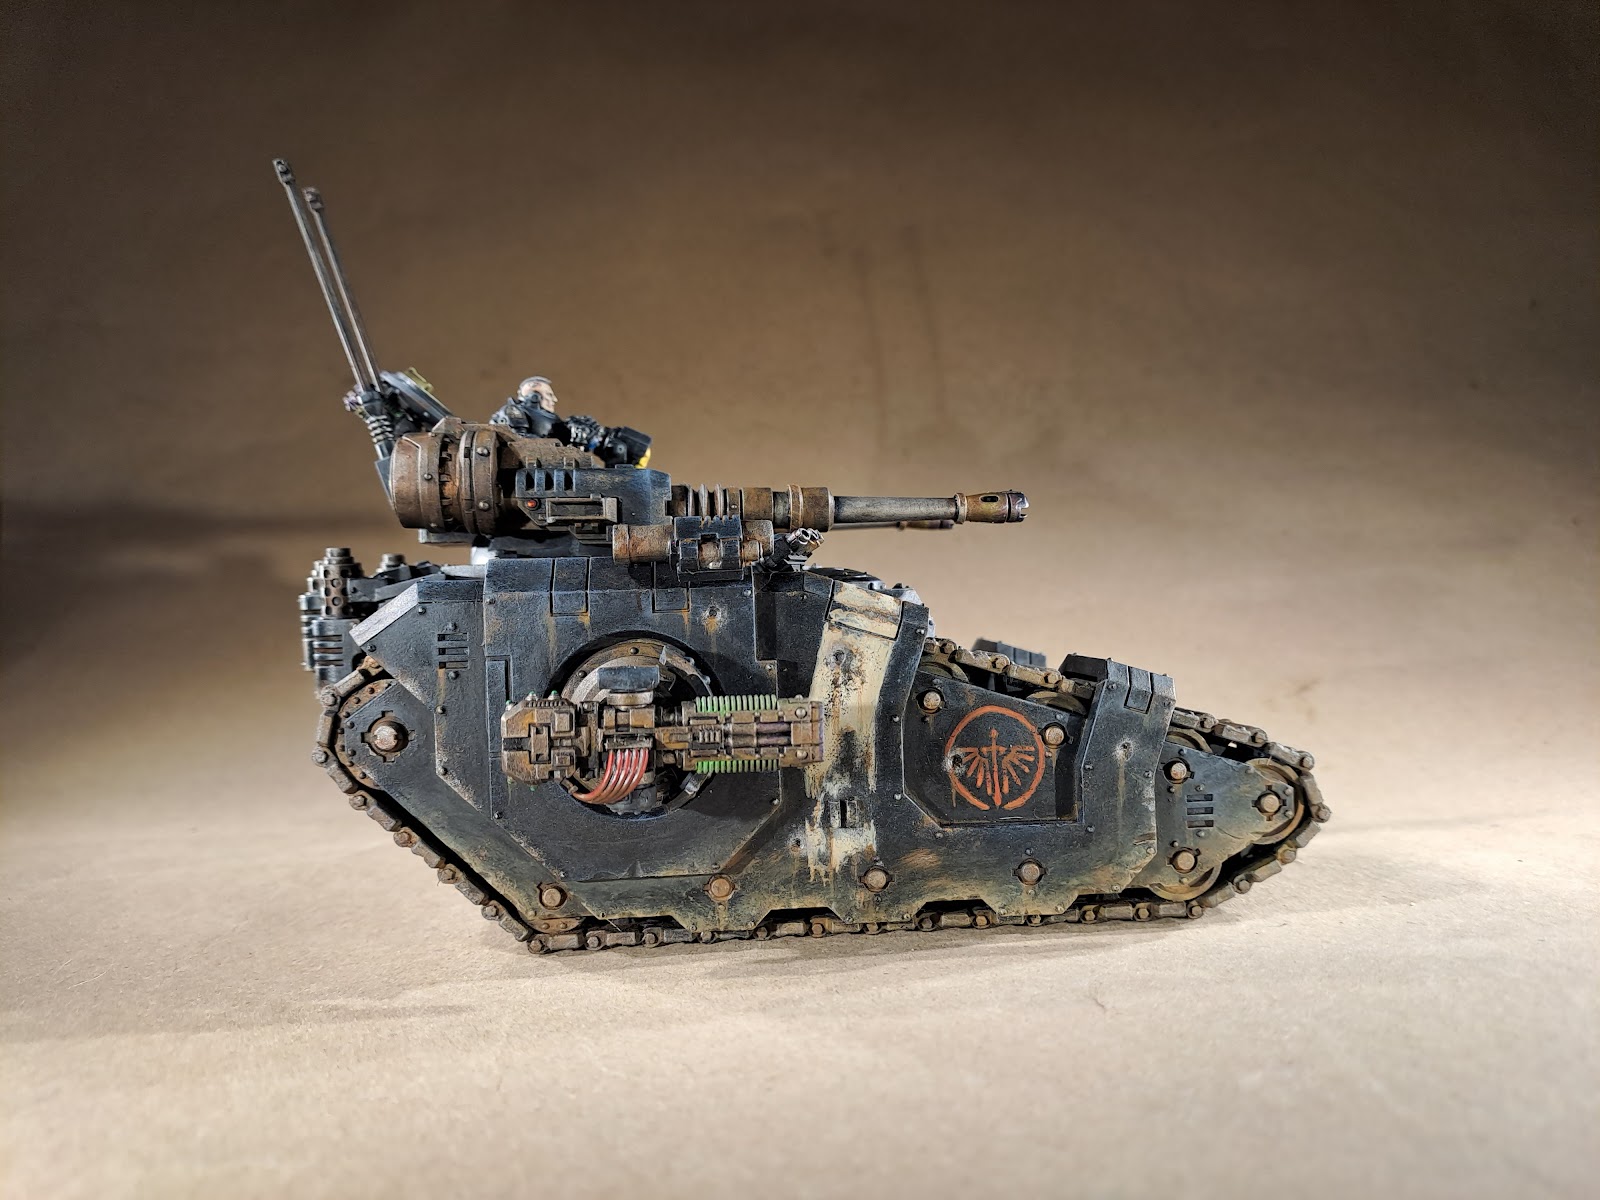

Since I do not have any active HH army, but a few fallen Dark Angels as well as a few pre-heresy models I decided that it would be a nice challenge to paint something other than ghost green and Mechanicum red. The big question was if my recipe for Dark Angels jet-black, that I used on the infantry, would work on a larger model. I had previously tried it out on a Contemptor dreadnought and it worked fine so I had good hopes. However I quite quickly realized that there was something wrong with my base spray as it did not retain the paints and it peeled of from the plastic. This meant that I had to redo quite a few areas and I could not use any masking tejp on the model. Once the black was done I tried to use my normal sponge chipping method but it did not work well on the black at this scale. So I had to switch the colours to a stronger brown and orange to represent the rust, instead of the normal black and brown. The shipped marks where then dry brushed gunmetal. I used the same brown and orange to paint in some additional rust in joints and added some streaks. All in all I think this method worked well at this scale and the model reads as black, but one can still see the edges on the panels. To break up the black a bit a added a bone white stripe on the side panels as well as a DA symbol. I also choose to paint the weapons etc in the rusted metal scheme to go with the tracks.

Once every thing was done I added some brown-yellow-bone to the lower parts of the armour skirts to represent dust and dirt.
The model is built more or less as it comes from the box, I made some small additions in the form of areals on the turret to represent that it is a command tank. I also added the missile pod to the front just because I thought it looked good and filled up the space between the tracks at the front. I might do some more HH tanks and such for the DA just because I really like the new tank models. Who knows, I might even paint up some more infantry from the boxes I have in the to do bin.
Now it will be back to the King in the North...