Final steps... and I am done with the Dreadtober challenge.
Since the last post I have added some metal paint to the pistons. I also added some blue and brown ink to the pistons to give it some more life. Blue close to the sleeve, representing some fresh oil and brown close to the end of the piston to represent old oil. I am not sure this can be seen at any distance but I know it is there and it is how I usually do pistons. I also did up the socked balls and the ratchet rods for the hammers using a slightly different rusted metal method than what I used on the main body. Instead of starting with a black and orange base I used lead belcher as a base, inked it brown, red, orange and black before the four colour drybrush. This still gives the metal a slight red-bron tone as if it has some rust but it is till shiny metal. Once the metals were done I added a blue lens to the chest (body cam?). I also made the edge lights on the shields blue but I am not sure they pop enough, might redo them green or red to get some contrast to the other colours on the shield. I also went over the face plates a bit, smoothing out the colour gradients a bit, not sure it made any huge difference.
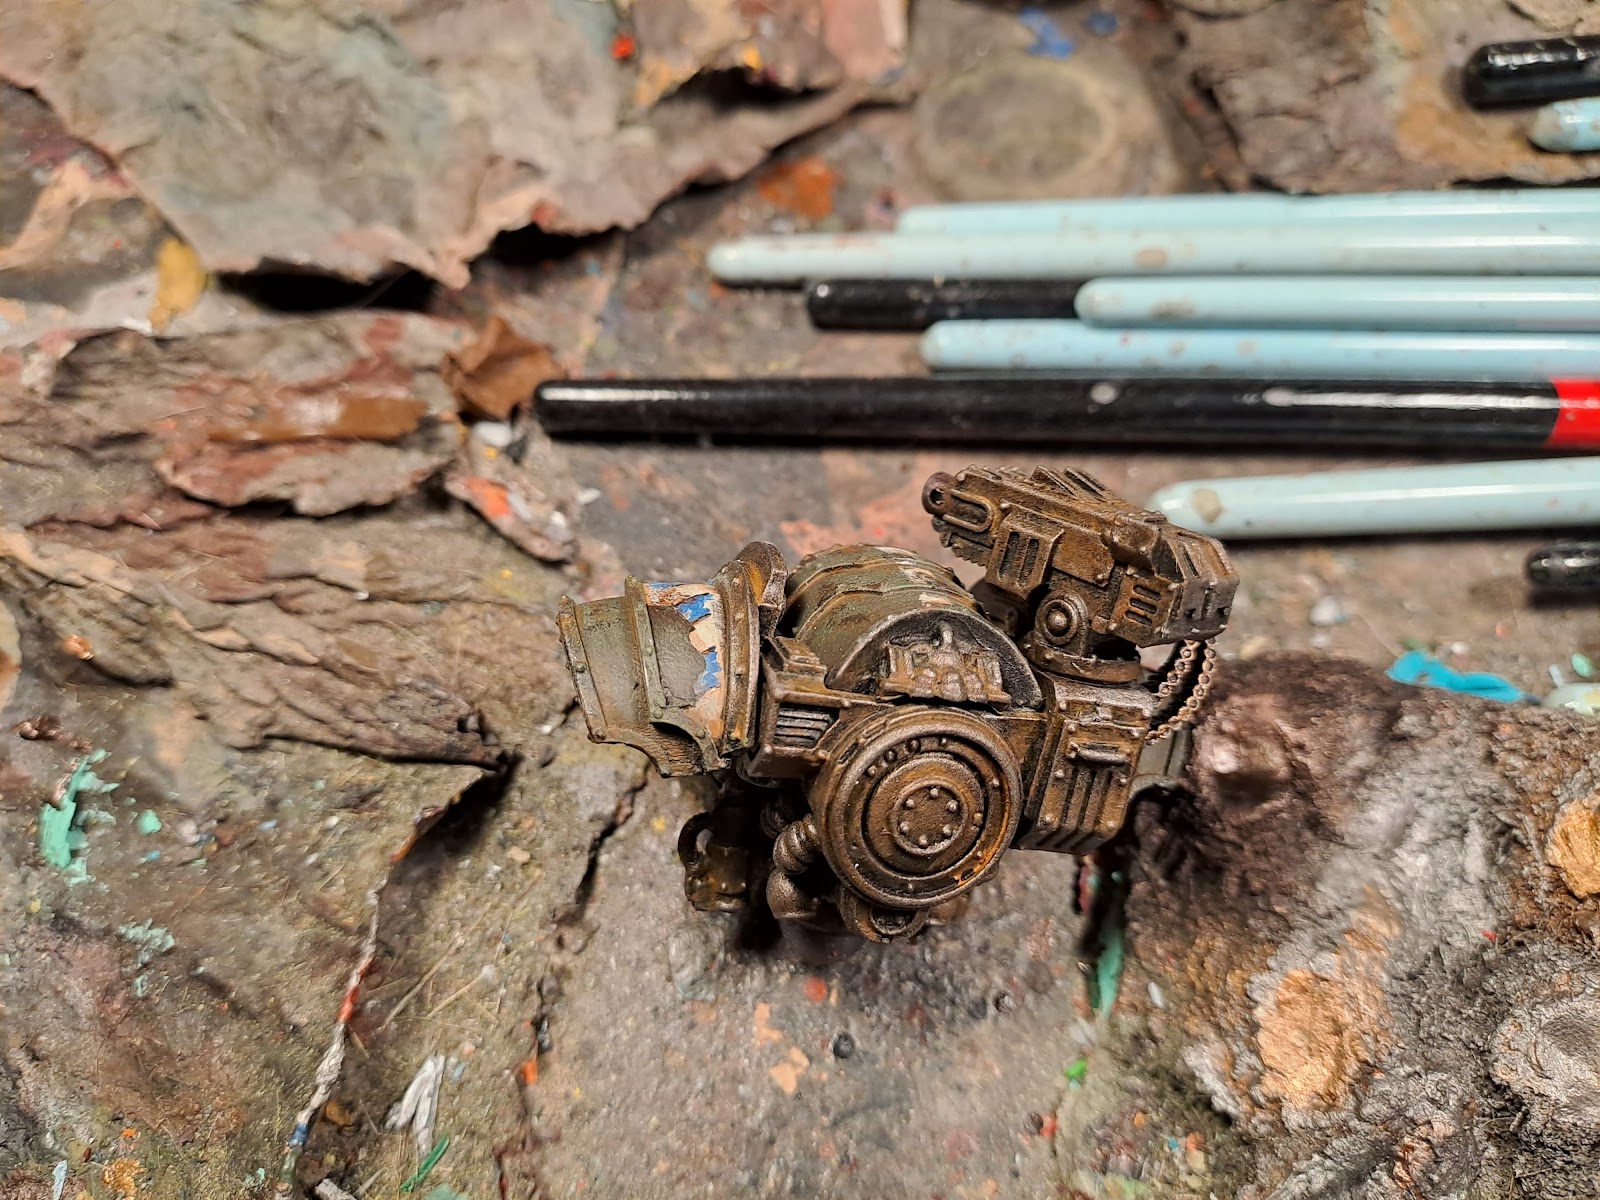
Once I was done with all the painting I stated to assemble all the sub assemblies and disaster struck. For some un known reason I glued one of the small shield to the wrong shoulder piece and when I removed it it took a large chunk of the paint with it. So I had to try and repaint this. As I did not want to strip it totally and restart with a base spray I opted for painting directly onto the resin. This is not something I generally do as the paint will not stick as well as with the base spray, But since it is a small area on a model that will probably not see much handling I decided that it would do.

So I stared with a base goat of back paint followed with a base green, brown ink, three layers of drybrush, brown ink and another three layers of drybrush and I was bask at the base green of the armour.
Then I added the orange ink and brown and orange paints for the rust. I skipped the sponge shipping in this area as it look fairly ok. It is a bit different but not strikingly so.

Later in the week I will take some better picture with my normal light rigg and backdrop. But here are some pictures of the front and back as well as some scale shots with a mechanicum robot.


Having to redo a part after really hurts. I think your solution of turning it into chipped paint helps to tie it into the model.
SvaraRaderaI do like the idea of these big robots having a body cam - just think of the poor administratum adpets who have to sift through all that footage...
Still some of my favourites from your collection.
SvaraRadera