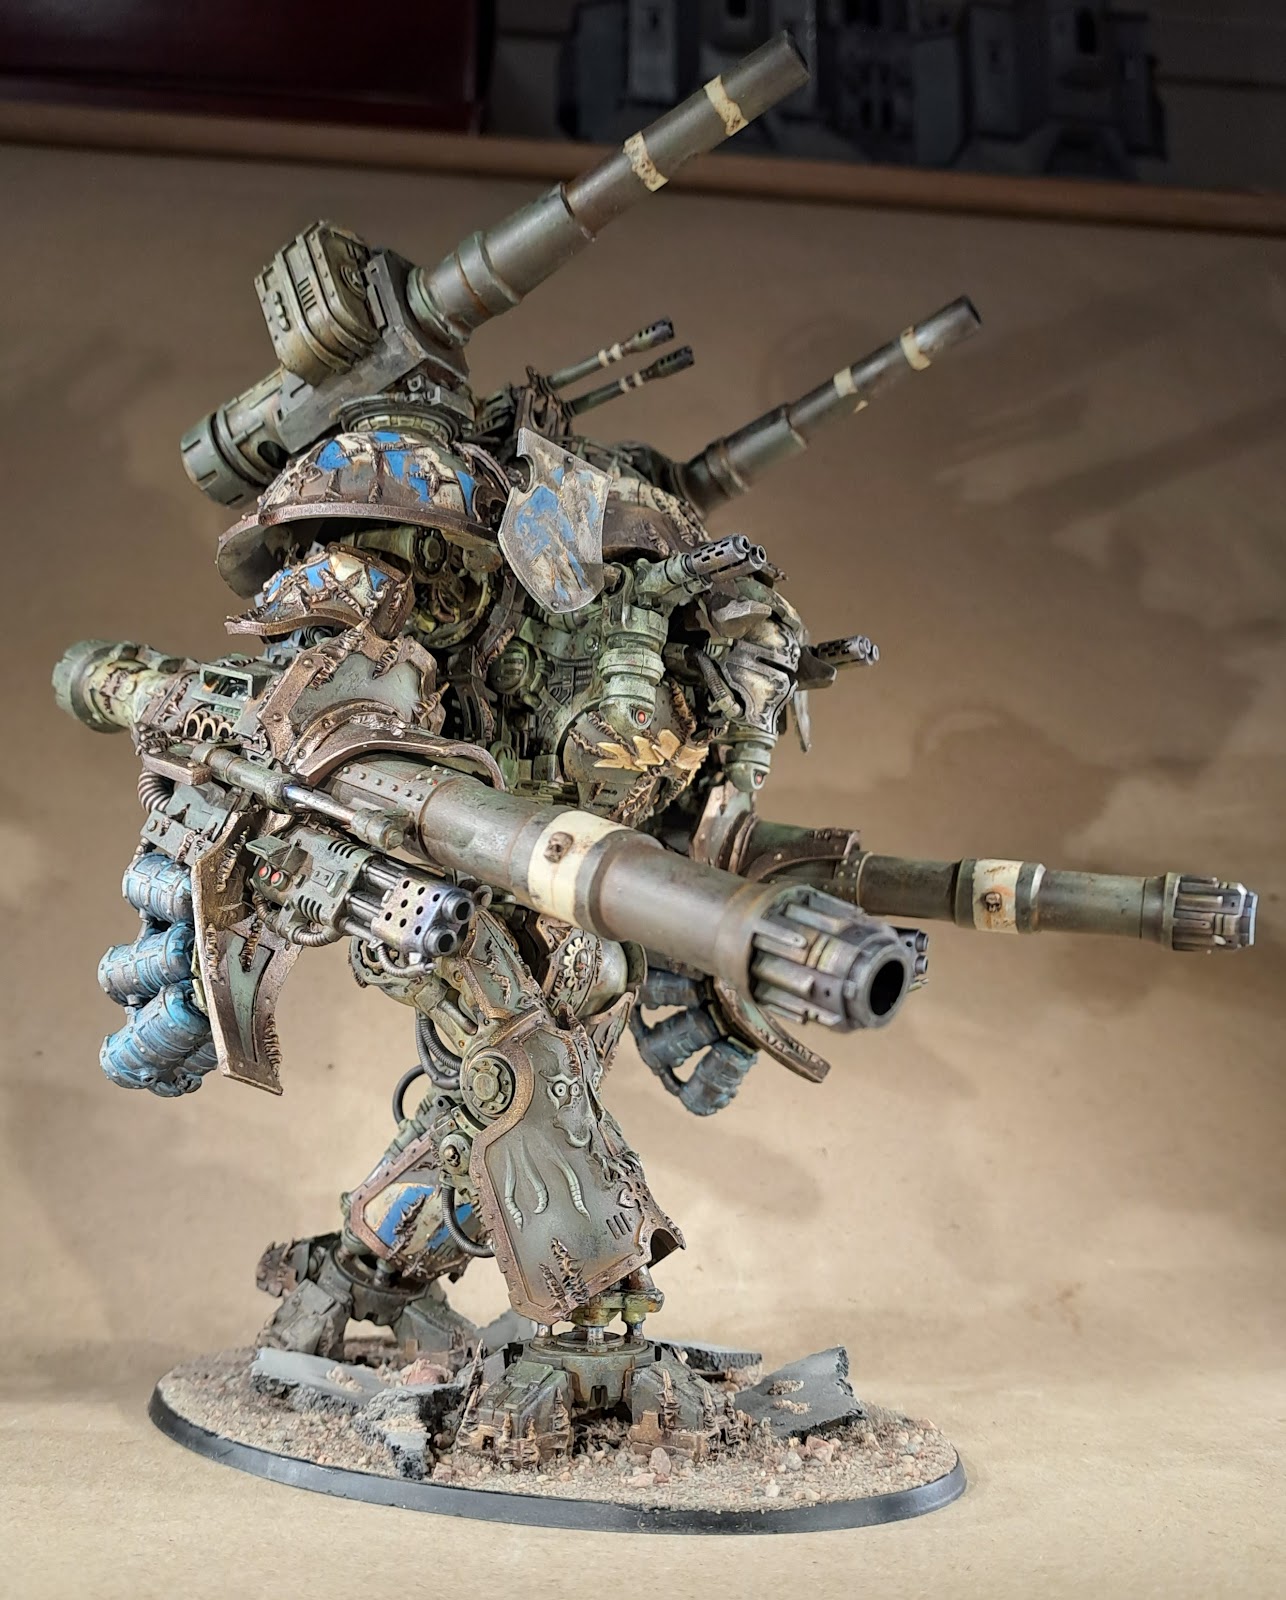
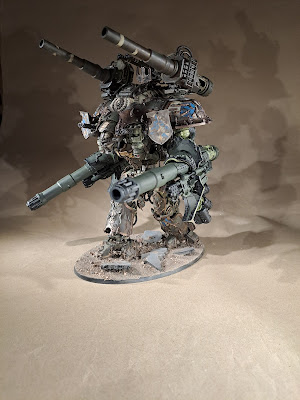
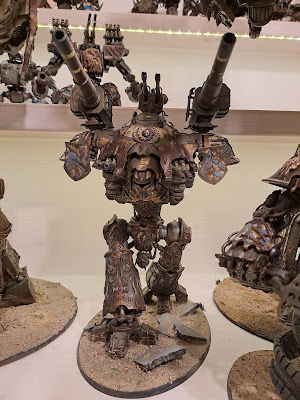
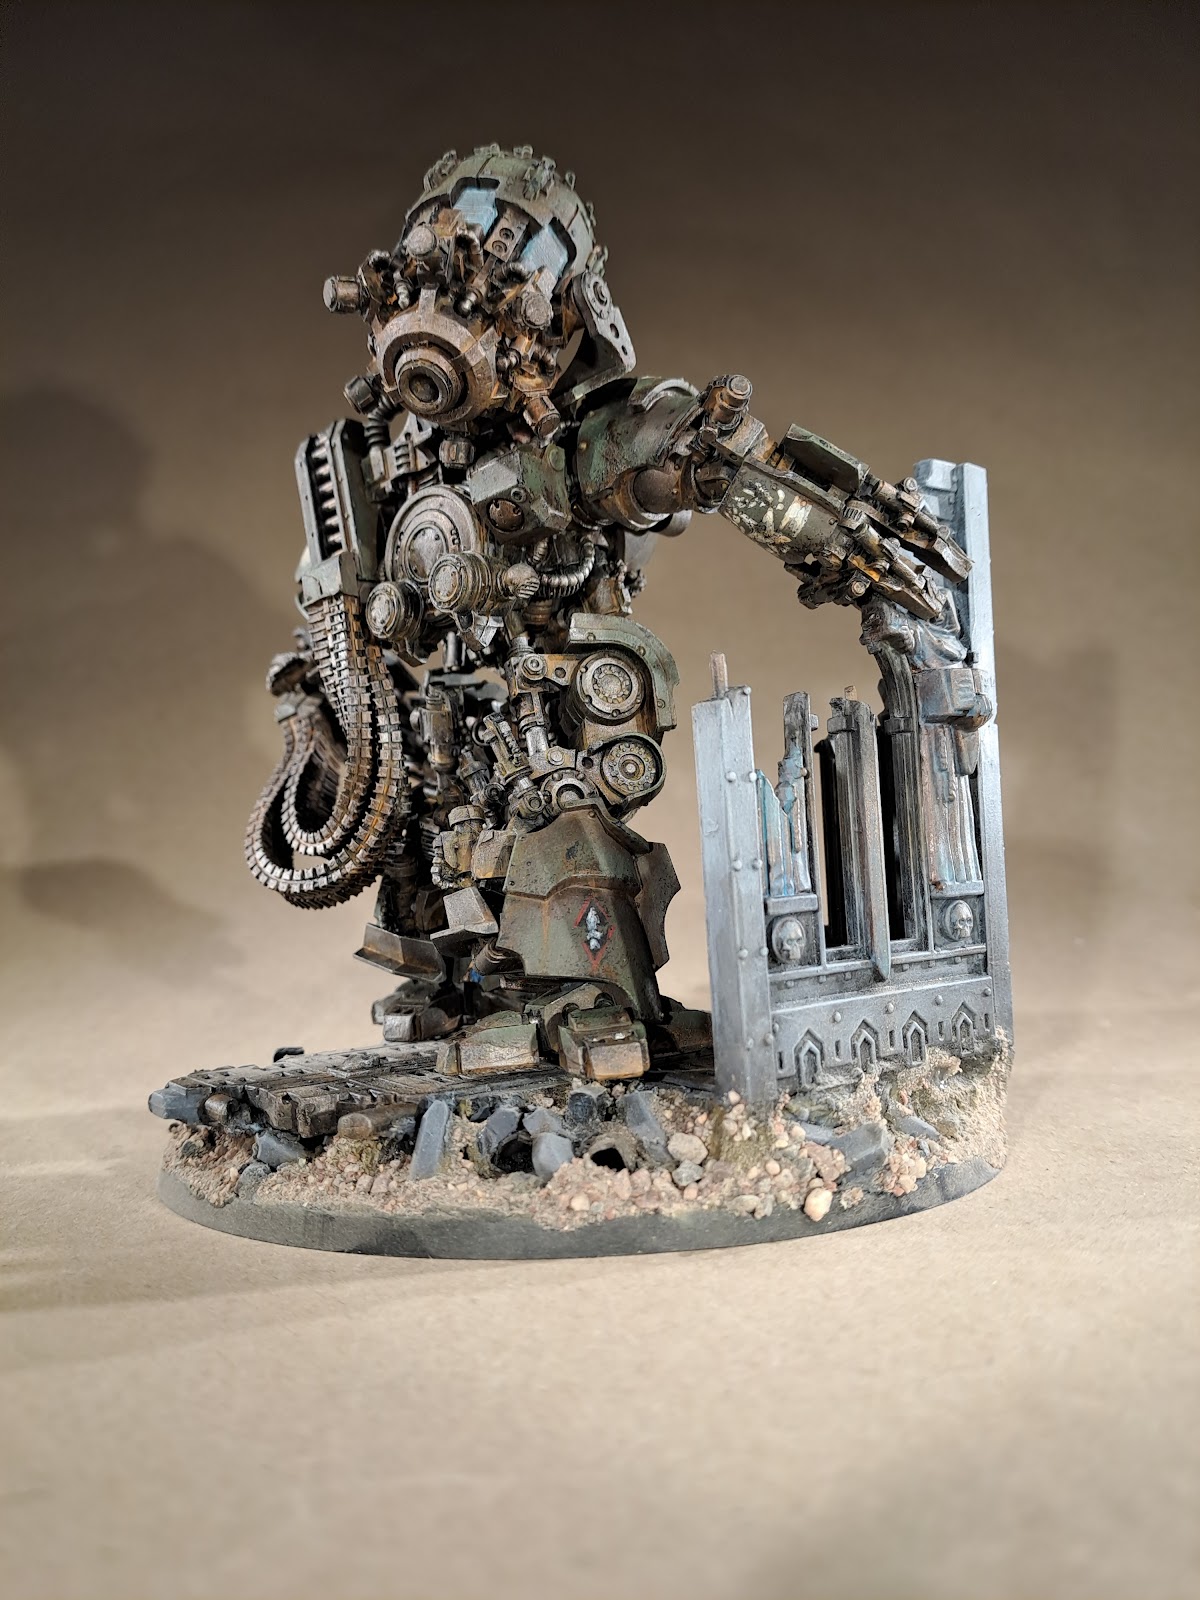
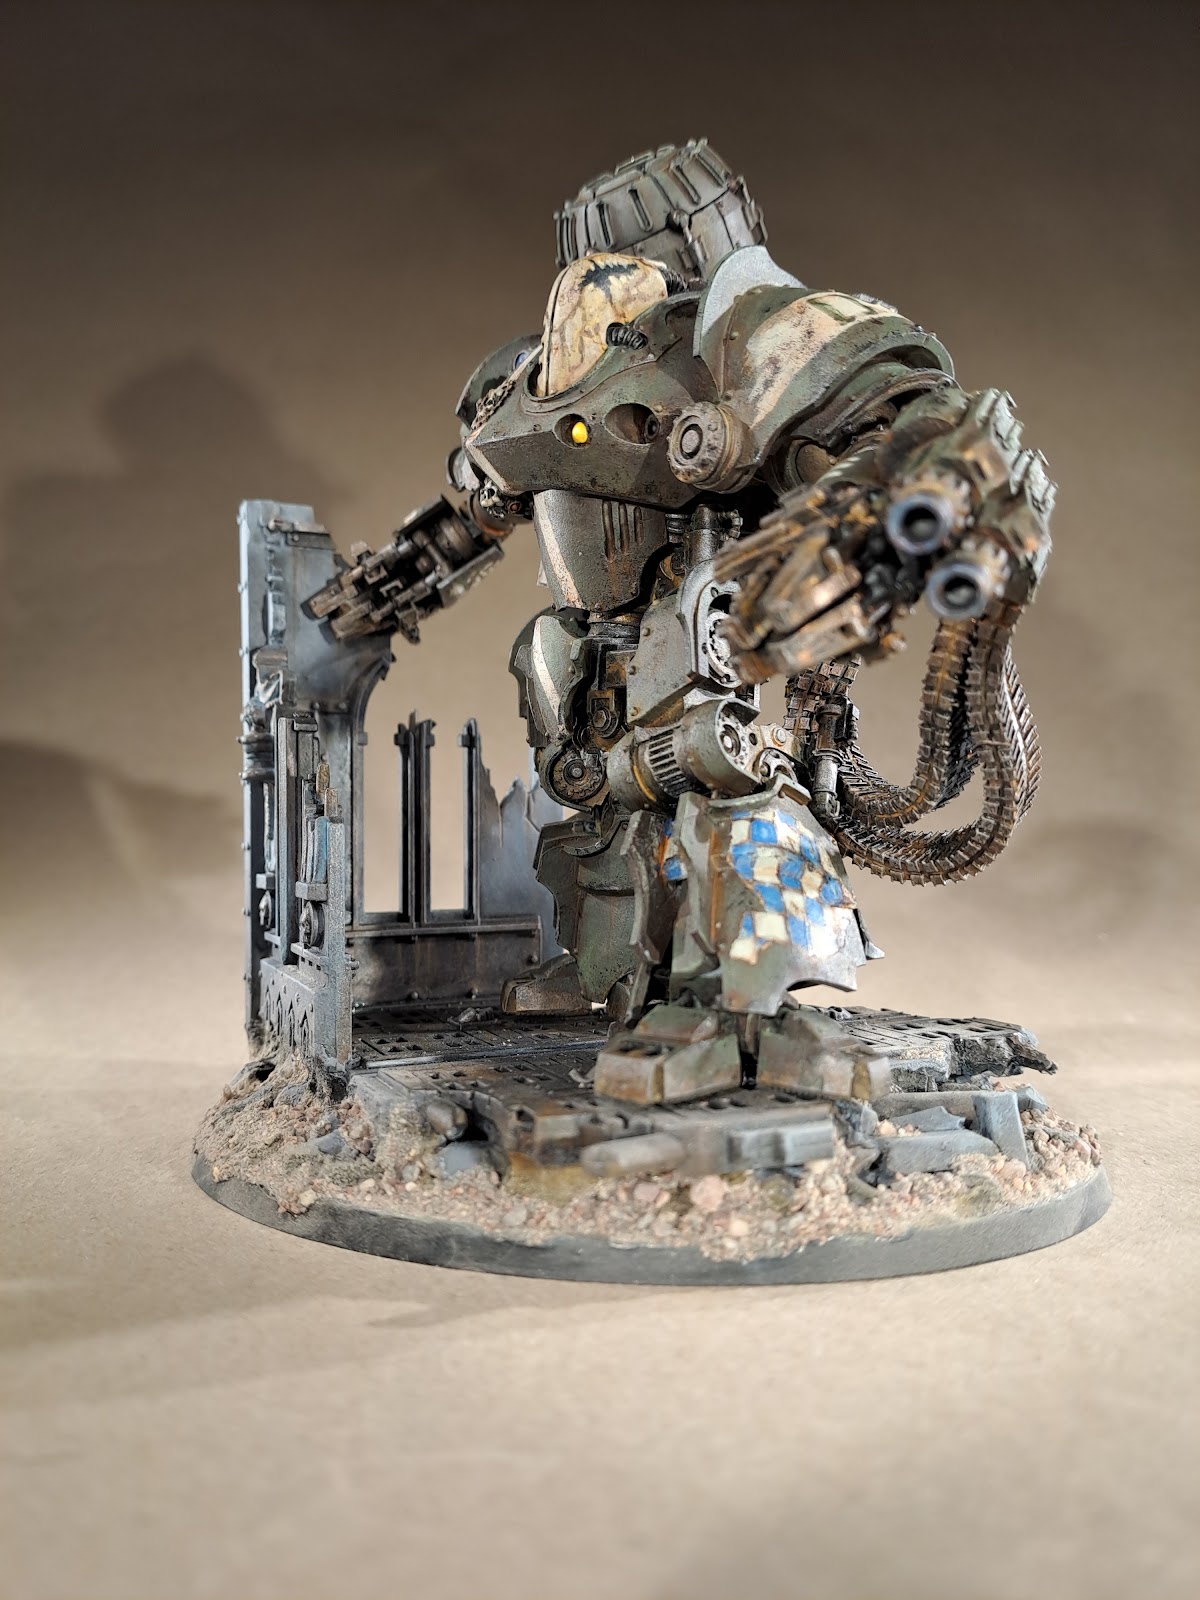
I am not quite happy with how the arms turned out. They are ok but I think that if I hade started out with trying to replicate an imperial look from the beginning this would have turned out better. But I think it is time to let this go and learn from the experience and embrace the saying, "Kill your Darlings" next time. In this case I was so caught up with what I did for Varangian with the dragon skulls I thought that it would fit to do something similar here but no matter how much I tried I could not get the aesthetics to blend with the imperial look. I think it might be the size of the weapons. Smaller skulls would have worked as they would not have dominated the model, but in this case, the weapons are huge, probably to big for the model by them selves. So if I would re do this I would cut down the length of the barrels and make the housing as similar to the rapid battle cannon housing that I could make it. I should probably also have been satisfied with the capacitor banks under shoulders and not have had them also on the guns. But once again I had this thought of having these on the gun, similar to how many of the mechancium weapons look, but I could not make it and I tried several possible ways and this was what I settled on when I really should have realized that they needed to go. But that is now done with. I will try to keep this in mind for my chaos knight that I am planning to arm with dual Gatling's on the arms and back. If it does not work, don't force it. We will see if I can keep to this as the idea is already stuck in my mind. Now I have some infantry to finish and then we will see what I will do next.
torsdag 24 november 2022
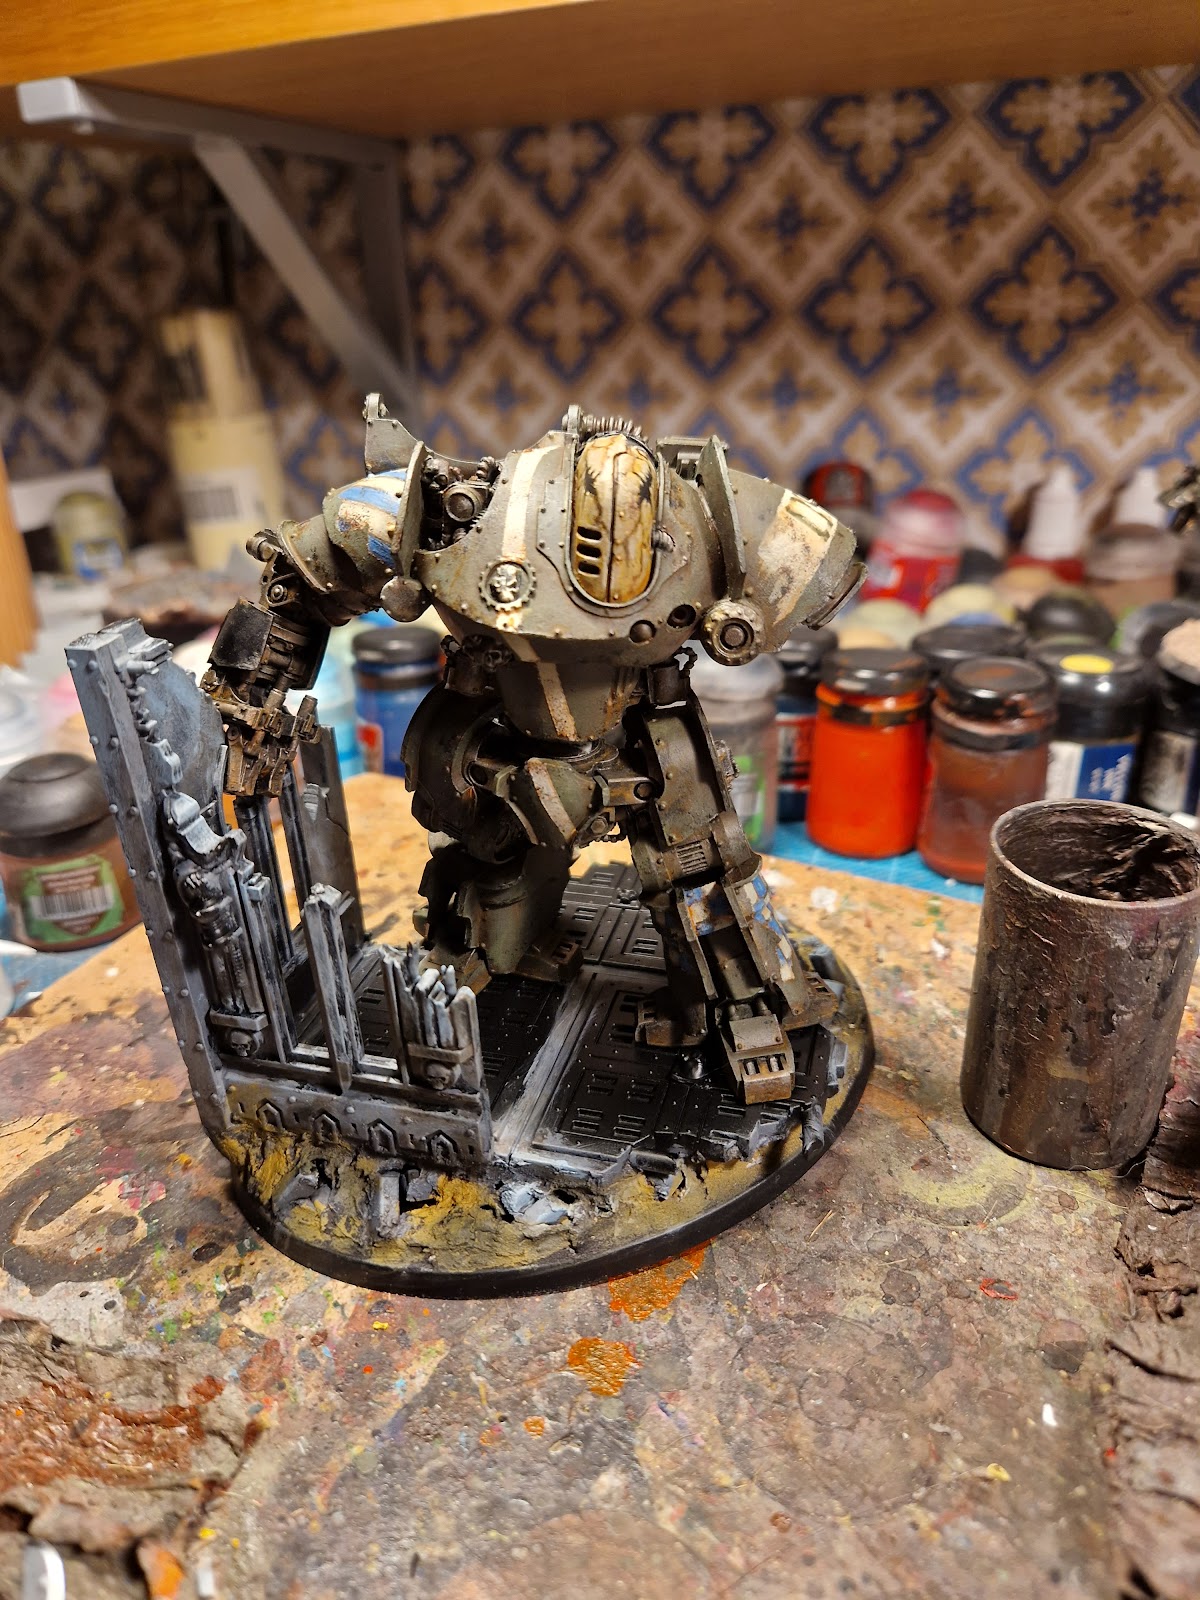
Dominus Knight done
I am not quite happy with how the arms turned out. They are ok but I think that if I hade started out with trying to replicate an imperial look from the beginning this would have turned out better. But I think it is time to let this go and learn from the experience and embrace the saying, "Kill your Darlings" next time. In this case I was so caught up with what I did for Varangian with the dragon skulls I thought that it would fit to do something similar here but no matter how much I tried I could not get the aesthetics to blend with the imperial look. I think it might be the size of the weapons. Smaller skulls would have worked as they would not have dominated the model, but in this case, the weapons are huge, probably to big for the model by them selves. So if I would re do this I would cut down the length of the barrels and make the housing as similar to the rapid battle cannon housing that I could make it. I should probably also have been satisfied with the capacitor banks under shoulders and not have had them also on the guns. But once again I had this thought of having these on the gun, similar to how many of the mechancium weapons look, but I could not make it and I tried several possible ways and this was what I settled on when I really should have realized that they needed to go. But that is now done with. I will try to keep this in mind for my chaos knight that I am planning to arm with dual Gatling's on the arms and back. If it does not work, don't force it. We will see if I can keep to this as the idea is already stuck in my mind. Now I have some infantry to finish and then we will see what I will do next.
söndag 30 oktober 2022
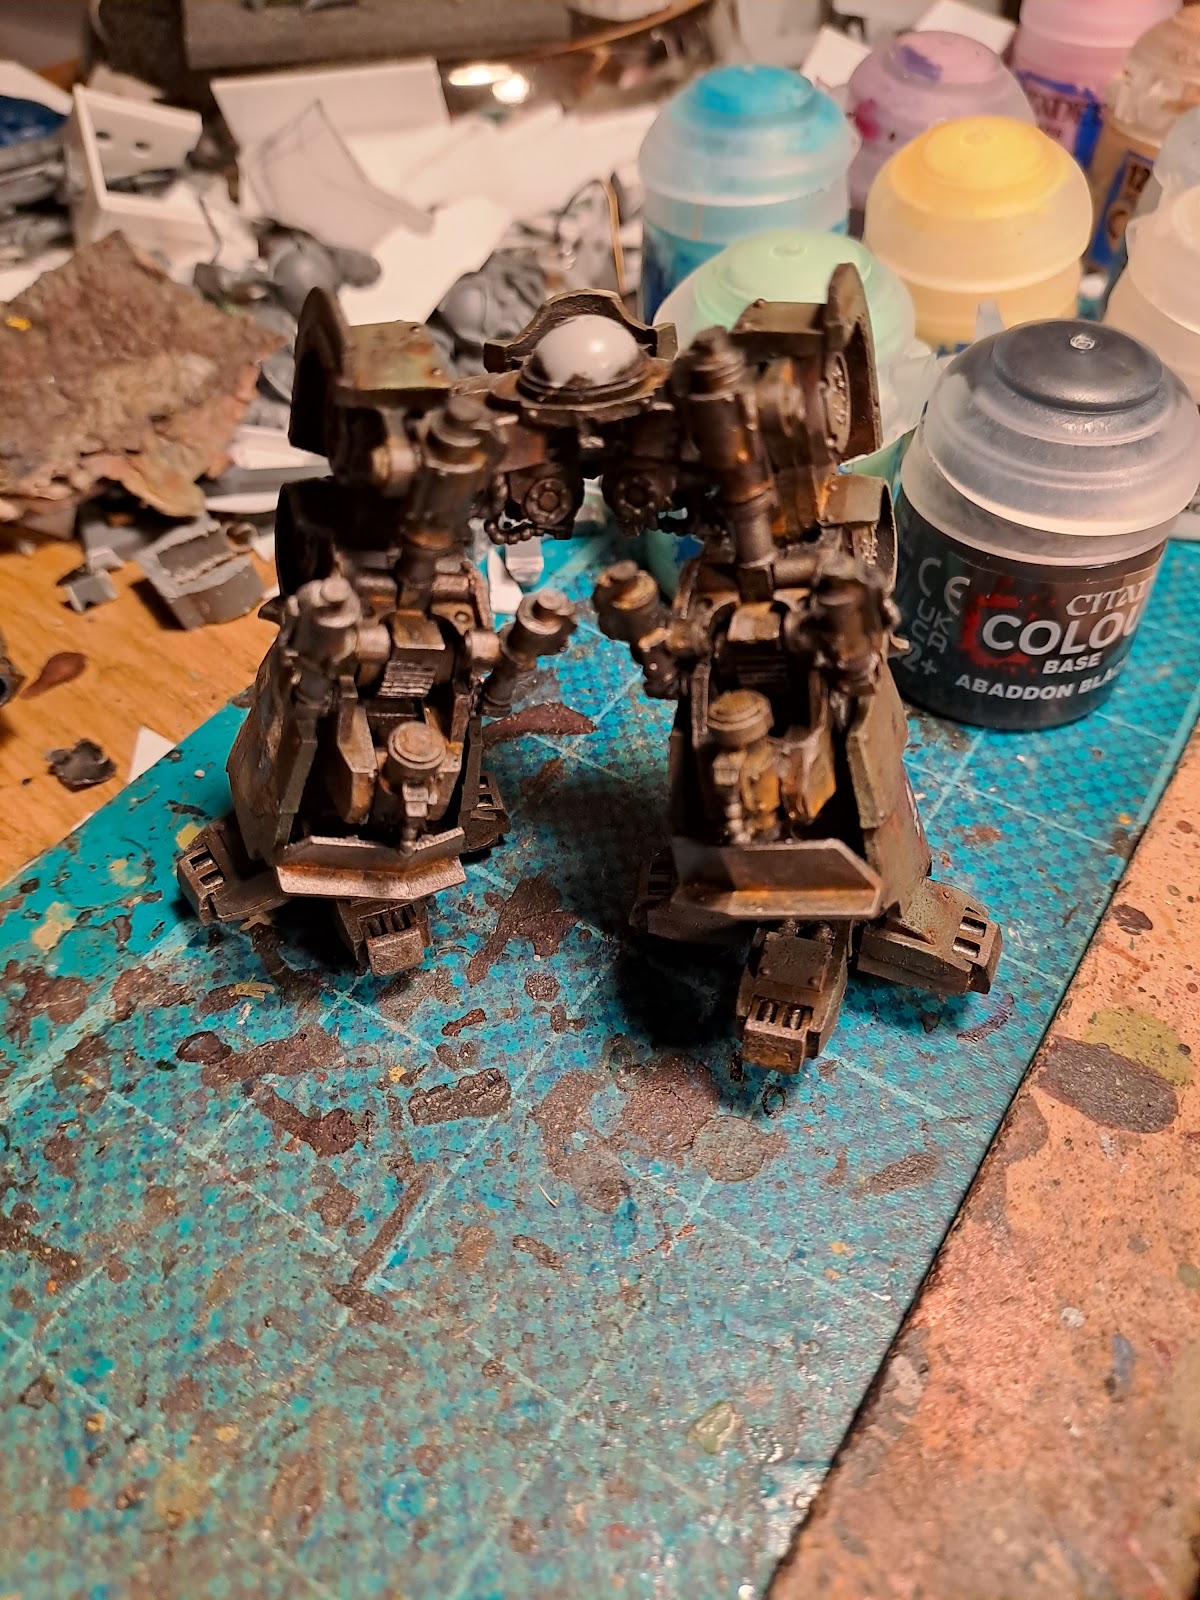
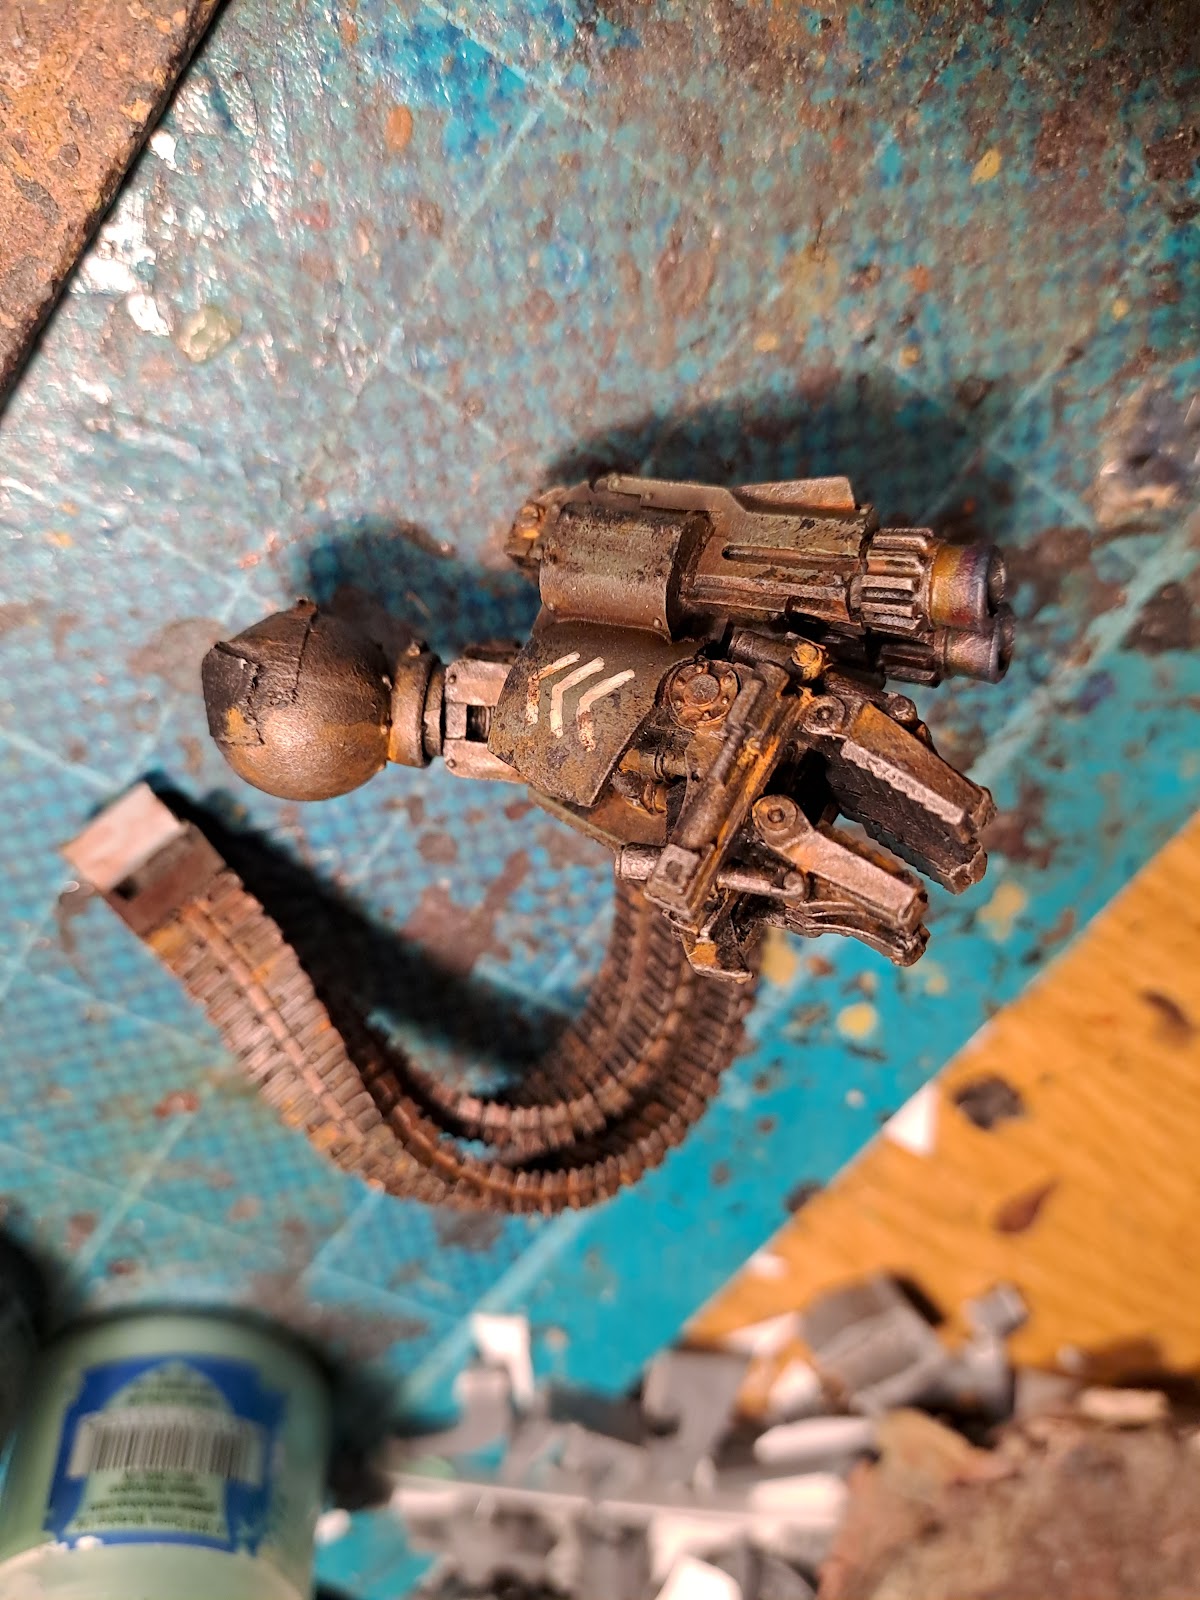
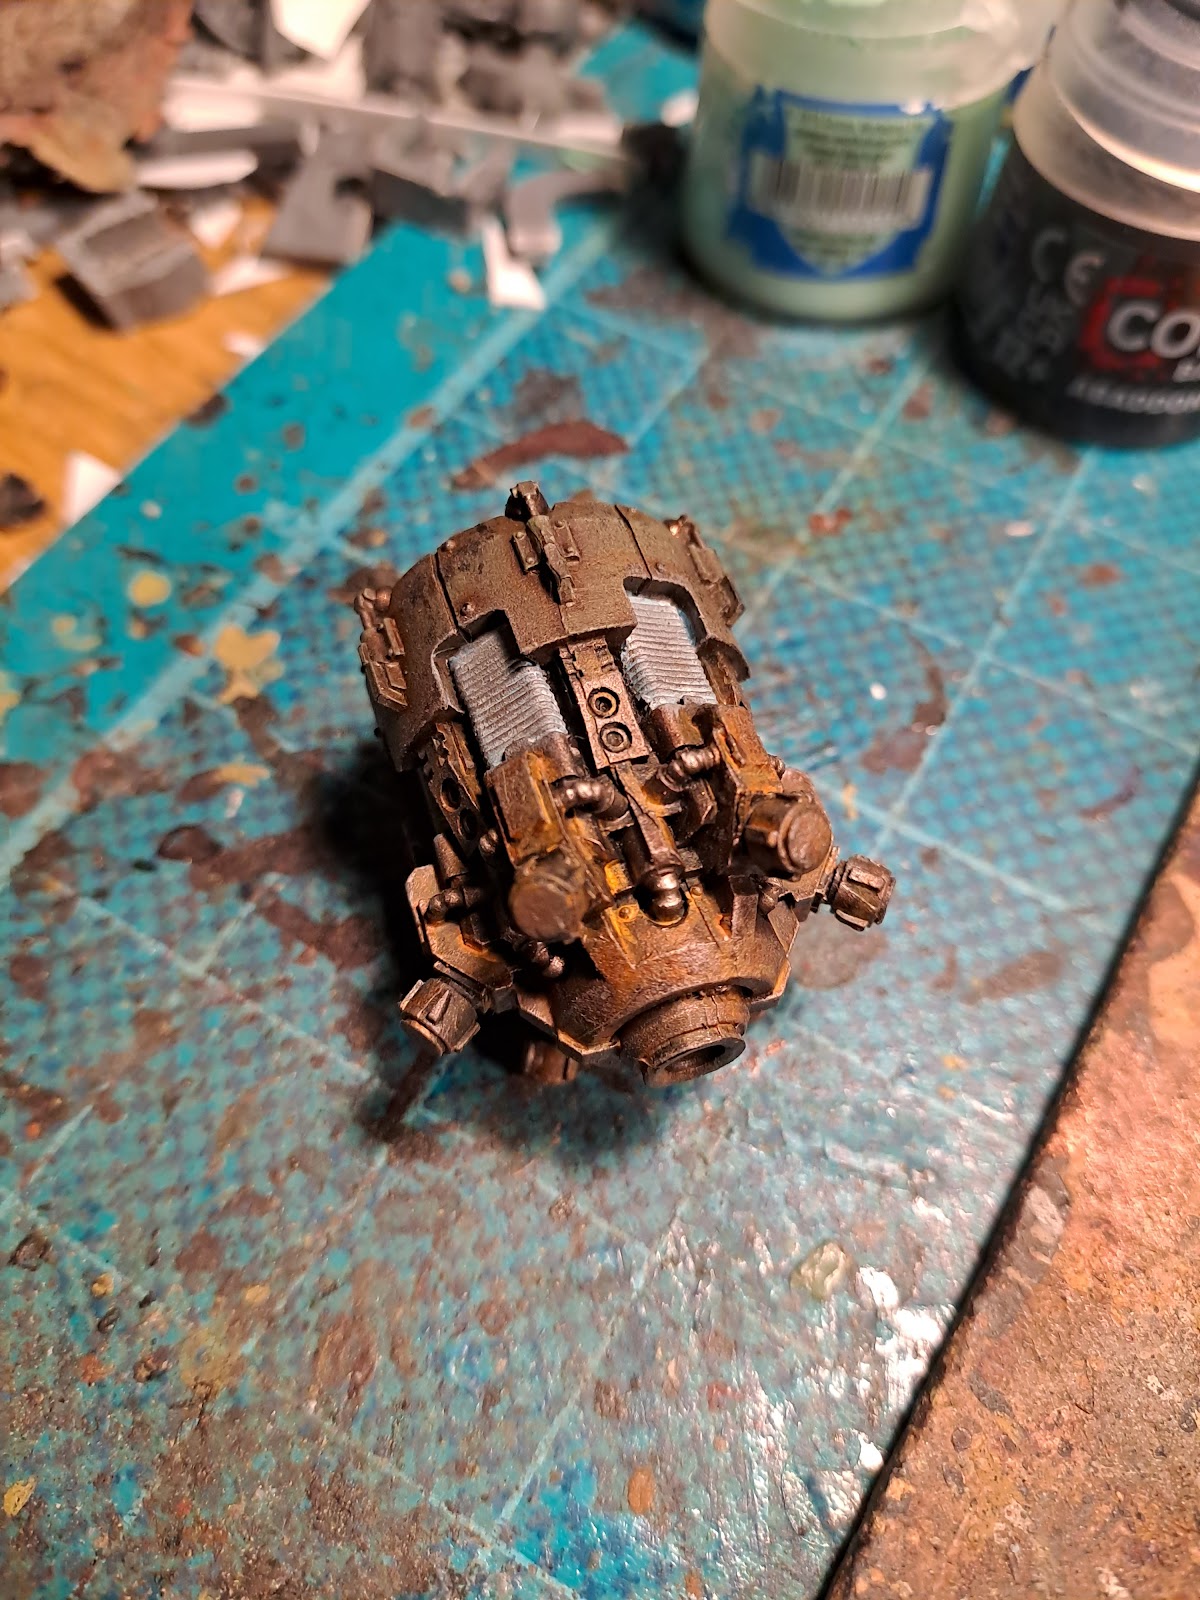
Dreadtober bouns,Dominus arms WIP 2
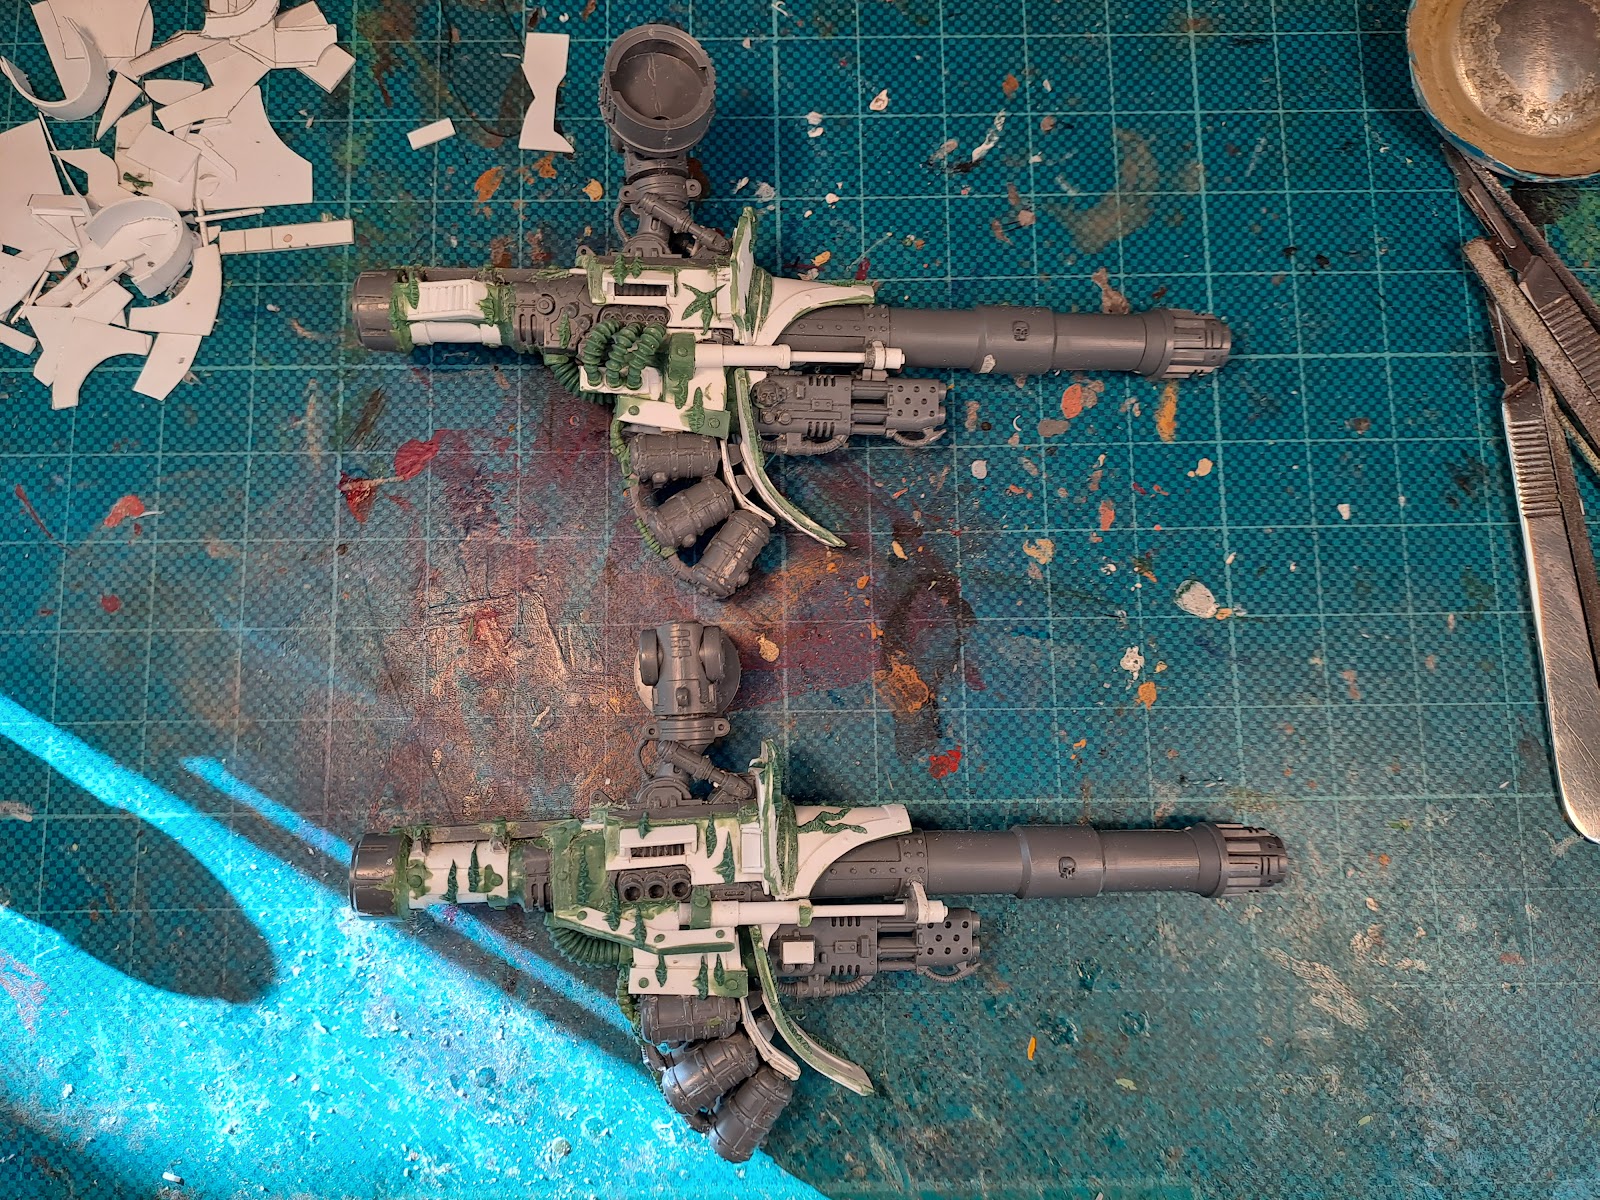
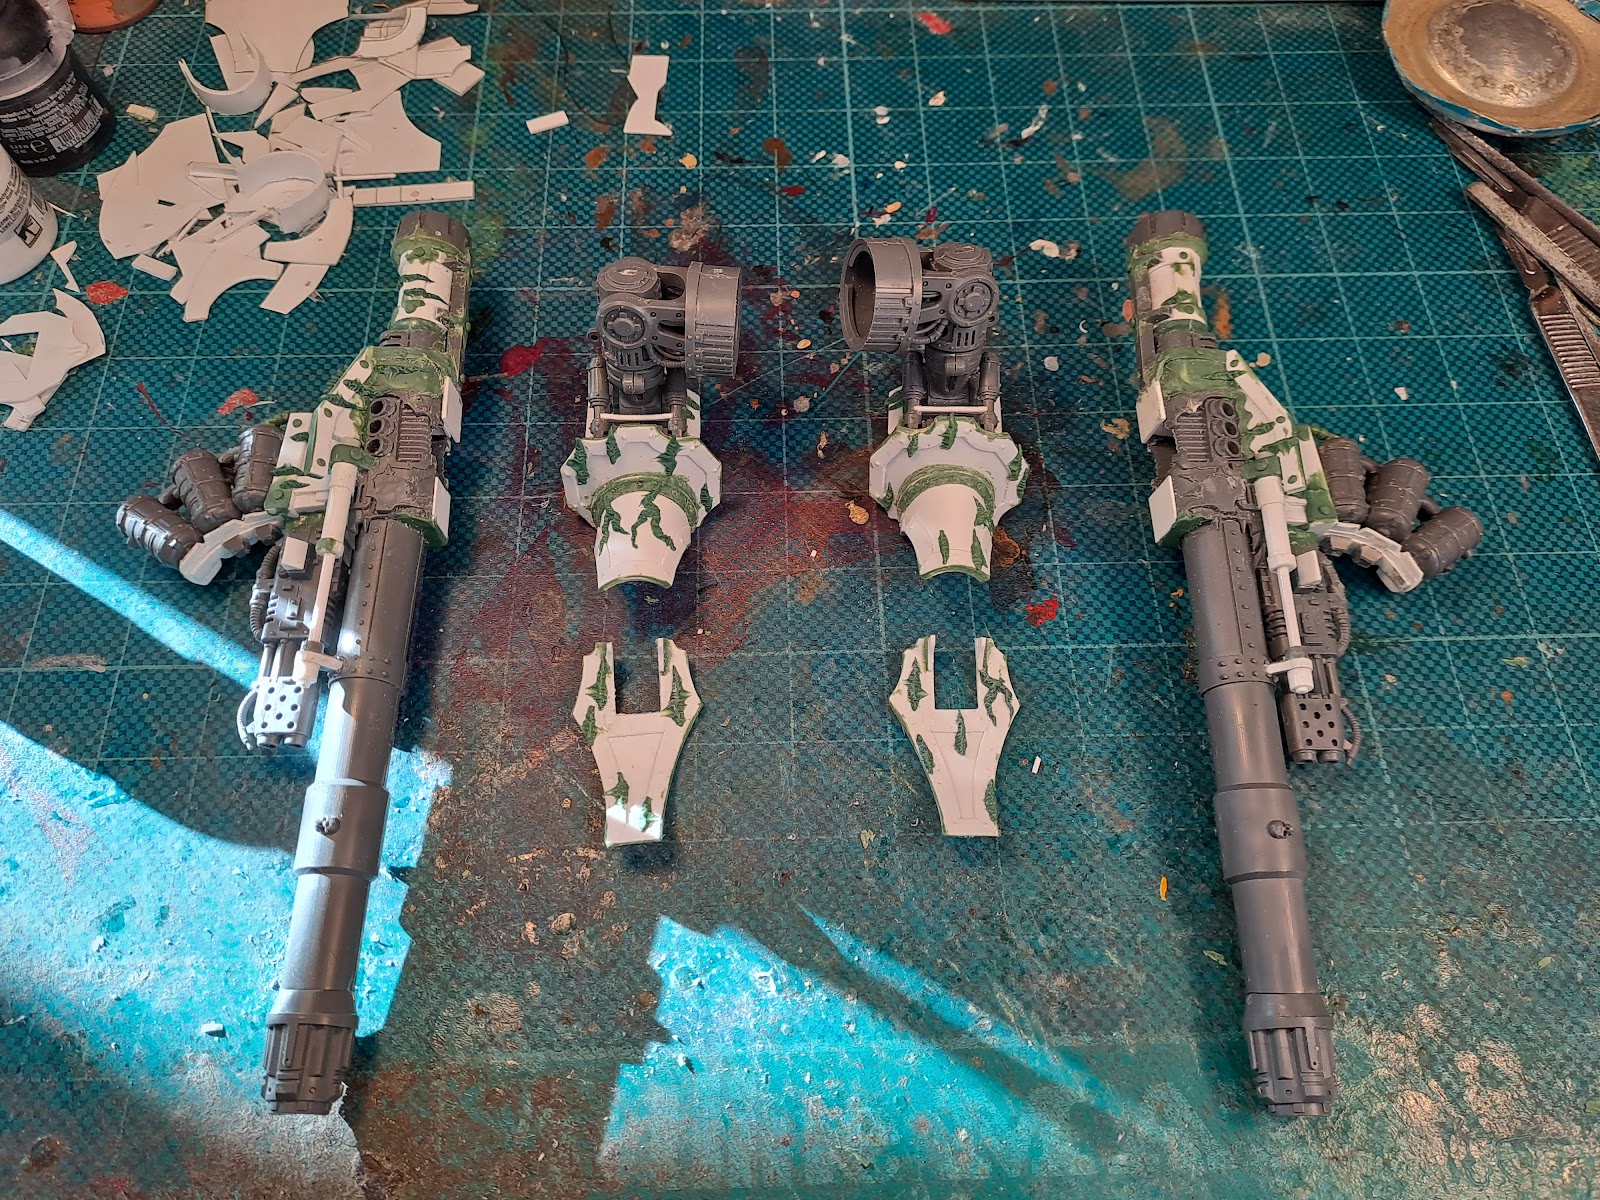
As I guessed I would not be able to finish the bonus completely, but at least I got the arm weapons for my Dominus knight built, which was my real hope with this, and as a bonus for the bonus I slapped on the base greens.
I did some minor modifications to my original idea with the rebuild and made the barrel cowlings a bit smaller as well as the reinforcements of the lower shield. Apart from that it has mostly been a question about closing gaps and making things fit together. Over all it is perhaps not the cleanest build but at lest it got done and I can move on to other things.
One thing I noticed when trying on the arms on the already finished body was that I have sculped some cables around the arm sockets that prevented me from mounting the arms, so I hade to take the scalpel and trim the cables down, not the most pleasant thing to do to a already painted model but it needed doing.
Now I just need to paint these and I can call the knight done.
måndag 24 oktober 2022
Dreadtober bonus, Dominus arms WIP 1
After finishing my Dreadtober pledge I decided that I would try to finish the arms for my Dominus knight. This has been something that I have been working on for some time but never really gotten around to doing properly. In my first iteration I hade the idea of using the mauler fiend housings as a base and sculpting on some skulle work. However, non of my Knights really have that aesthetics and it would only be the arms for the Dominus so it never really fit in. So I decided to start over and give the arms a more traditional look with a square housing and some front shields.
The housing and shields are made of plasticard, where the shields are made up of layers so that I can bend and shape them. Once I got the basic shape done I made some borders where I pressed in rivets with a sculpting tool, a new technique that I am trying to master. I am not really sure of the barrel cover as it feels like it is becoming to front heavy. I might need to add something over the rear to balance it. Once I am happy with all the pieces I will file them to the final shape and add green stuff to them.
I am now pretty sure that I will not make it with these arms in the remaining October week as there are quite a few elements that need to cure over night but I will try to at least get them built and ready for paint even if the actual painting will have to wait. Well, that is my bonus project for this year...
söndag 16 oktober 2022
Dreadtober Thanatar done
This weekend I managed to finish of the base and mount the Thanatar in its final position. I did the base as an experiment for an idea that I have had for some time about what to do for my Warbringer Surtr. All in all I am quite happy with how it turned out, but I think I will have to be a bit careful with these large interactive bases in the future as it is easy that they become to dominant and that the display case might look very strange with to many of them.
The rest of Dreadtober I will spend on trying to finish the arm weapons for my Dominus knight that has also been a multi year undertaking. I am however not sure I will manage to get them done as I just decided to restart part of them and that means a lot of building before I can start painting, hence I do not dare to pledge these to the challenge, but with some luck I might finish this model.
I also took a shot with my previous Dreadtober builds.
torsdag 13 oktober 2022
Dreadtober Thanatar WIP 4
This week I finished the base painting on the Thanatar. I have painted and chipped the arms and body as well as gotten it assembled. Now I need to go back over it and finish some of the details and cover any of the joints where the resin is visible due to some over enthusiastic masking. There are also some spots where the paint has rubbed of as I handled the pieces. That is one of the drawbacks of resin, it is hard to get the paint to stick. But all in all it is turning out pretty much as I expected. I think it will fit in nicely with the rest of my legio cybernetica.
söndag 9 oktober 2022
Dreadtober Thanatar WIP 3
This weekend I finished the green armour and started with the markings. I use masking tejp not only to mark lines etc but also to create areas where the paint have peeled of. This can be used on large areas or just as small infringements in otherwise hole areas. Once masked I drybrush on a bone white colour. Then I use bronze to paint in chevrons, checkers ets going all the way up onto the tejp. Then I fill in the appropriate areas with blue and drybrush each filed in three stages. Once dry I remove the tejp which then literally crates a border where there is an edge between the chevrons and the underlying green base.
Once I hade all the chevrons and checkers done I sponge chipped the model. I use black and dark brown for this as it creates more dynamic chipping with new and older damage (that has started to rust). This is followed by a gentle dry brush of bolt gun metal on the edges where the shipping marks are. Then I go over the model with an orange ink, adding an orange tone to areas that have rusted, i.e. around the sponge chipping and in corners and angels in the armour.
Once all this was done I assembled the legs, making sure that they fit to the anchoring holes in the base. It turned out that the ankel shields on the feet needed to come of and get re-glued to get the pose right.
That is about as far I got over the weekend. During the coming week I hope to get the arms and weapons done, at least up to the stage where I can start with the weathering process. I will also need to go back and paint in some details. Then I will have to start working on the base.
Initially I thought that I would have a lot of time for this model but I am starting to think it might be a bit tight to get everything done to the proper level.
onsdag 5 oktober 2022
Dreadtober Thanatar WIP 2
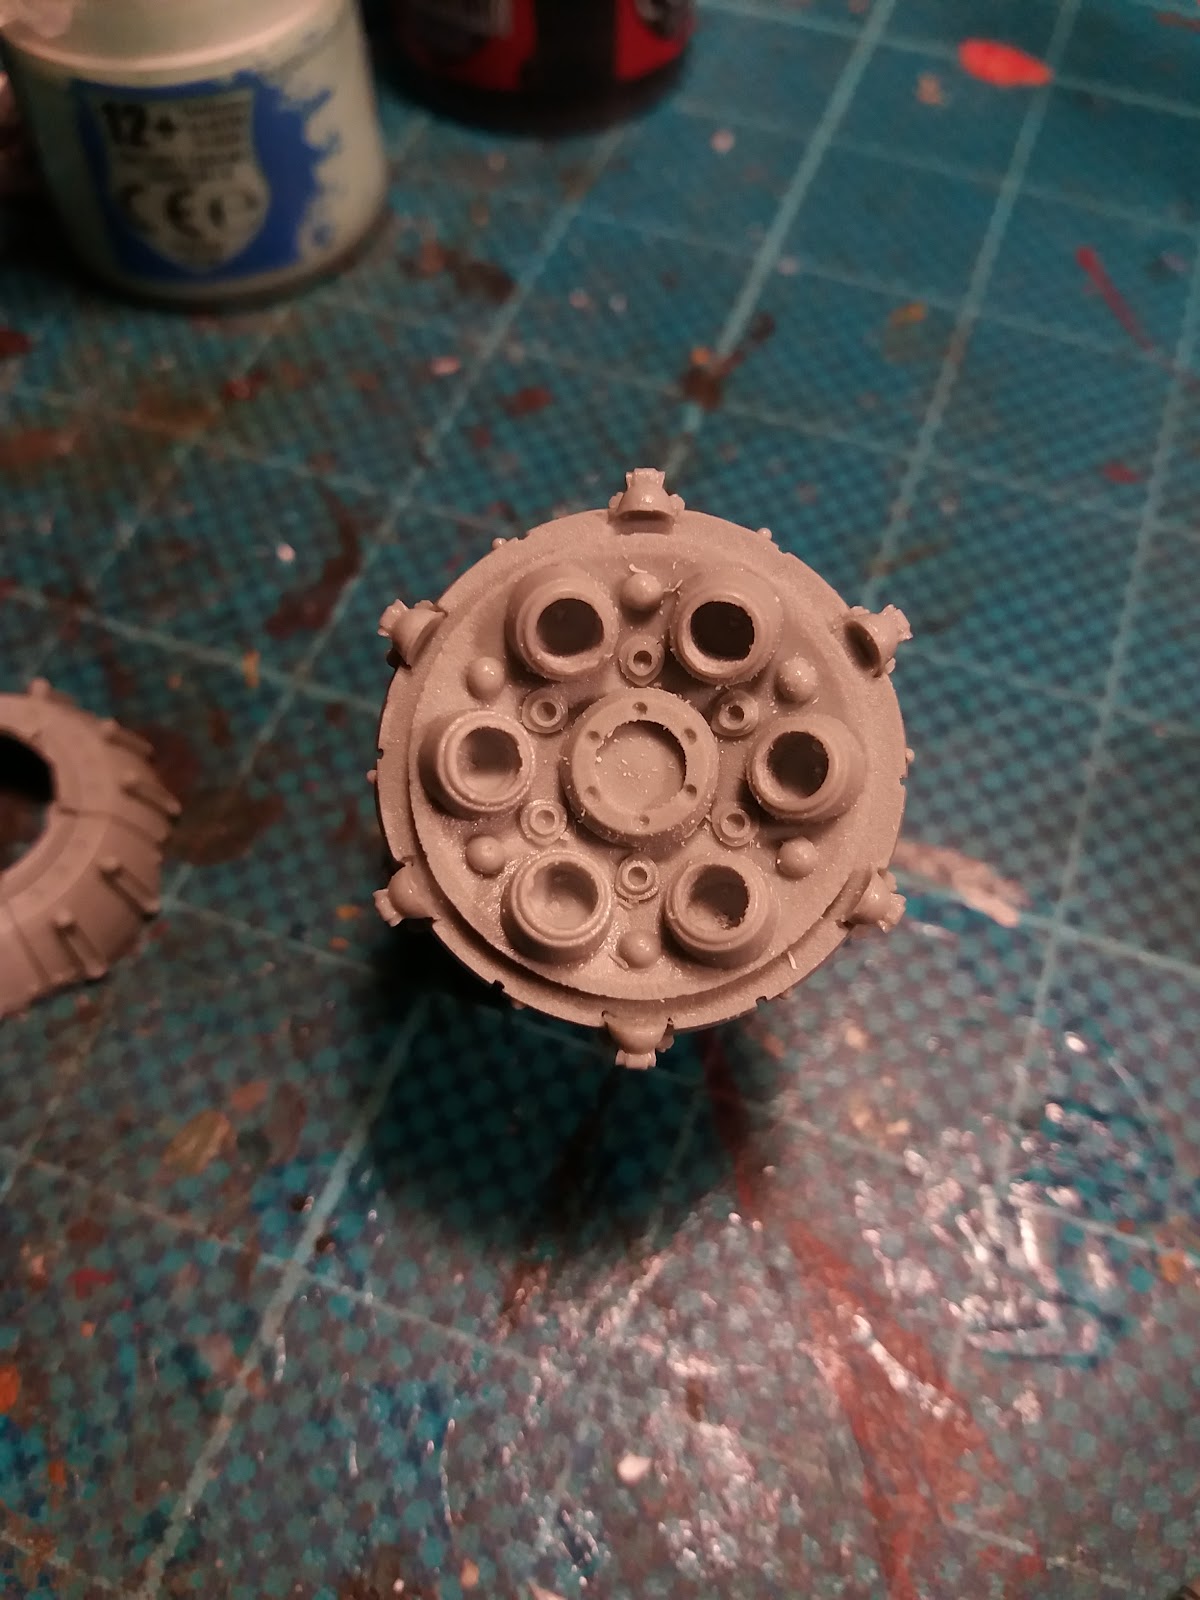
After assembling the Thanatar and getting the pose sort of locked in I broke it apart into the subassemblies in which it was to be painted. I also took the opportunity to drill out the barrels of the plasma mortar and the mauler bolters so that the bottoms of the barrels are not as visible. Before spraying the parts I used maskin tejp on the surfaces where I will glue things together, just to make sure that the glue get a good contact with the resin later on.
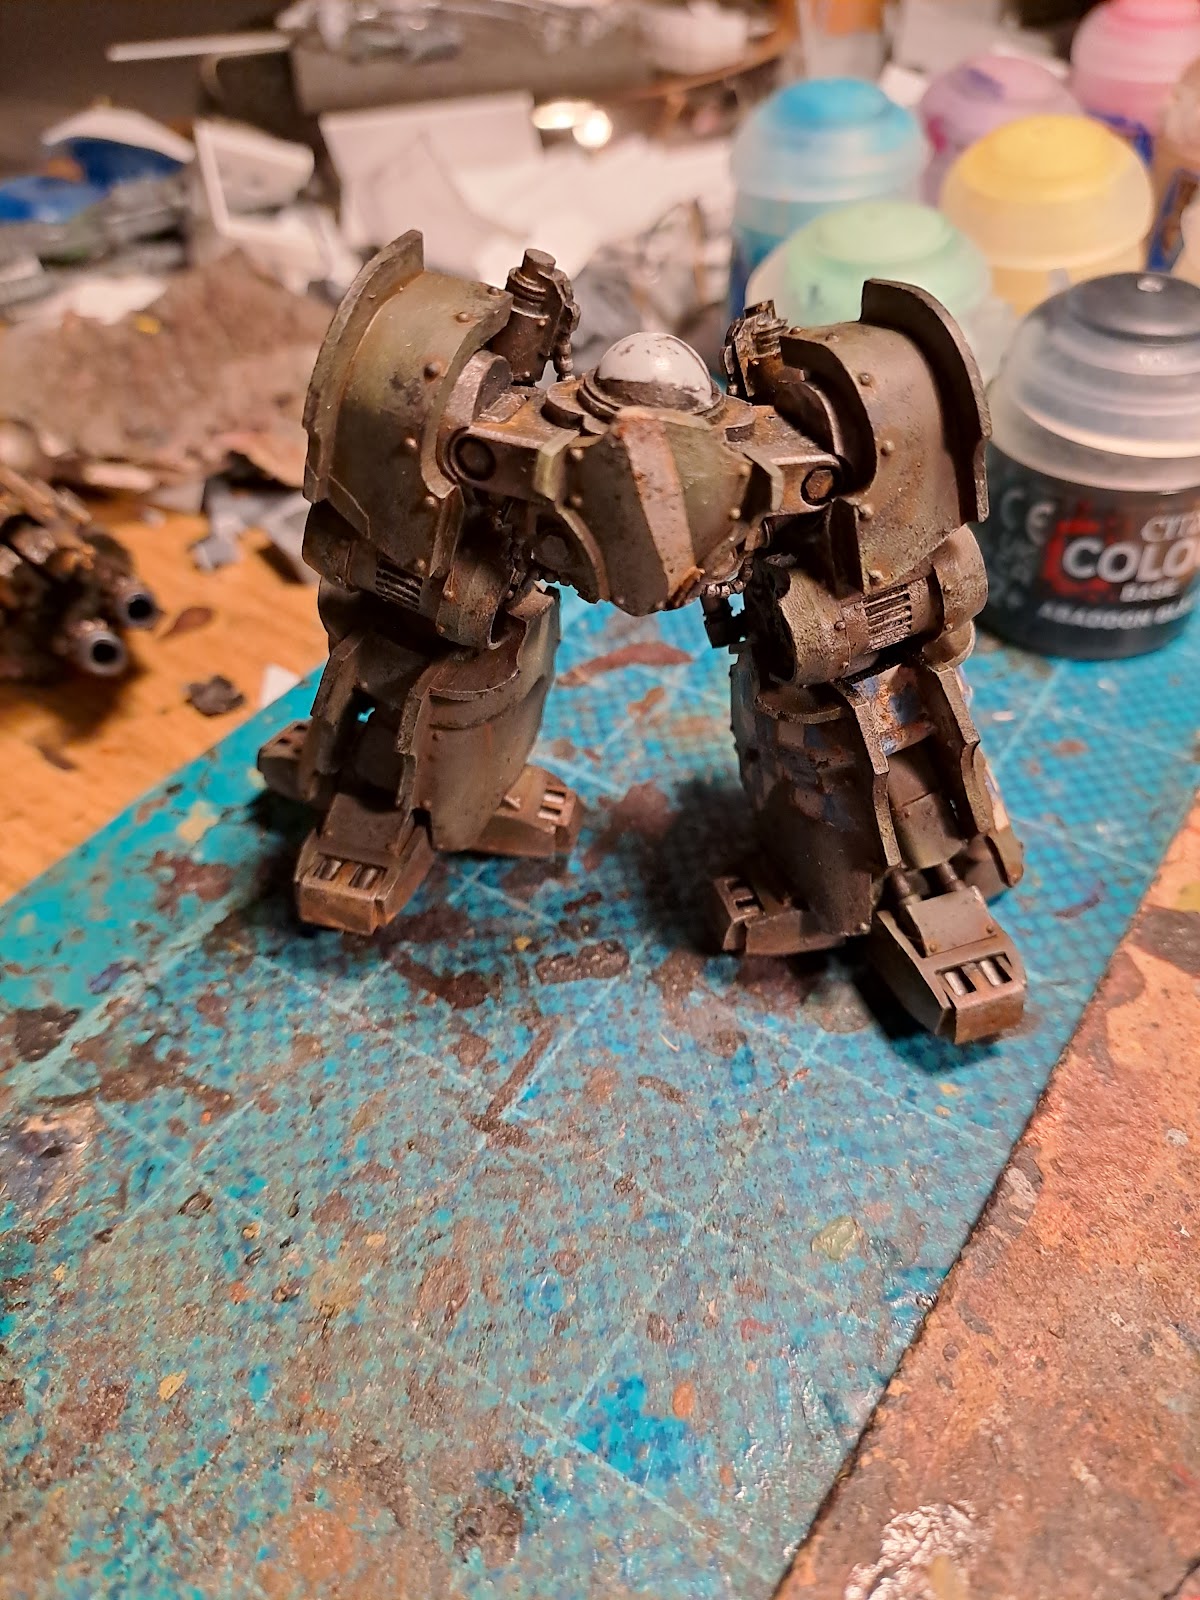
Once base sprayed black I started the painting process. My previous mechanicum automata has been a solid green with just the pistons picked out in metal, but as this model is so much larger and has so much detail I needed to break it up a bit and use some different colours. For my titans and knights I have recently been doing this by painting the substructure in a pale green/yellow and then adding the dark green armour plates on top (giving them a negative look in low light) which I think go well together with their ghost name. But, since the other automata does not have "ghost" look I thought that I would try something that would not stick out as much compared to the other models. I have previously played around with heavily rusted metal for my Knight "Entropy" and for my fledgling Necron force. This gives them a brown/golden look and I think this could tie in nicely with the "dark green" as it has a very strong brown tone. So I decided to try making a rusted subframe with my usual green armour.
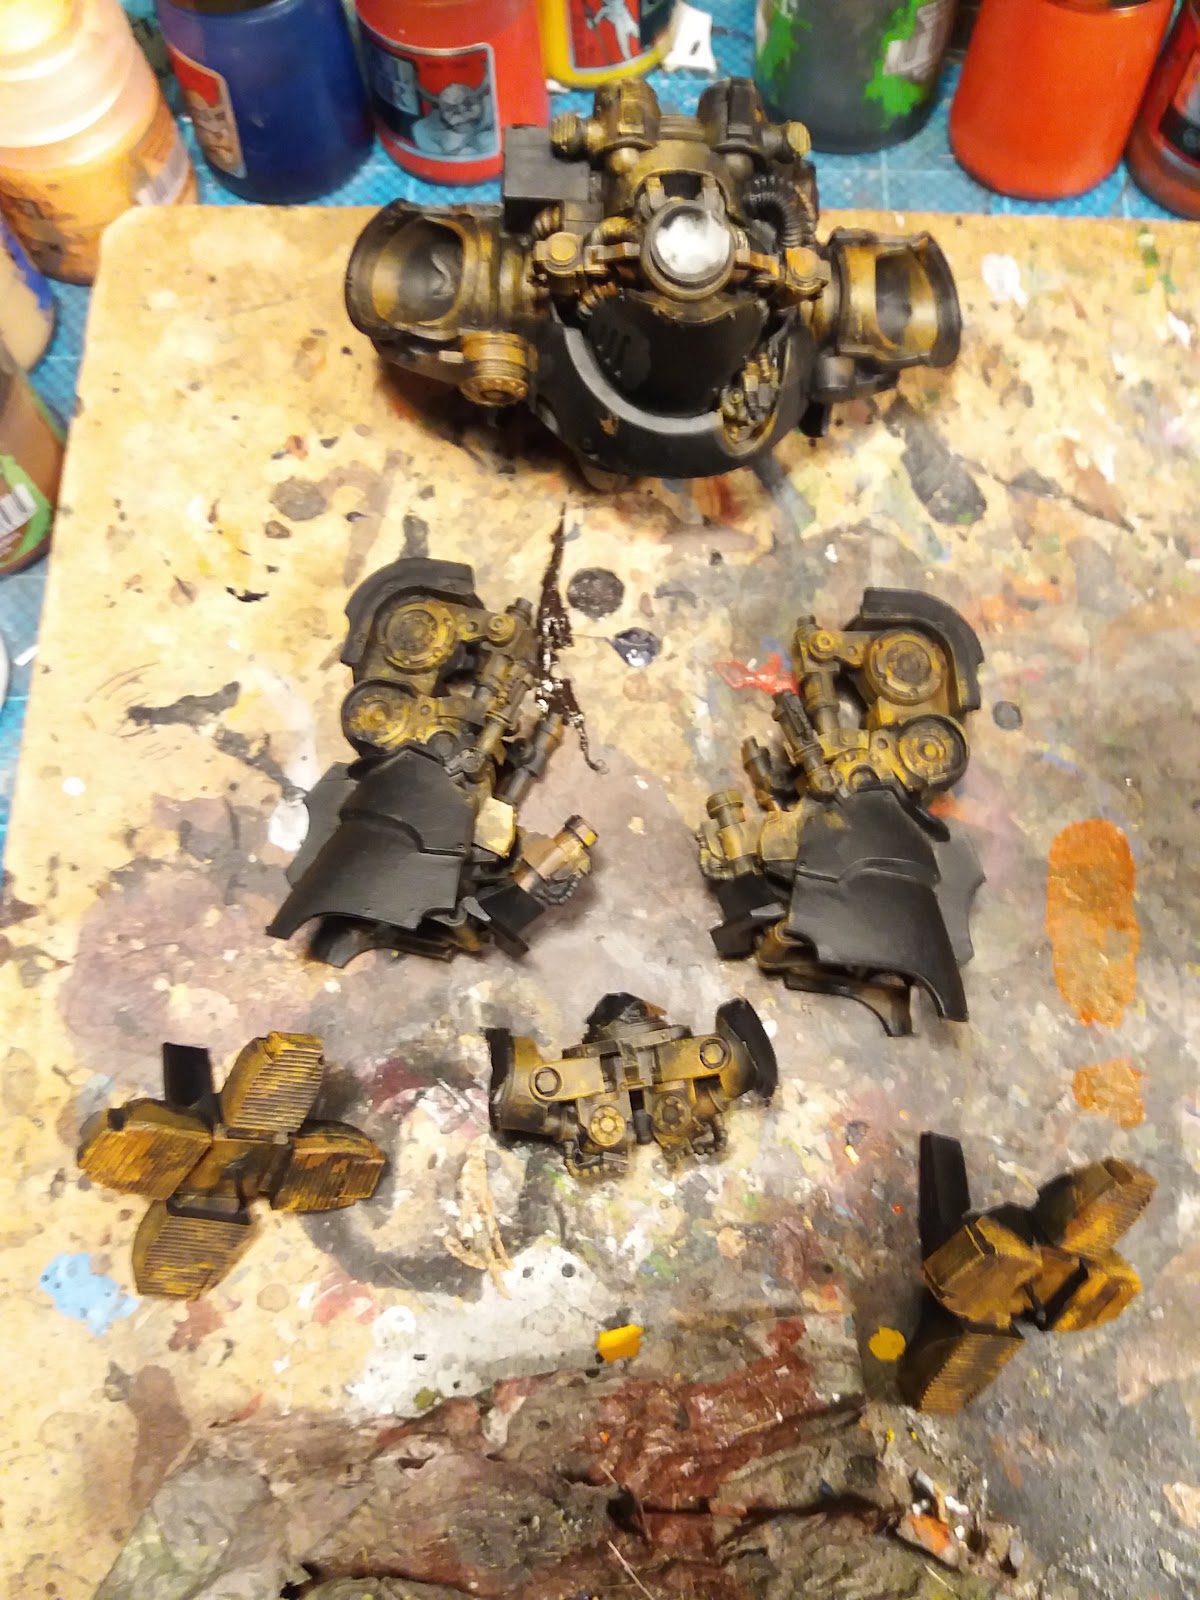
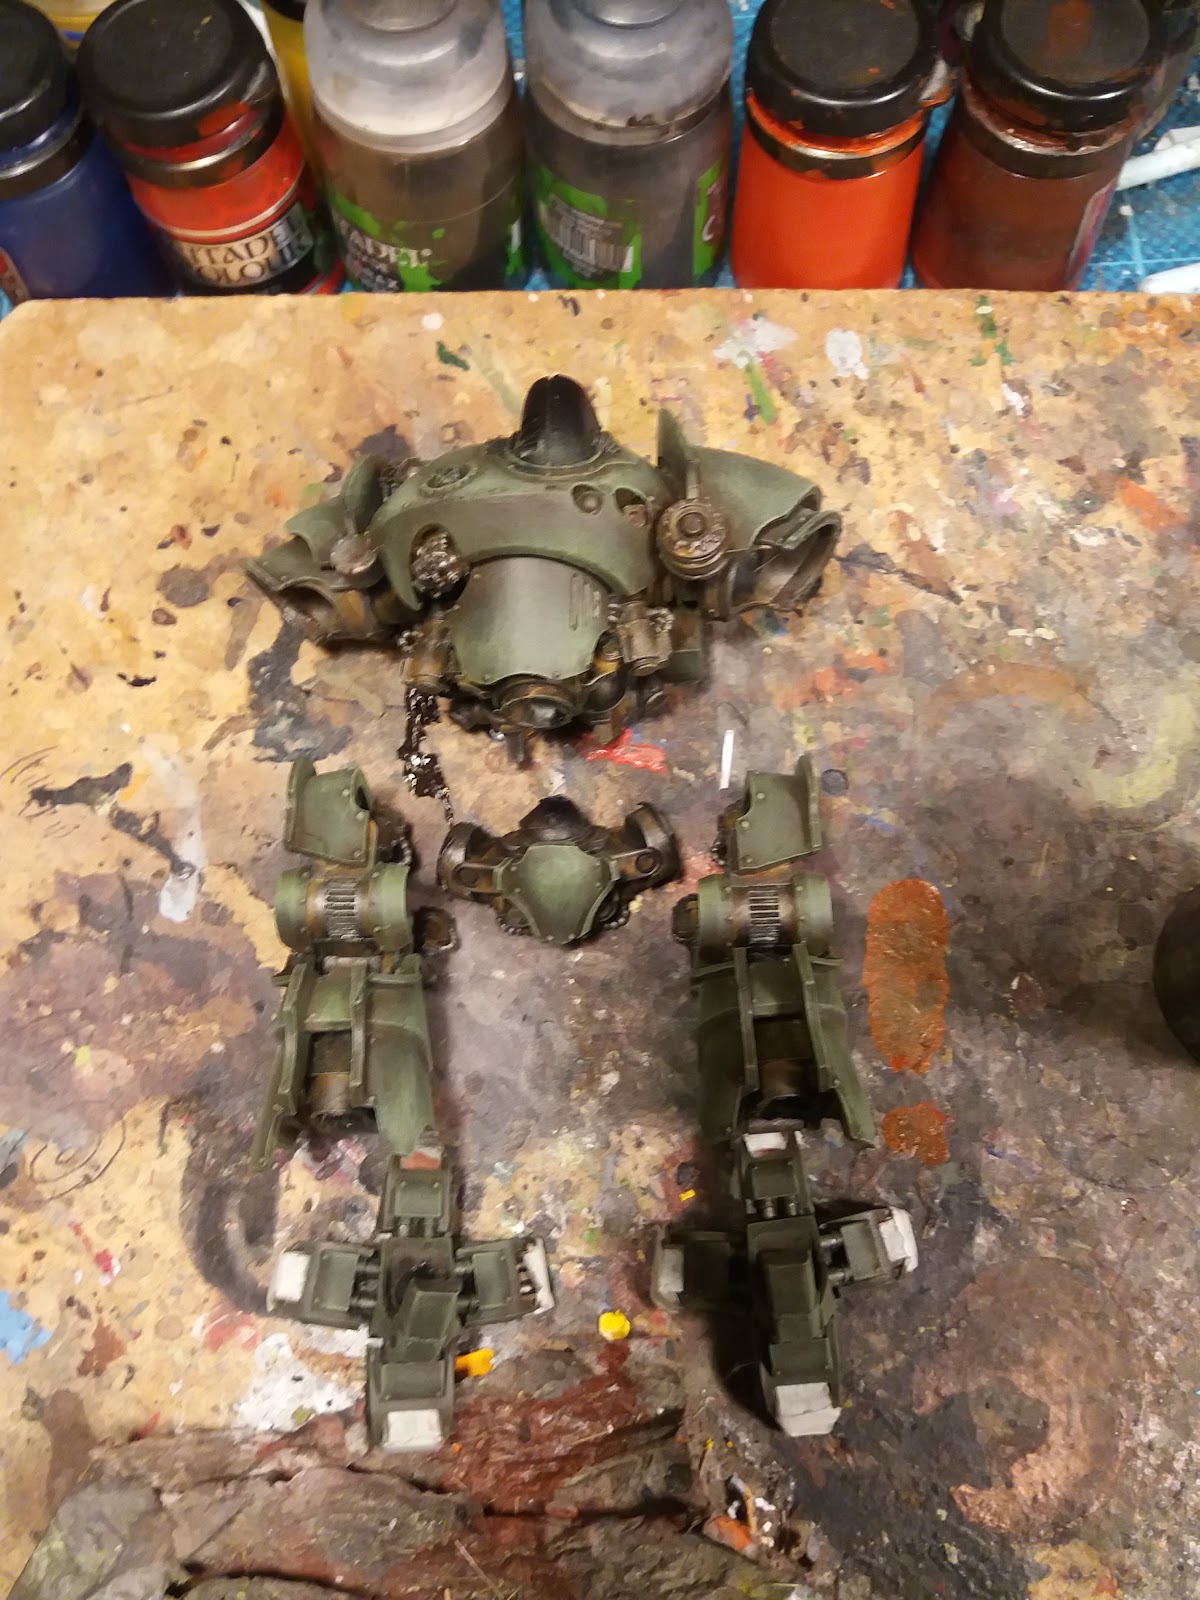
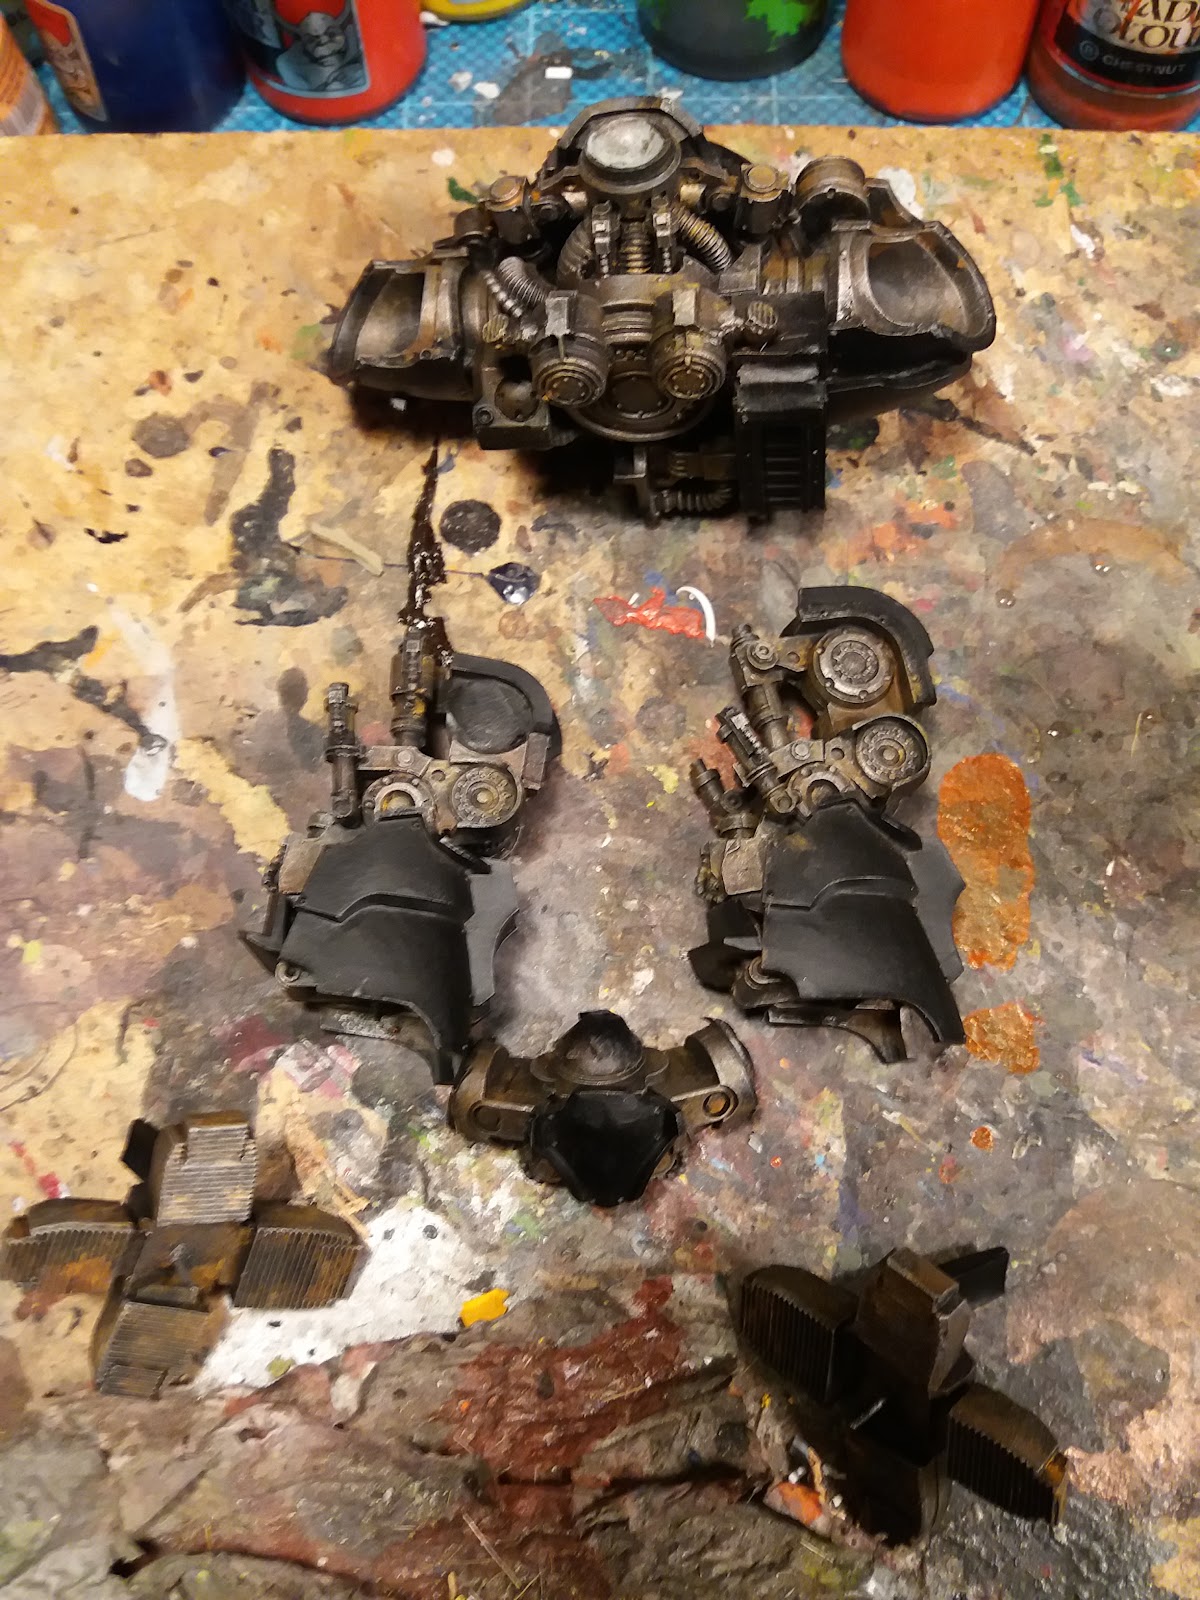
The way I paint the rusted metal is quite fast, the first step only took about an hour. This consists of base painting the parts black (over the spray as it does not take drybrushing well), den adding patches of brown and two tones of orange to the model. This is just slapped on and is very quick. Once dry I drybrush the model with cupper and three tones of white metal. This gives the model a rusted look and could probably be used for rank and file to some medium table top standard. But I could not leave it at that so I washed everting black and then I went in with a detailed brush and some watered down browns and oranges, applying this more carefully to the model in areas where rust would appear. The watered down colours will work as washes and go into recesses and into coroners etc without having to actually paint in all the details. Adding the second layer also give more depth the colours as well as a better blend and smoothness to the layers. Then it was a repeat of the drybrush. Sadly the photo of this stage is not very good as the now much brighter metals (two passes of drybrushing) cause some sort of problem with the camera ship and how it records the other colours.
Once the subframe was done it was on to the panels, and now I remembered how painful it is to paint Forgeworld models compared to the modern plastics. As the torso, legs etc are cast as singel pieces, I can not paint the armour separately as I normally do for my knights (or any other smaller parts which makes it very fiddley to get to all the parts and places). So I hope that I do not spill over onto the already painted parts with the green. After base painting the armour panels green they where washed with brown ink and drybrushed with three tones of green. After the drybrushing the parts are rinsed under a water tap at full pressure to wash away any lose paint dust. This prevents icing in my experience, which is a serious problem considering the many layers of drybrushing I use.
Once dry I will ink everything again and do another run of green drybrushing but that will be another day. Hopefully I will manage that tomorrow so that I will have the main body and legs done for the Friday summary of the first week. Second week will be painting chevrons etc onto the armour and chipping. I will also probably start the base work on the arms and weapons which will pretty much be the same as for the body, i.e. a rusted under structure and green armour. At some point I will also need to start the base, but that will probably be more toward the end of the month...