onsdag 1 augusti 2018

Myrmidon Secutors


These Myrmidon Secutors have been hanging around in a drawer for a couple of years (since 2015) and I decided that it was finally time to get around to them (also my wife said I could not order more from FW unless I finished what I already have). The sculpts are a bit odd compared to most other figures that I have from FW in that they are mostly one big, highly detailed clump of resin. Also the design with a "base/scenery" on the model itself feels a bit odd. It was also not apparent how the shoulder pads should be attached as the weapon mounts are interfering with their placement. Also the arms holding the axes are very thin and a few of them actually broke. All in all, the models look ok but I do not think I will get more of them as they will be clones and there is only three bodies and very little customization options.

As for paint I considered painting the armor in the Northern Ghost green but I ended up doing it in a rusted metal instead as I think it goes well together with the red robes. It also meant that I did not have to pick out all the cables etc from the rest but could paint it all as one. One thing I have noticed when painting the metal is that the sloppier I am in the beginning the better it turns out. I think it has to do with the nature of metal and that it pics up and reflects colors differently depending on angel, surface structure etc and if the base coverage is to smooth it looks a bit flat and not as realistic as when the base is blotch and uneven. At least if one is going for a non polished look.


There are still some models in the stash that needs to get done so I will try to sneak them in in between my work on the Knights and Titans. I have also started to refurbish Unbearable Desire after having a discussion on TOC about the ability of the Warhound kit to keep a striding pose, but more on that in a separate post.

torsdag 19 juli 2018

Varangian inside


Finally I finished the inside of Vaangians body box. Most of the panels have been done for some time and what was missing was the interior paint job of the box, which I could not finish until I finished the outside (which is also done). I am happy with the look. The chevrons on the edges of the box indicates that the top of the carapace armor can be removed for maintenance of the reactors and internal stuff. Probably not something that is done regularly but I thought it would be a nice touch and be in line with the removable carapace of my Knights. There are certainly things i would have done differently if I would to this again, but since I had no conception about the dimensions, shapes etc on the inside of this model I had to make it up as I went and add things as them seamed to fit, which meant that it is probably not as thought out as I could make it now. Anyway I am pleased with the result, and if I change my mind later on I just need to keep the back lit on to hide it.

After this I only have the secondary weapons and gyros to finish before I have run out of things to paint on this titan. I am currently working on the green stuff for the back but that might take a while to finish. Then it is on to the main weapon systems. I do have some thoughts about some changes for these so I will not commit until the visions clear enough to make well founded decisions. So in the meantime I will work on the last of my three Knights I bought a couple of years back... it will be nice to see it finally finished.

And... there is one final thing to add to the interior of Varangian, I am working on a kitbash tech priest but more about that when it is closer to completion.

So this is it so far...


måndag 9 juli 2018

Varangian and friends, WIP


No major new things here. I have been trying to finish the body box for Varangian, but there are so many details and as soon as I think I painted the last thing I see something I have missed. I have worked on the shoulders, finishing of the chaos growths. I have been working on the rear platform, painting the door, lights, buttons etc. I have been painting the bottom of the body box. I have also started painting on the upper arms. I am not sure about the yellow head lights as they are VERY bright, color wise, compare to the rest of the model, but I will leave them for now and comeback to them later and make a decision.

Now I just need to finish the arms, get the support weapons painted as well as my Mechanicum guards for the back platform. Then I am out of things to paint for Varangian before I finish up my green stuff work. A major thing here is to get the back done, which is kind of problematic as I do not know exactly what it should look like. I had some ideas about two "dragon skeletons" draped over the cooling ridges, but I am not sure that I can sculpt it and how that will work with the void shields. I should however soon be able to start painting the shoulder plates as they are mostly done (has been for a while).

To get some variation I have also finished my second Vertus Praetor as well as the final Castelax. And I am trying my hand on some FW myrmidons, not to be confused with my Myrmidon Walkers, even if they are big for being "human". I have also to Skag Armigers to work on. The pilots are mostly done so I can finish up the cockpit build and start wit the exterior. There is also a castigator in a bucket with sop water so I think I have things to do when not working in the garden. Who said vacation was for resting?


måndag 25 juni 2018

Varangian guard and arm weapons WIP


Haven't had much time to work on Varangian, or any other models lately (nice weather and a large piece of land) but I have managed some progress small progress here and there. I am currently a bit unfocused and are working on several projects in parallel which is not helping. The release of the knight codes and associated models have my brain working overdrive with conversion ideas which is definitively not helping me stay on target.

Be that as it may, I have finally gotten over on major design hurdle on the Varangian, how to attach the arm weapons. I have seen some different designs on different fora but nothing that got struck me as how wanted it done. Since the weapons are quite heavy and if I am posing the arms at some stress position this will put a lot of forces on the joints. One thing I liked from my excursions on the internet was to reinforce the resin with a metal tube to take the forces from the screws or pins if using this attachment method. However, I could not find any suitable tubing for a reasonable price. The closes I got was breaklines but these were only sold in 5m lengths and up. In the end I found what I think is a neat solution, some bushings with a 4 mm clearbore that probably was not intended for this use but thy fit perfectly and will help protect the resin edges from shipping or cracking. The pins were made from M4 threaded pin that was cut to length with some endcap nuts. By tightening the nuts I squeeze the weapon lip in the arm braze so that I can set the angle of the weapon relative to the arm. I hope this will hold up. Anyway, it is a relief to have decided on this so that I can move forward with painting of the upper arms.


Apart from this I also had what I think was a small epiphany the other night. I have not been really happy with the rear platform and especially the railing. The scale has been of somehow. So I thought that if I ad some guards to hold the platform from boarders it might give it a bit more life and a feeling for scale. I remembered that in the baneblade kit there were some commander bodies standing in a non moving pose and that there were some belt feed heavy stubbers for shooting over the sides of one of the baneblade builds. So I thought that a combination of the commanders, some skitarii helmets and heavy stubbers would look cool on the back platform. However, the railing was to high to get the guns over in practical way so I decided to cut of the top rail and shorten the "legs" a bit to get it more in line with a waist high railing for a human soldier. And by just doing this, suddenly the platform did not look so off as before, adding the gunners then was just topping on the cake. I must say that I am really happy with how it turned out.


Not much painting, or much building but at least I have made some design decisions that will help me move forward, and as it is holiday time I will have some more time to sink into this.


onsdag 13 juni 2018

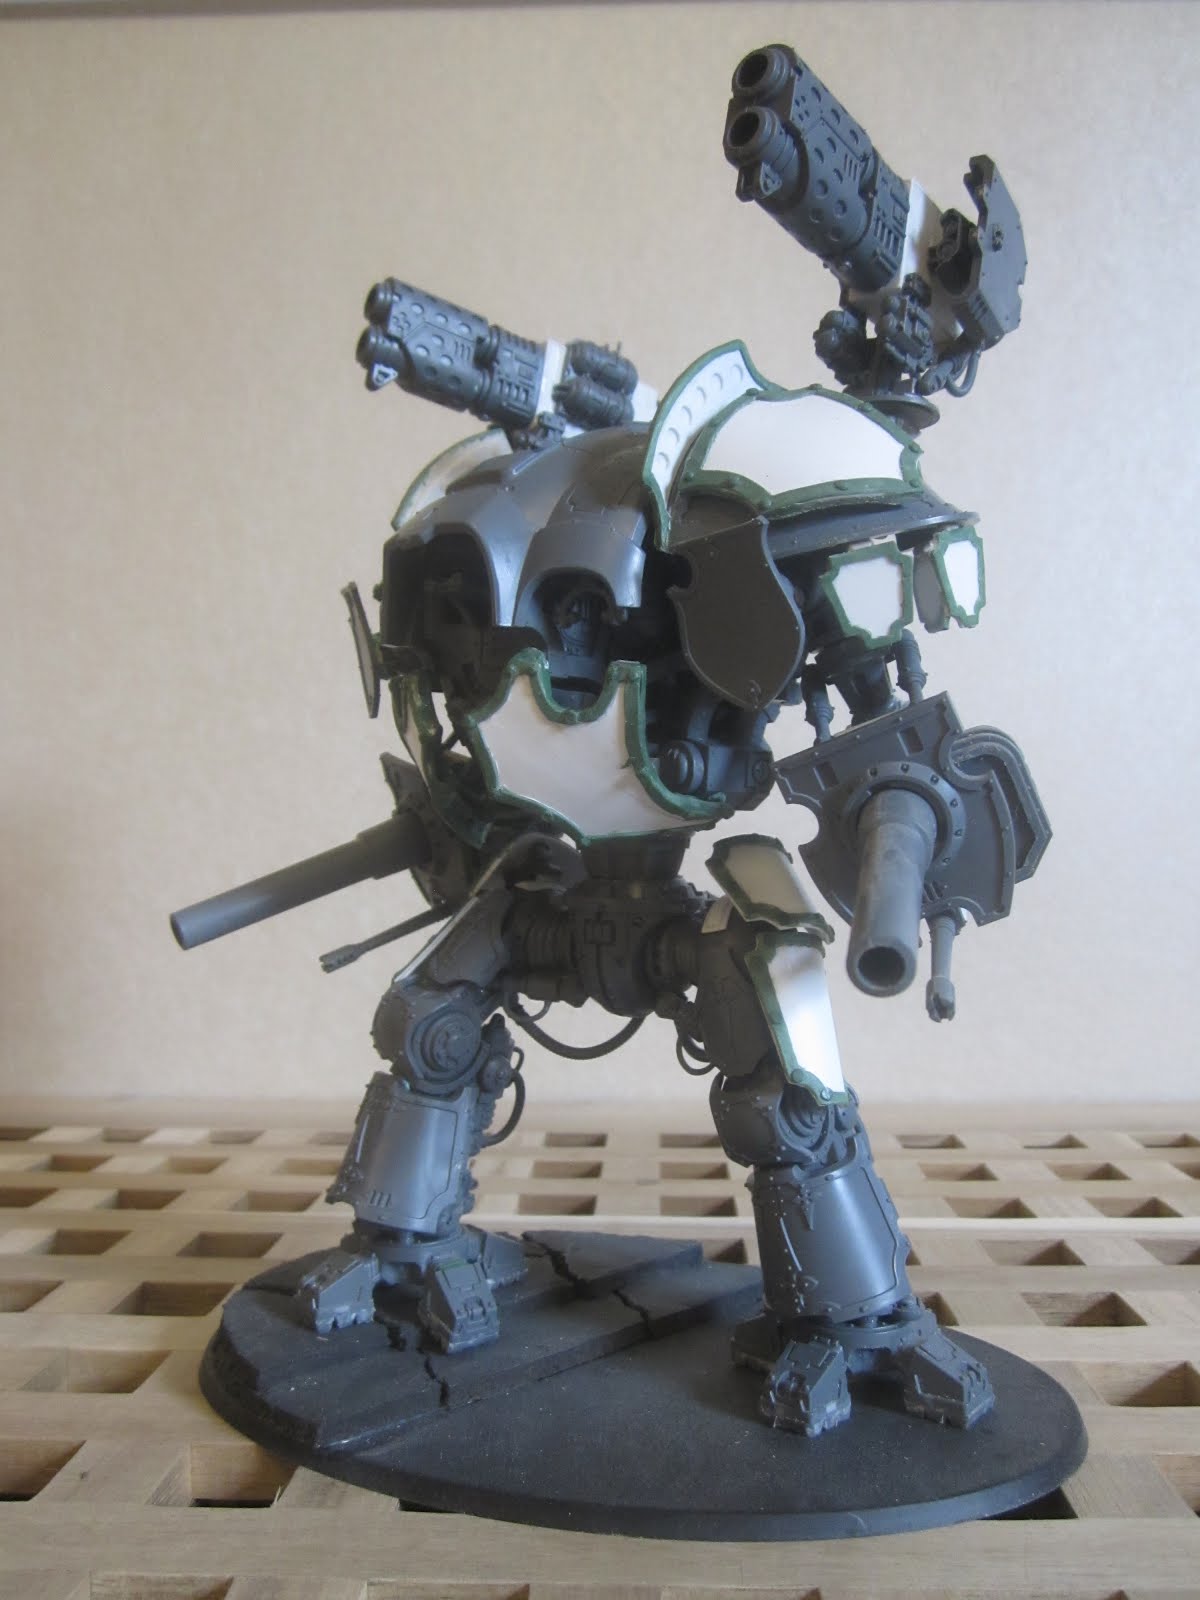
The Skag-Valkyrie and Warlord Knight


I have started a new small project, the "Skag-Valkyrie". When the Armiger-class Knights were released I decided that a small banner of fast hunters would make an excellent addition to my growing Knight host. And since these Knights are inducted into the Northern Ghosts I thought that I would call them Skag-Valkyrie to keep with the norse naming that I use for my titans (Varangian, Joluns Modh, Uthola and Ylgjar Ergi). I have not given the Armigers their individual names yet, nor have I done so for their larger cousins but I am working on it. That as well as some background etc. I will see if I make a small series of posts, one for each Knight, later on.

Well, apart form thinking about cool names to give to small plastic models I have also been working on on the plastics. Off course I needed an interior also for these Knights, and since they are Valkyries the pilots needed to be female. I did not have any seated models left (I used all my sentinel pilots for the last trio of Questoris-class knights) so I was looking through my old sprues to see if there were any suitable candidates for some conversion work. What I found were some very old Dark Eldar plastic models form the 3rd edition (?) 40k starter set. These had some female upper bodies and the legs were skinny enough to look easy to get into a sitting position. So, some cutting later I had the start of some pilots. This was complemented with some heads from the Sisters of Silence sprue together with some arms. Now they need some green stuff to get them into shape but apart from that I am really happy with how they turned out.

Next I needed an interior for the pilot to sit in. Since the upper body of the Armiger-class is much smaller than the Questoris-class I decided to go simple and just make a combined "wall and chair" sort of thing and mount it to the bottom of the torso instead of making a complete interior with floor and all (as I did for the other Knights). They also got a dash board and a viewing screen to top things of. For the "engine" I used one "turbine" from the same type of jump packs (maxmini) that I used before for the larger Knights, all to keep with the theme.

I also cut out the hatch so that it can be removed/opened as well as opened up the air vents on the back. So far I have only made these changes to one Armiger and I am using this to fit all six of the interiors I am building. I want to see that it turns out ok before starting on any other kits. In the end there will be two Warglaives and four Helverins.


I have also been working on my last Questoris knight, adding some extra armor plates etc. With the additions I have made I would guess it is more in the Dominus-class size but I do not have one of those to compare with. But next to a "regular" questoris you see the difference. There is still some green stuff work to do, mostly chaos growth and so, and some missing plastic bits, but I should soon be able to start painting.


tisdag 5 juni 2018

Varangian bodyboz and inside WIP


For the last week or so I have been shipping away, quite literally, on the body box. The weathering and details take forever. One thing that I have done which I am not sure is worth it is to paint all the armor attachment points with black and yellow chevrons, some thing that we never be seen but would probably be there. And who knows, I might want to display it with out some of the armor at some point?
Since I am making progress with the outside of the box it is getting time to start thinking about the inside. The internal panels have been done now for some time but I have not put them in as it is a very tight fit and I do not want to risk the paint job more than necessary. But to know what to paint on the inside I needed to do at least one fit to mark the areas that will be painted. I am quite happy with how it looks with the panels fully painted in there. But these will also only be visible at special occasions. I am really looking forward to finishing the top box as it is a pain to paint. It is a bit on the large side when it comes to all the detail painting.


söndag 27 maj 2018

Varangian WIP


I have finished some more of the panels on Varangian but I am no ware near finished. This model is just a beast, there are so much things to paint. I do not understand how people can pain this thing in just a few days. Apart from that I am happy with how the torso shields turned out. The wings sweeping back along the body really gives it a more sleek look. And the neck armor really works with out the inner part. Now I just need to finish all the pipe work on the body before I can start with the interior. And as far as the interior goes I have finished all the panels, which I will show in a later post.