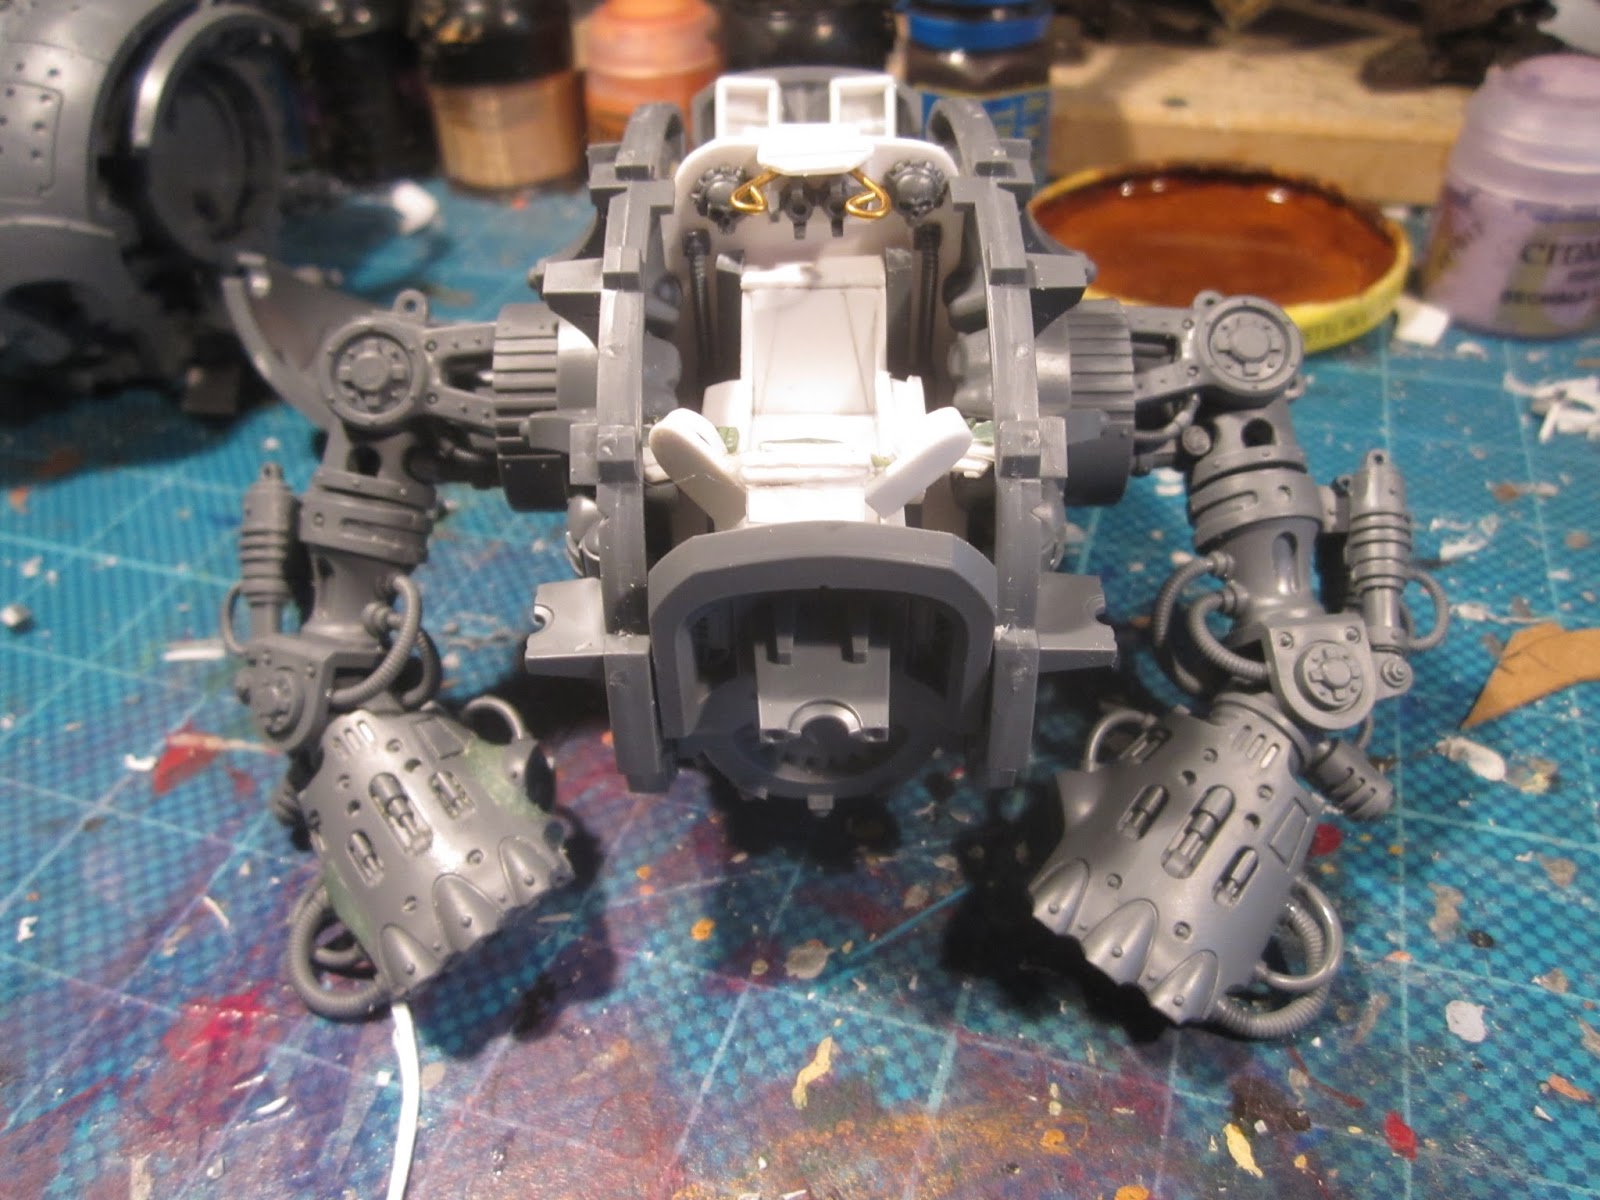
Well, I have not forgotten about this blogg, it is just that I have had a lot of other things to do and once you have been away a few weeks one more week does not seam such a big deal. This time I think it is about three mounts since last time I posted here. It doe also not help to think that you do not have something to share. I have not painted or built something special in a while, just rank an files and not many of these either. I will put them in a post later, but I did not think it was terribly exciting to show just one more skitarii or one more pre heresy Dark Angel.

So to break things up a bit I started a new modelling project in the form of three imperial Knights for my mechanicum forces. I already have one more or less built out of the box except for the interior I built for it. This time I will put more effort into re-posing, alternate weapons load outs, details etc. This will be designated, the War Lord, the War Dancer and the War Monger. I know that some of these names are also designations for Titan patterns, but somehow the names got stuck in my head so I will have to go with it. These will all have different non standard armaments so they will not be game legal but that is not really a problem.

But first things first. For my first Knight I built an interior, with gas turbines, cockpit, pilot etc. For this I used some part I had in my bitsbox. The problem now is that I do not have any more of these exact bits so I decided that I would try to replicate the interior as well as I can with plasticard and green stuff and the occasional original GW bit that I could find at-least three of. I knew I had three sentinel pilots left over from the Defiler Knights I built a couple of years back, so at least I did not have to sculpt these. I also bought some more maxmini jump packs to stand in as gas turbines in the engine bay (same as in the original Knight). I also found some Cyber Samurai heads from Kromlech that I thought would give the pilots a more chaotic look.


To start out I made some cardboard cut outs to find the right dimensions for the internal floors and walls. Once these where set I cut out three sets in Plasticard and glued them together. The floor is 60x30 mm and the back plate is 40x30 mm. The back plate needs some trimming at the to to fit with the back carapace. I also made an angled plate for the turbines to that they with with the air cents on the back carapace (which will be opened up). I choose to make the cockpit about one fourth of the internal space. This will leave a believable amount of space for what ever is needed to power the Knight. I have seen versions where most of the upper body is used for the cockpit but I think it is not really believable. Well, anyway, once this was set I made some chairs, that developed in to thrones for the pilots. The pilots got new left arms from the skitarii box to operate the throttle or what ever it is that is mounted on the side of the throne (I did not like the sentinel style where both arms operate levers between the pilot legs). I then started to work on some internal detailing in the engine bay, as some radiators, exhaust pips etc. I also started to detail the cockpit with some cables, air vents and so on. Sadly I had no control panels left over so I had to sculpt al screens and keyboards. These are not yet finished but I am well on my way. All in all I am happy with the progress and it resembles what I did before even though it will not be exact replicas. Once I am done with the internal structure I will start working on the outsides which will differ quite a lot between the three Knights as I want them to be distinct, not only having different weapons load outs.


I hope I will remember to take photos and post as I go along.
/Agis


 Once again I find my self building a left arm weapon from a right one. This time it is the rapid firing battle-cannon. Not only is the body of the gun just made to accept the magazine from one side, the original shield is also asymmetric, which would make the guns look out of place if I just build one identical gun and placed it on the other side. Switching side of the magazine was not really difficult and it will just require some GS to fill in the gaps. The shield and the auto-cannon is another matter though. The shield is very hard to convert to get it mirror symmetric so instead I used the shield to the Gatling cannon, which surprisingly is made to fit both right an left arm. This however meant that I could not use the original auto cannons, so instead I use a pair of the back mounted auto-cannons and fitted them to the underside of the cannons instead, All in all I think they look fairly similar.