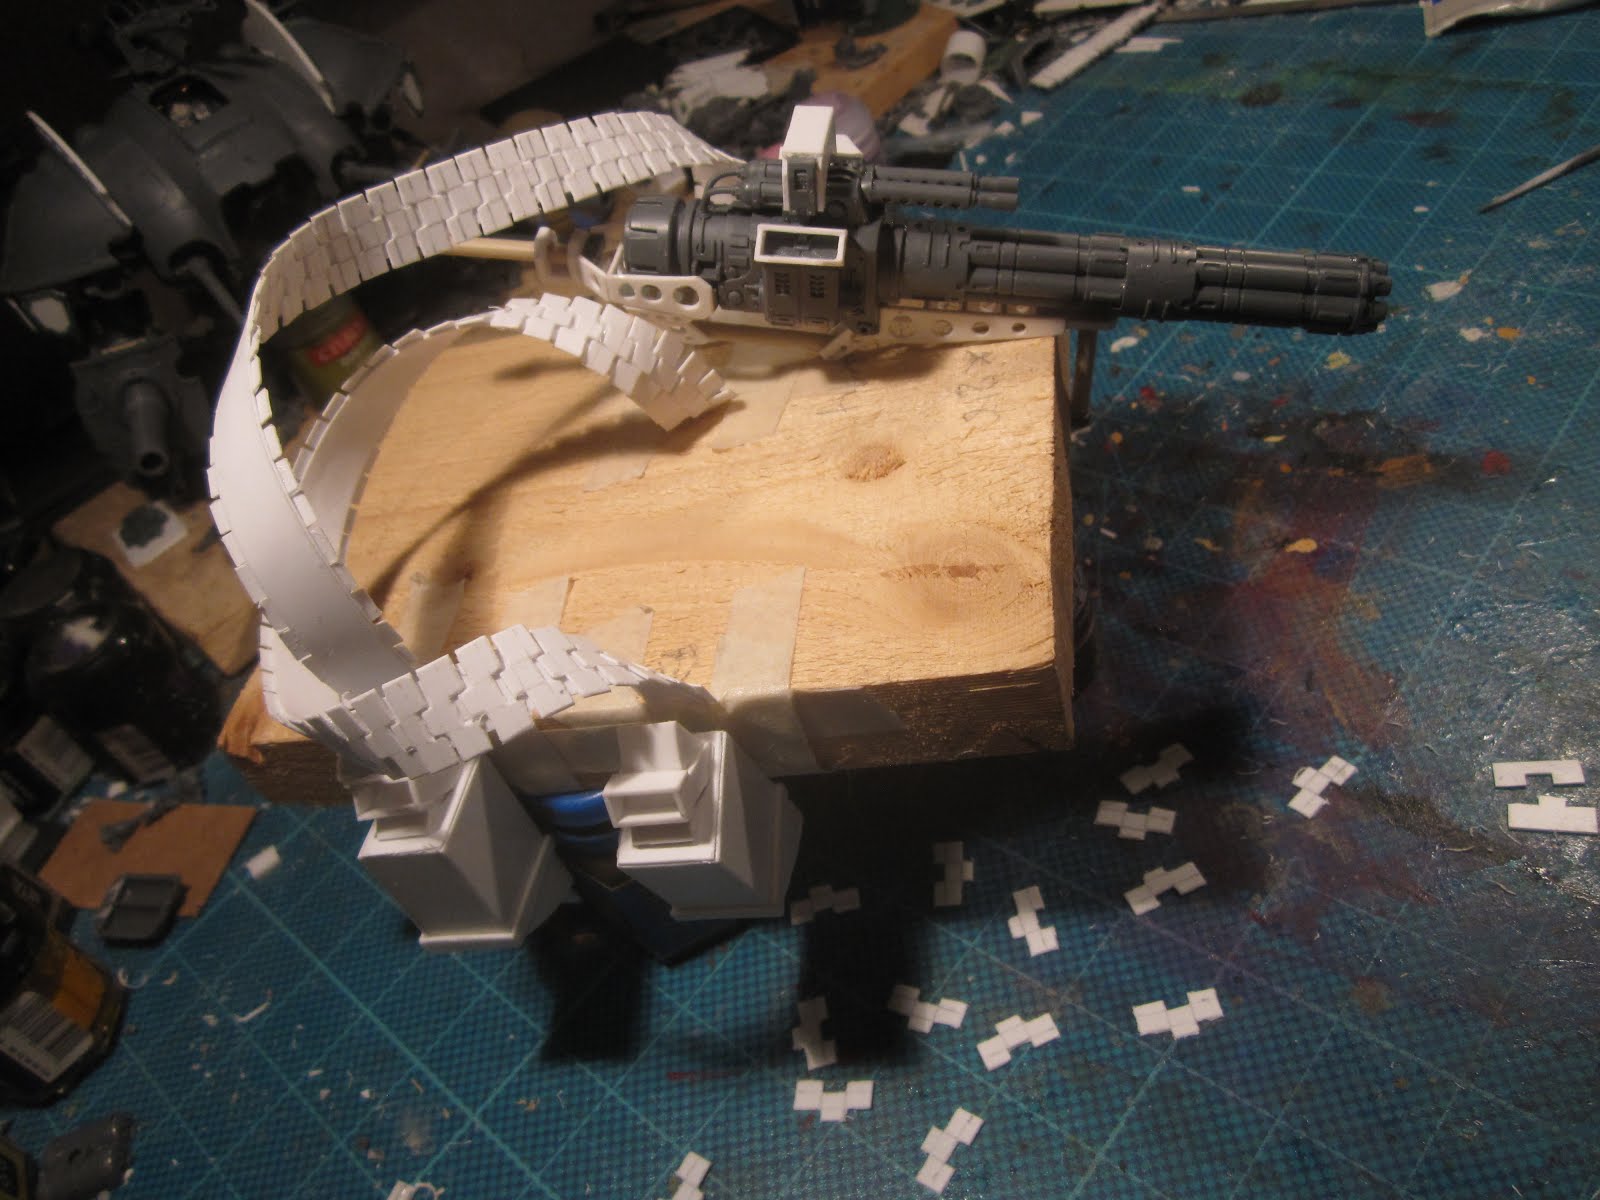
If I ever suggest that a linkless belt-feed looks cool on a model and that I need to build one, stop me! However, for the "Gattling" carrying knight I already decided that it would be nice to have some linkless belt-feeds from the gun to ammo crates on the back. FW has this for the Castigator so I thought it would be ok. But how do you make these from scratch? One could just try to make something out of GS or use some thicker board that you could bend into shape. However, these things will be a large part of the model and has to look like they belong and have enough detail to not look out of place. So after some initial trial and error I came up with the idea of using a bi-layered plasti-card template to define the form and then cover these in segmented plates and fill the interior some how. So far I have only managed to do the template and the outer segments, since this step takes a ridiculous amount of time. The segments are first draw on a piece of plasticard, then each one is cut out and filed to smooth the edges. Each band is about 25 cm and the segments are 0.5 cm so there are about a 80 segments in total on the two belts.
When I did the templates I needed something to hold them while they set into shape. I used a piece of wood and measure approximately where to put them in relation to the legs, the gun and ammo crates as they would be on the knight. They are still a bit flexible so I should be able to makes some small adjustments one they are to be fitted to the real knight.
Now I just need to figure out what to do on the insides to make them thicker. I also would like to show two rows of cartridges to match the ammo boxes on the gun.
Well it is not much to show, but they take time to make.


 Well, I have not done much with the knights lately as work and other things has taken much of my time. Instead I went back to some of my fallen/pre-heresy Dark angels and had a look at the colour scheme. I have already painted most of the Dark Vengeance box as pre-heresy or fallen dark angels, they are however snap fits and the wrong armour but I have also started to paint some knights with sword and shield and now that I have the betrayal at Calth box with mark IV armour I thought that I might actually do some real legion/30k variants. I test painted one tactical marine ha few week ago and added some black and white checkers, red stripes etc to give them something that set them apart from any other black armoured legion. However, as time passed I thought that it more and more started to look like a Goff space marine with the checkers and so. As I am quite pleased with the Dark Angels knights I thought I would change the tactical marine to fit the scheme, which included some bone white fields with red detail. I also went back to one of the assault marines and added the same touches of bone white and red to tie them into a common and distinct theme. I think it works and it also ties in to the medieval knights theme of the legion.