söndag 24 november 2024
Taurox 02
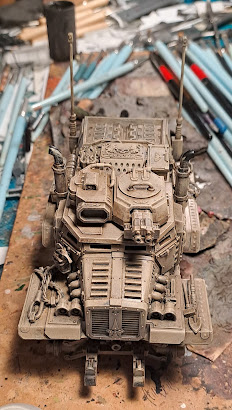
This week has been a mix of building on Opus and getting some base layers done on the Taurox. So far it has mainly been drybrushing and washing. Not to much to say really. I am happy with how it is turning out. Once I am done with theses layers I will go in with some sponge weathering and add rust and grime. I think it will look great with the other Desert rats.
söndag 17 november 2024
Out rider smurfs
After finishing the rats monster truck and the Dreadtober challenge I needed to clean my pallet and just do something quick and dirty. This meant bringing out the smurfs. I do not know why they have become my go to army for cleansing. I guess it is because the paint scheme is really really easy and all the figures are from the starter kits so they are either pushfit our monopose, so there really is no option to modify them , just build as is and paint. As such I am not expecting anything great from them. This time around I played abit with the way I paint them. I still start out with a black base coat and drybrush cupper and white metals until I have a nice zenital highlight and somewhat smooth blends from dark to light. Then I used two shades of blue instead of one when washing them. Previously I have been using either Kantor blue or Altdorf guard blue. The later gives a bit of a lighter blue shade while the former is darker. I have by mistake used both versions on my normal troops, so they have slightly different shades. But not as different as one might think by looking at the colours. Any way, this time I decided (inspired buy the way I did the Obliteratos), to use the the lighter blue towards the top of the surfaces and the darker at the bottom, giving a more pronounced shading effect. I think it worked out great and this is probably how I need to do it with this technique on larger models. I will also try this on some troops later to see if it improves how they look.
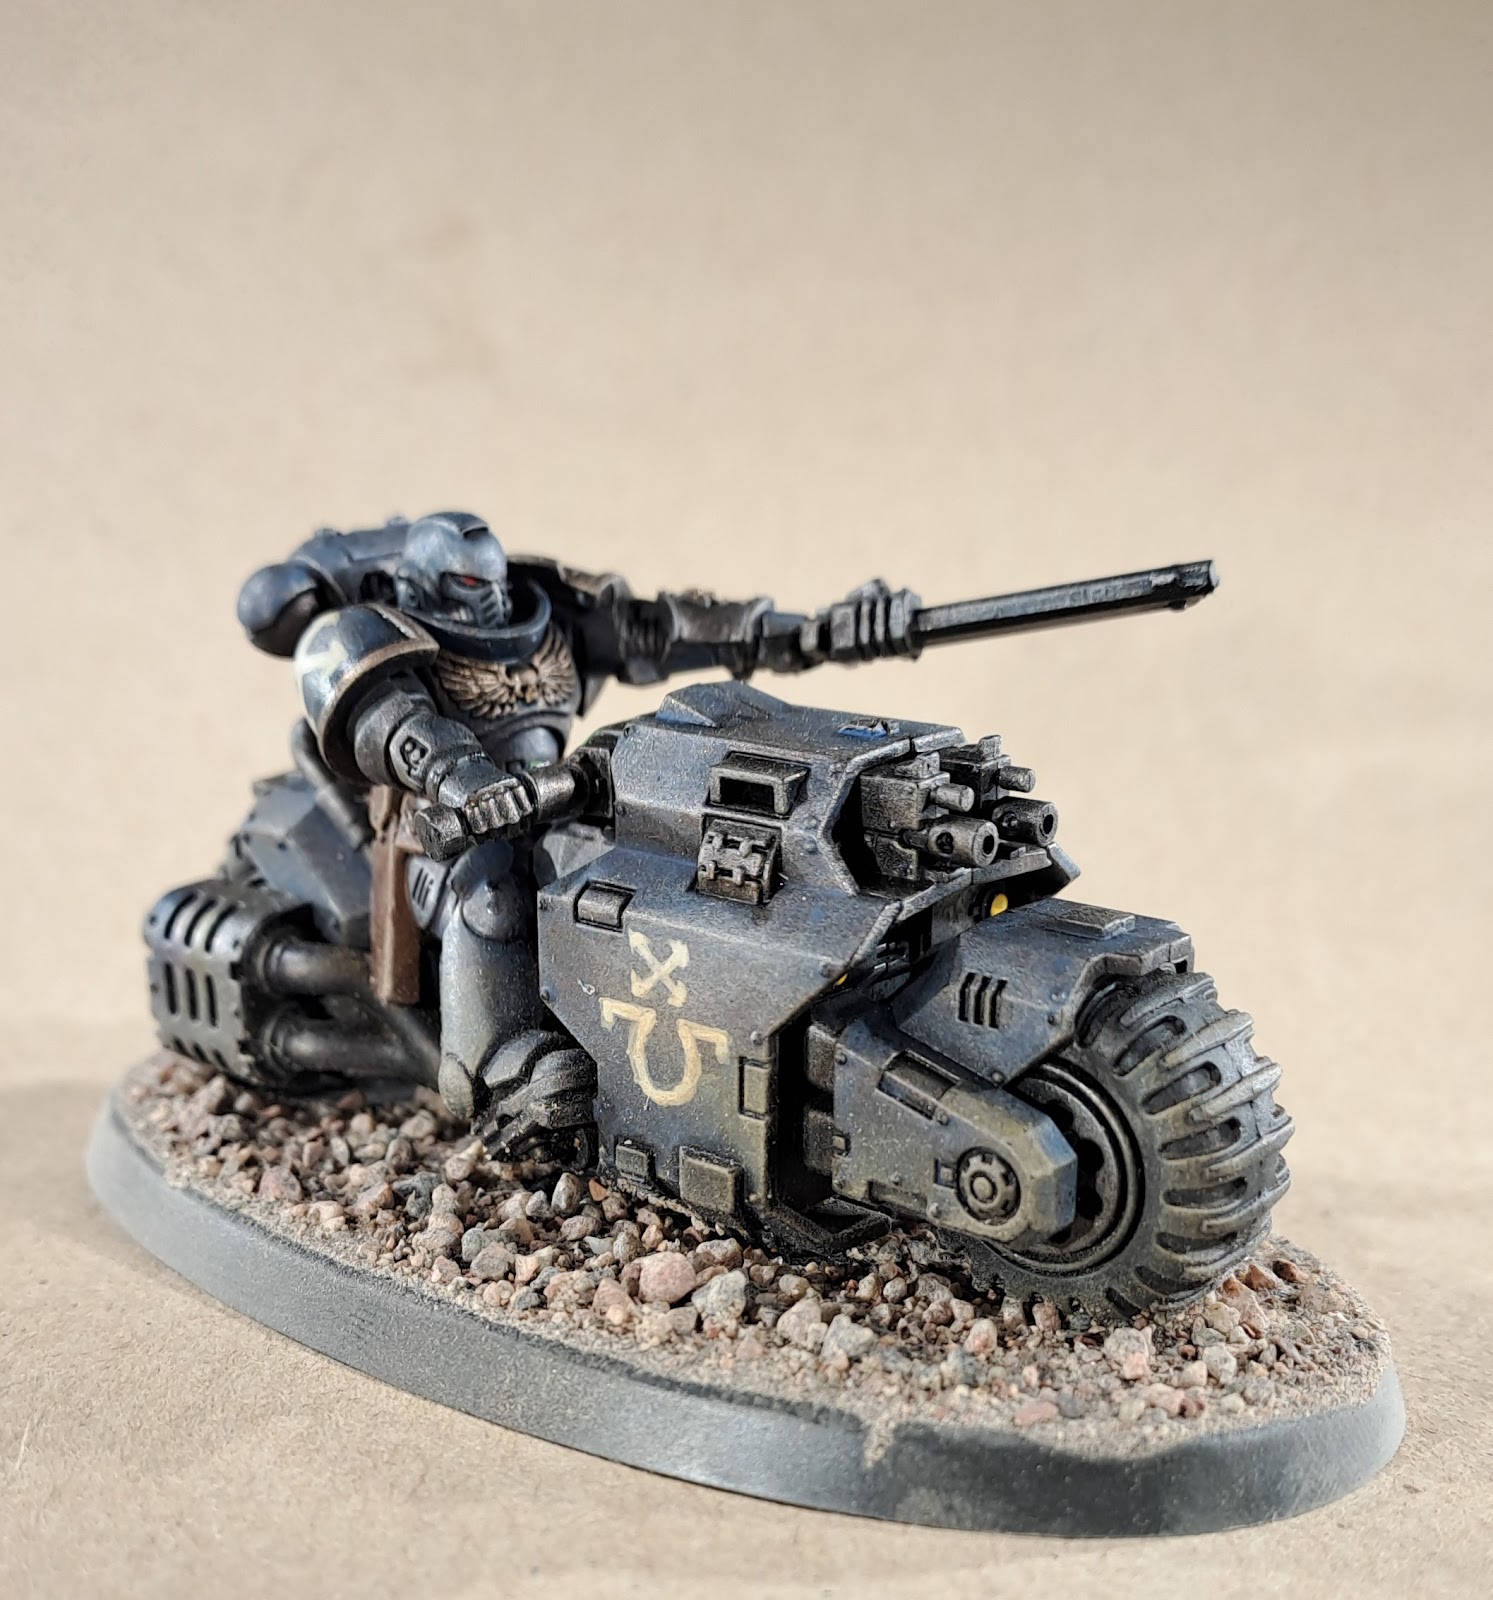
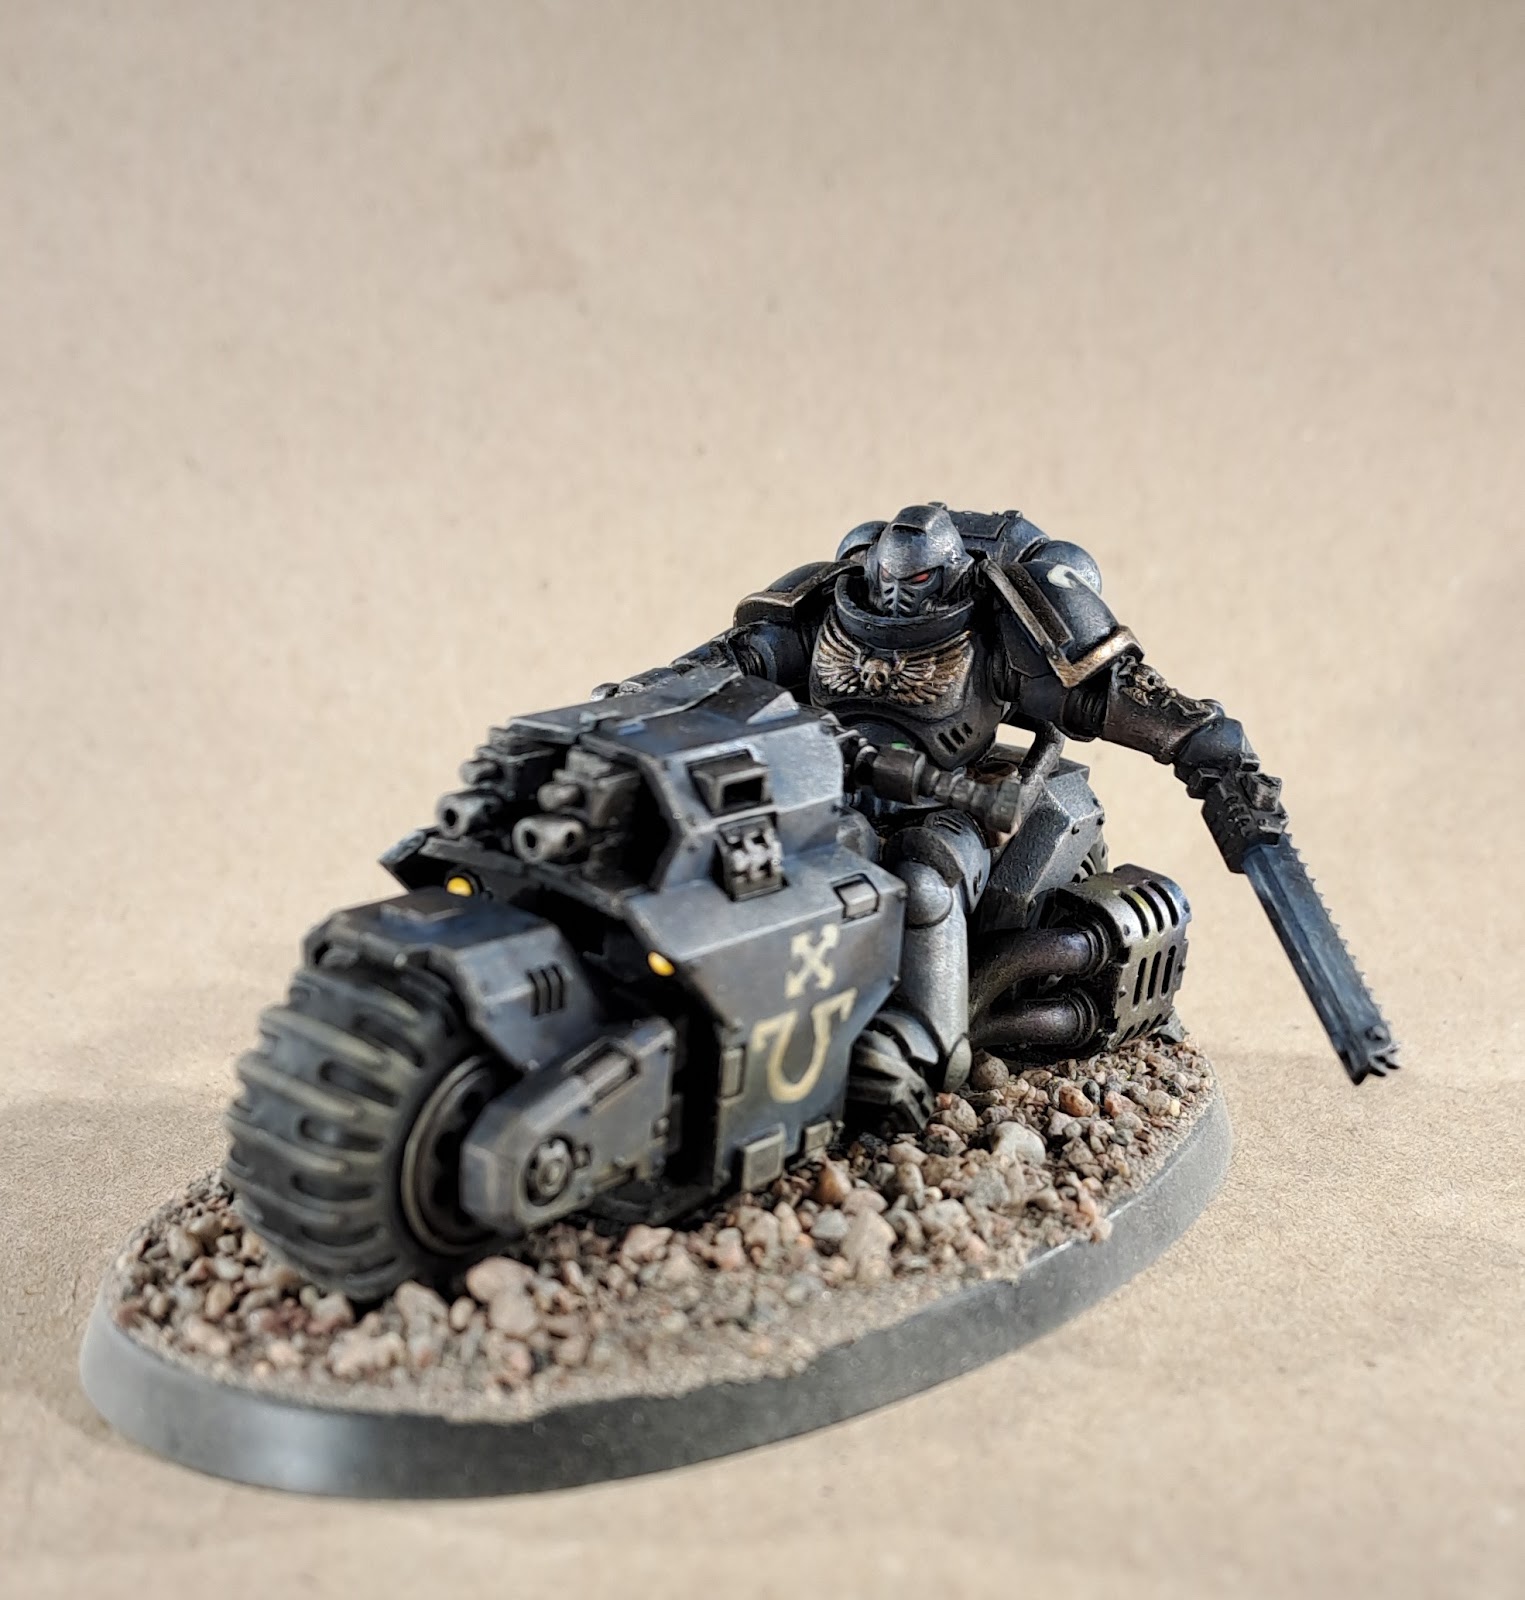
I did however mess up the freehand on these and since the base colours are layered up I cant repaint with out restarting the whole model. I really need to get a new brush, the Dreadtober challenge and painting with dried up paints really messed it up. But from some distance they are ok. I don't know why I do not use transfers, but I guess it is some though about getting better at this free hand stuff.
tisdag 12 november 2024
Wheeled Taurox for the rats
Hi there. So I have built something completely different again. This time in the form of a Taurox for my desert rats. I have been super keen on building one of these since the Taurox was released and people around the net started converting them, getting rid of the track units and adding proper wheels. I know there are some conversion kits out there and I have thought about buying some for some time. But I never got around to it. But I really wanted to do this at some point so when I decided to do the Deseret rats I bought the start collecting box as it both contained the Scion models but also a Taurox for a decent price. I painted infantry some time ago and added a squad of bikers based on the Necromunda models. But the Taurox just sat there and as I could not commit to ordering a conversion kit and the wheels I bought needed some serious work to get on.
I also needed to extend the body to fit six wheels, one could have cone for two but I like the truck look, and I have a ridge runner to act as a four wheel transport. Vell, that meant adding some new panelling, shifting the roof backwards and making a new filler piece. I also added some interior detail.
On the outside I added some boxes, tow cables and tools just to make it look a little bit more cluttered. I also gave it two areals for long-range communication and a banner. On the back I mounted the missile rack but turned it upside down to show the structuring on the missile tubes. The front got a dozer blade, which strangely fit perfectly with my trimmed width of the Cargo-8 undercarriage.
All in all I am very happy with this version and I am looking forward to painting it. Just need to finish some ultra smurf outriders that are nearly done.
söndag 3 november 2024
Fighter bomber
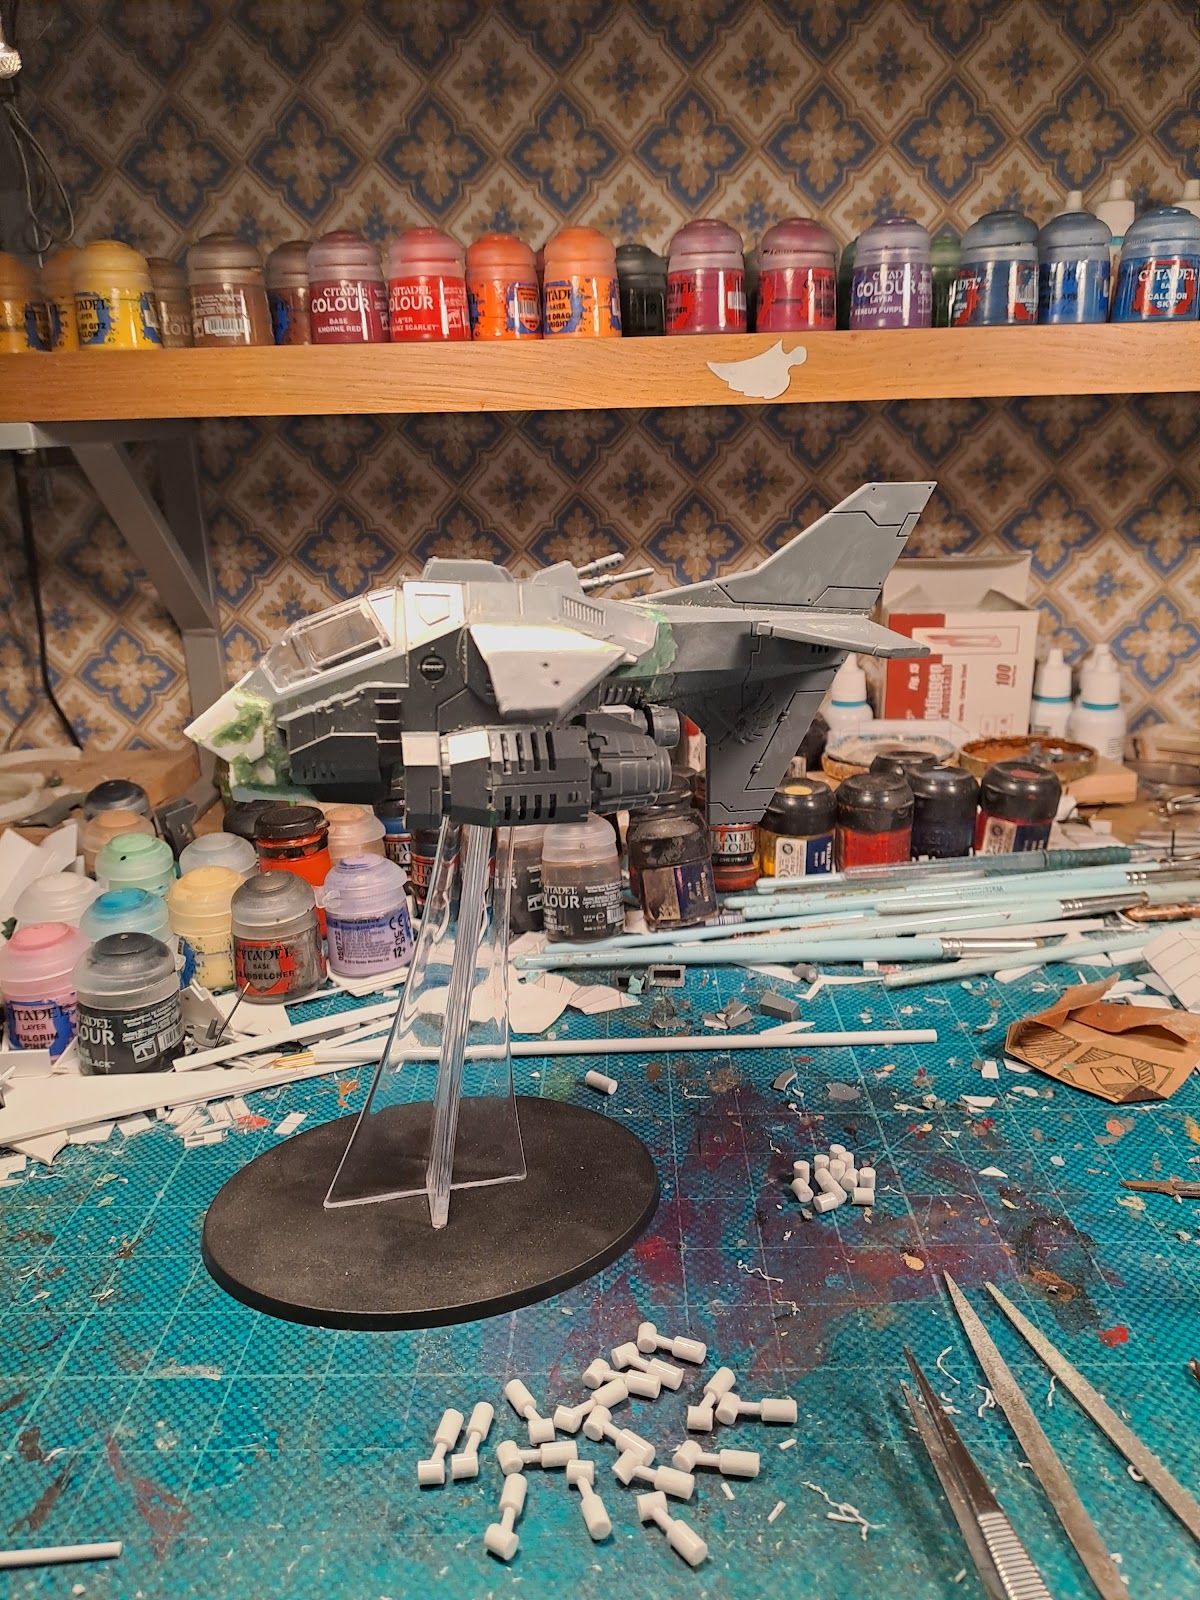
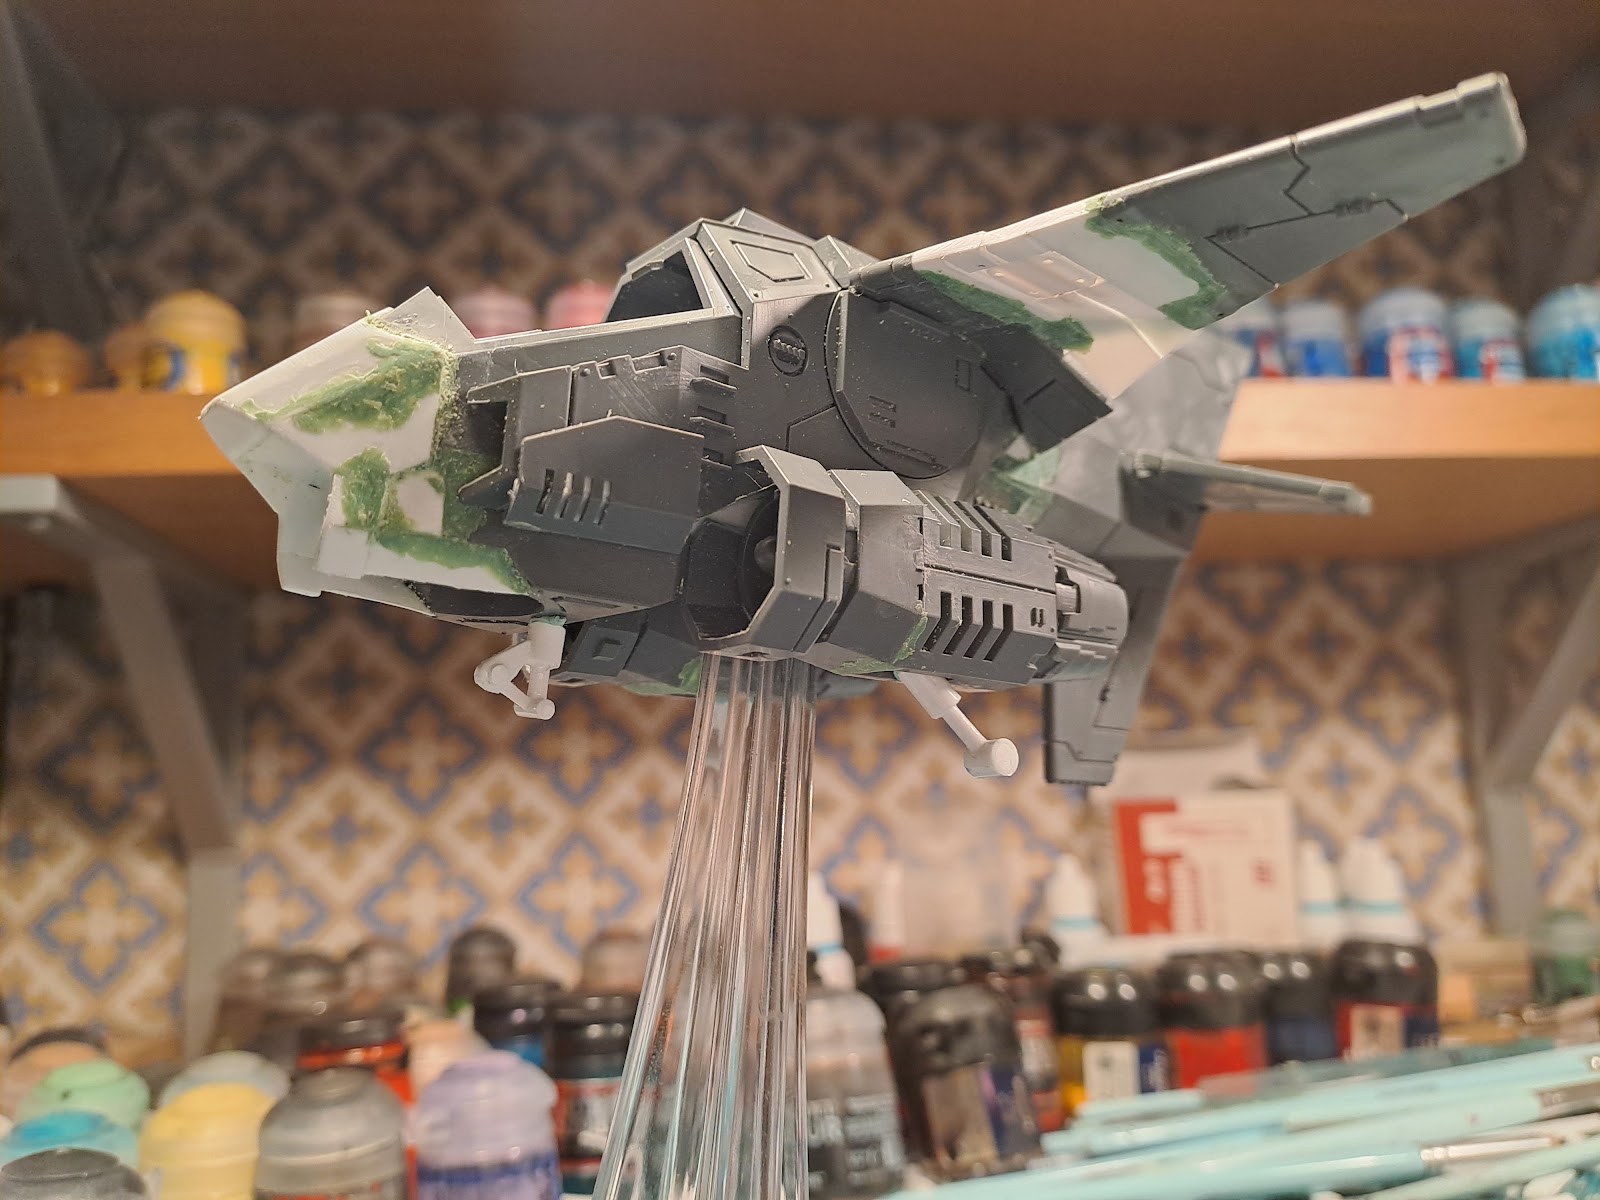
Sometimes it is best to re-do stuff rather than keep on trucking. In this case I re-did the foldable wings for the fighter bomber /CAS fighter for the Opus flight wing. Originally I had a singel large joint in the wing. But since the wing is quite thick it did not fold on top of the fuselage with out major carving around the joint. Instead of a singel joint I am now using a double joint that allows the wing tip to fold back tighter to the wing, giving the air craft a tighter profile with the wing folded.
At the same time I also straightened the wing out so that the leading edge of the wing is now perpendicular to the body instead of being swept slightly forward. I also added a slope to the back edge of the wing to tie it in with the profile of the original part that attaches to the fusalage. This make the aircraft look a bit more like a modern aircraft an not so alien/sifi.
So all in all a worthy undertaking, even if it took way more time to do than I thought.
When I was all worked up about this I also decided to make the nose cone. I had already mocked it up with paper so I know pretty much what to do. Once I stated to see the general shape I adapted it a bit and added some lower panels creating a "mouth" structure below the nose. This will be filled with the main nose gun, just need to figure out how to fit it. I am really happy with how it turned out, it looks like a hybrid of the A6 intruder and the A7 corsair, just as intended.
I also decided that it was time to start the undercarriage project and set about making some wheel hubs with shock absorbers. I think they turned out great, Now I just need to see how they look with wheels. I also need to decide if I will make the undercarriage permanently deployed or if I will make it removable for flight. I am a bit uncertain about this as the risk is that they will not be sturdy enough or that I will lose them at some point.
The foldable wings works like a treat and I can stack the craft either along the side or just cram them in at the back.


