So it is time for the last post of the year and it will be about the Crusader. I did get the Gaunt's ghosts box for Christmas from the wifey but since I built some custom bases for them I have not had time to paint anything. I also have been working a bit on Opus, taking the Dremel to some parts, but these are not yet put back together so there is nothing to show.
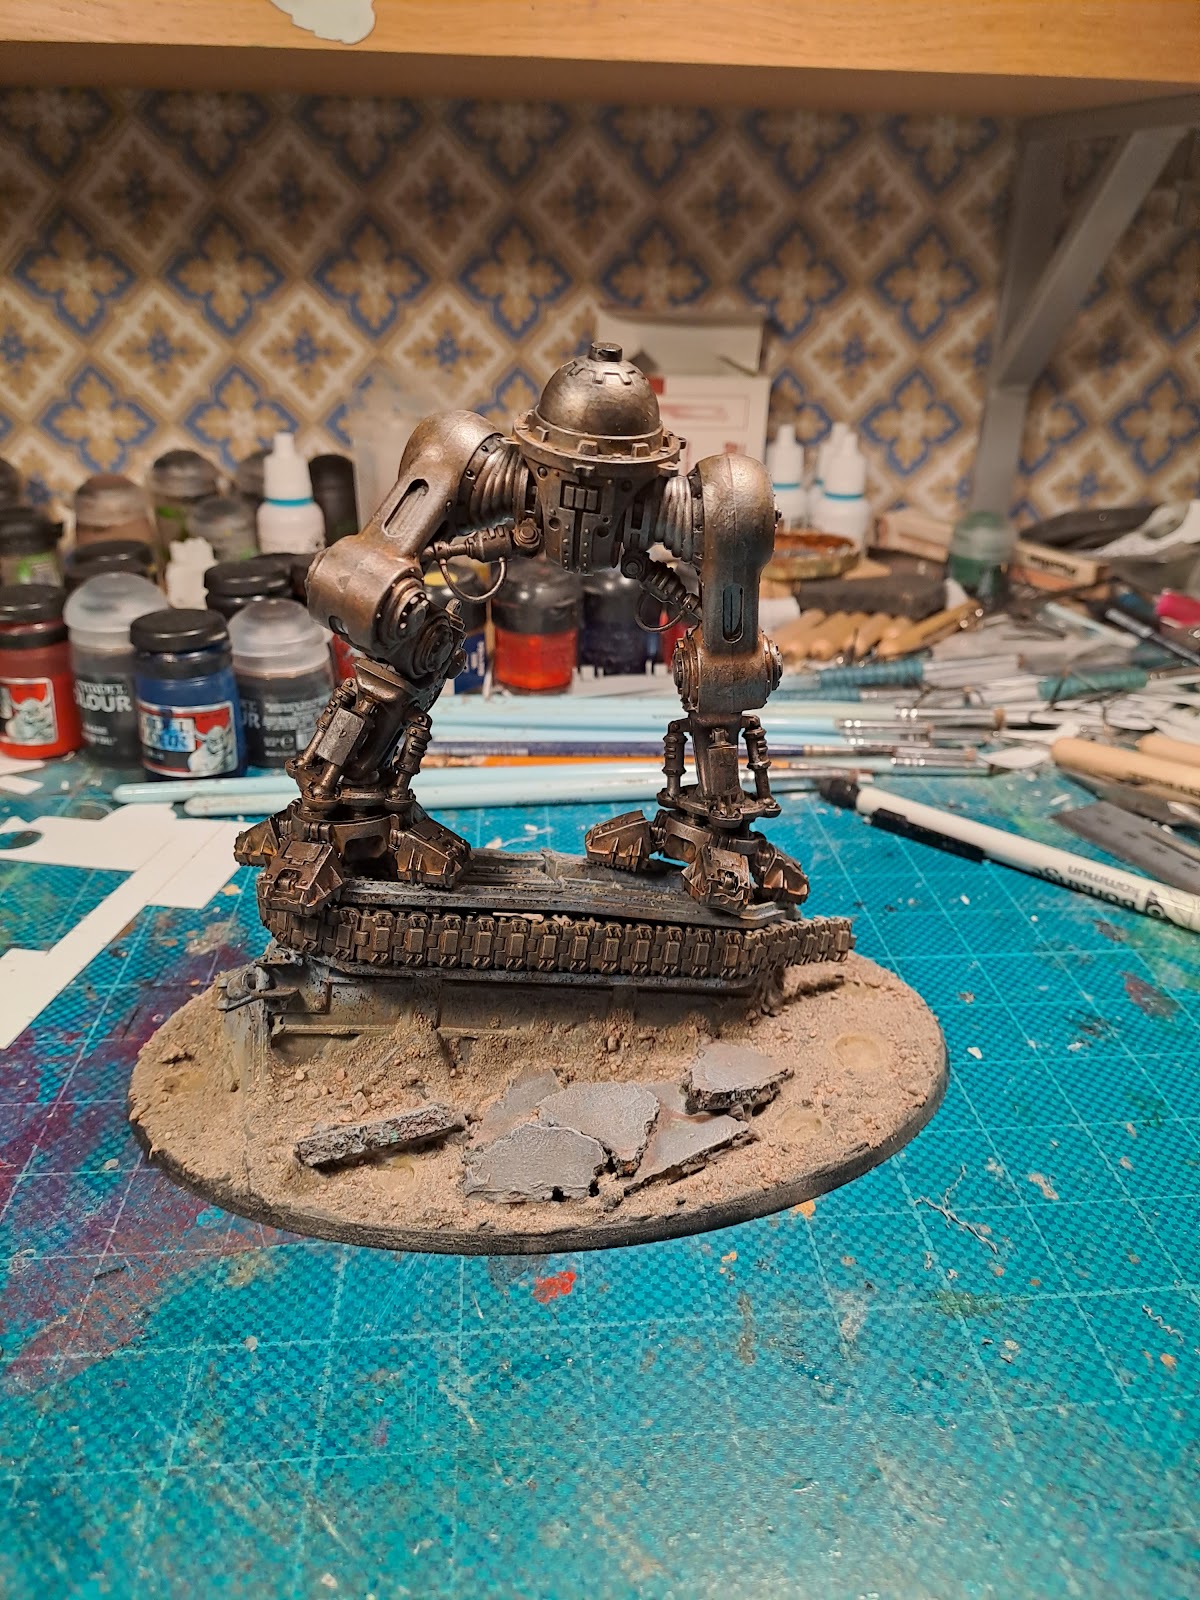
So instead of showing half done parts I will show a half done knight. Well it is done as far as it is built but it is still lacking its weapons. These needs to be built first and I am struggling a bit with finishing them. One main reason I did this project with the Crusader and his sergeants was that I wanted to try out some weathering techniques that I previously only done on small models. I wanted to see if these would hold up on a large scale model.
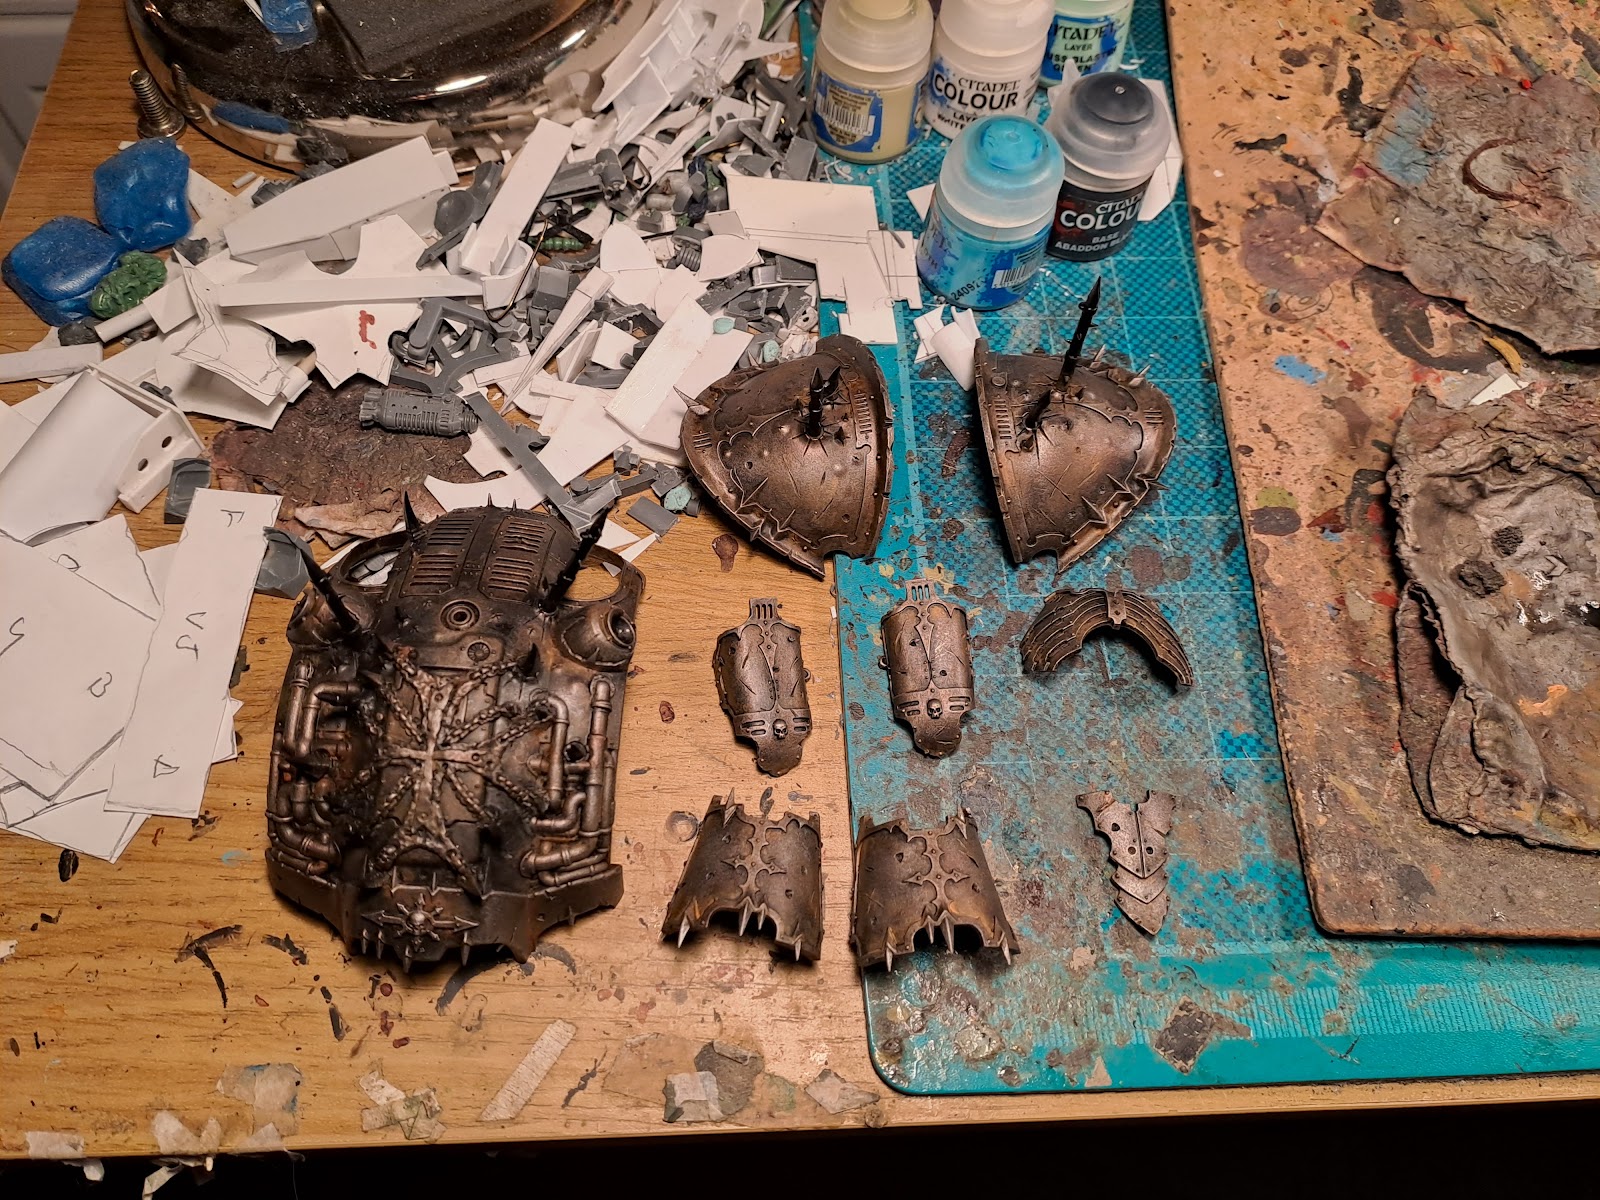
So what have I done. Well instead of painting the model as usual and applying the weathering and shipping over the base paint I did it the other way around. I started out with painting the armour panels in my standard rusted metal scheme.
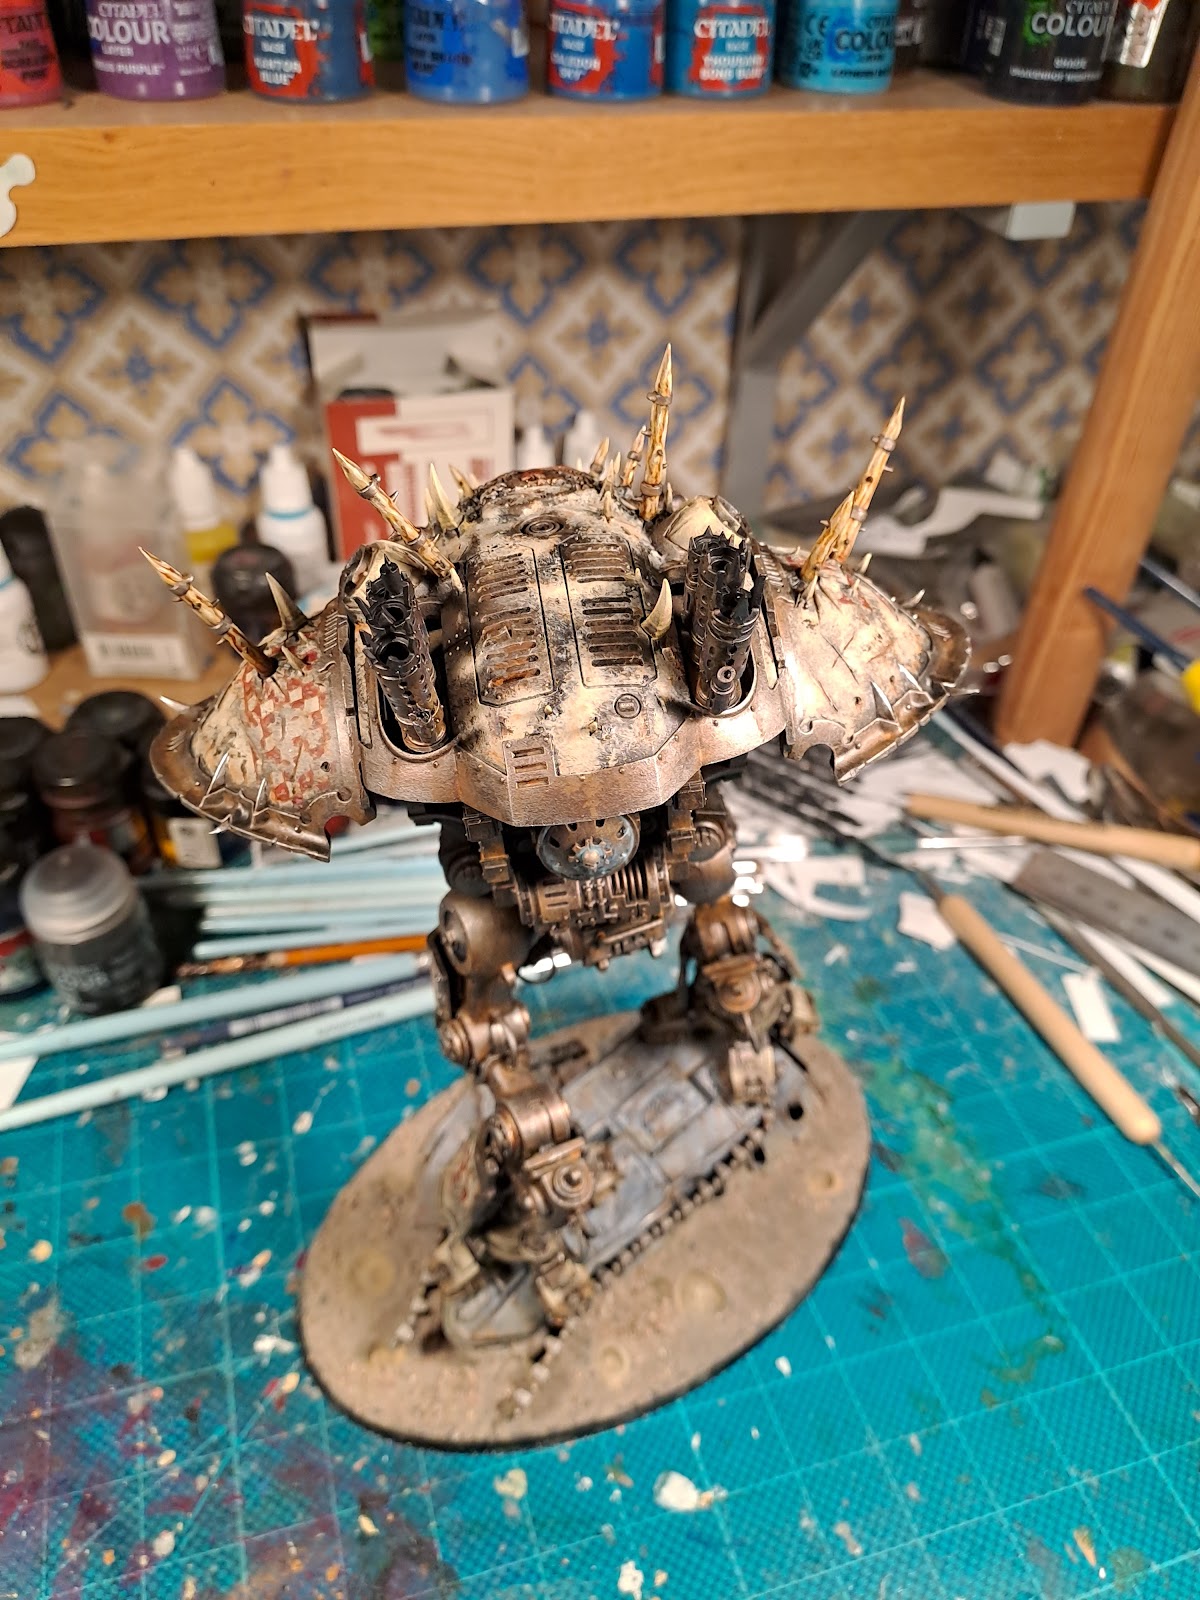
Once done I used a bone white colour and stippled it on to the model using a brush half full of paint. This will give the effect of only partial cover of paint as if it has mostly shipped/worn away revealing the underlaying metal, and since the metal was painted before it as a nice coloration to it that is hard to achieve if it is applied over the base paint. The bone white areas were given a light drybrush to give it some shades. Some of the drybrushing will go over the metal and give it a slightly bone-ish colour which works quite well in the next step.
Once the base colours are done, the metal and the white, I added some free hand patterns to the panels, taking care to only paint on the white. This actually is easier than painting on a solid background since the pattern is broken up it is not as critical to get it perfect. I added some light stippling of bone to the red to give it a more broken up texture than what I managed while painting in the patterns. Once that was done I did some standard sponge shipping to added some minor wear to the paint, don't know if this is really necessary though. Once I was happy with all this I used some watered down orange ink to colour the edges of the paint so that it looks like rust add the edges. Here it turned out that the over colourisation from the white drybrush helped to pick up and shade the orange rust effect.
Overall I think the technique works also on this scale, and I might actually prefer the look compared to the traditional way, at least if I am going for heavily worn look.
Once all the panels were done they were attached to the knight. Shoulder armour are still lose as I need to fit the arms before locking them in. Now I just need to sort the weapons out and get this finished.
But I might take a detour and paint some Ghosts first.


