Since the last entry we have decided on the names of the titans, they are taken from an old medieval Scandinavian curse inscribed on a rune stick from Bergen,Norway. The two war hounds will be Wolfish perversion and Unbearable desire. The reaver will be Joluns wrath. The idea is to paint the entire spell onto the armor of the titans using the futhark. Well, we will give some more info on this when we have gotten a bit longer with this.
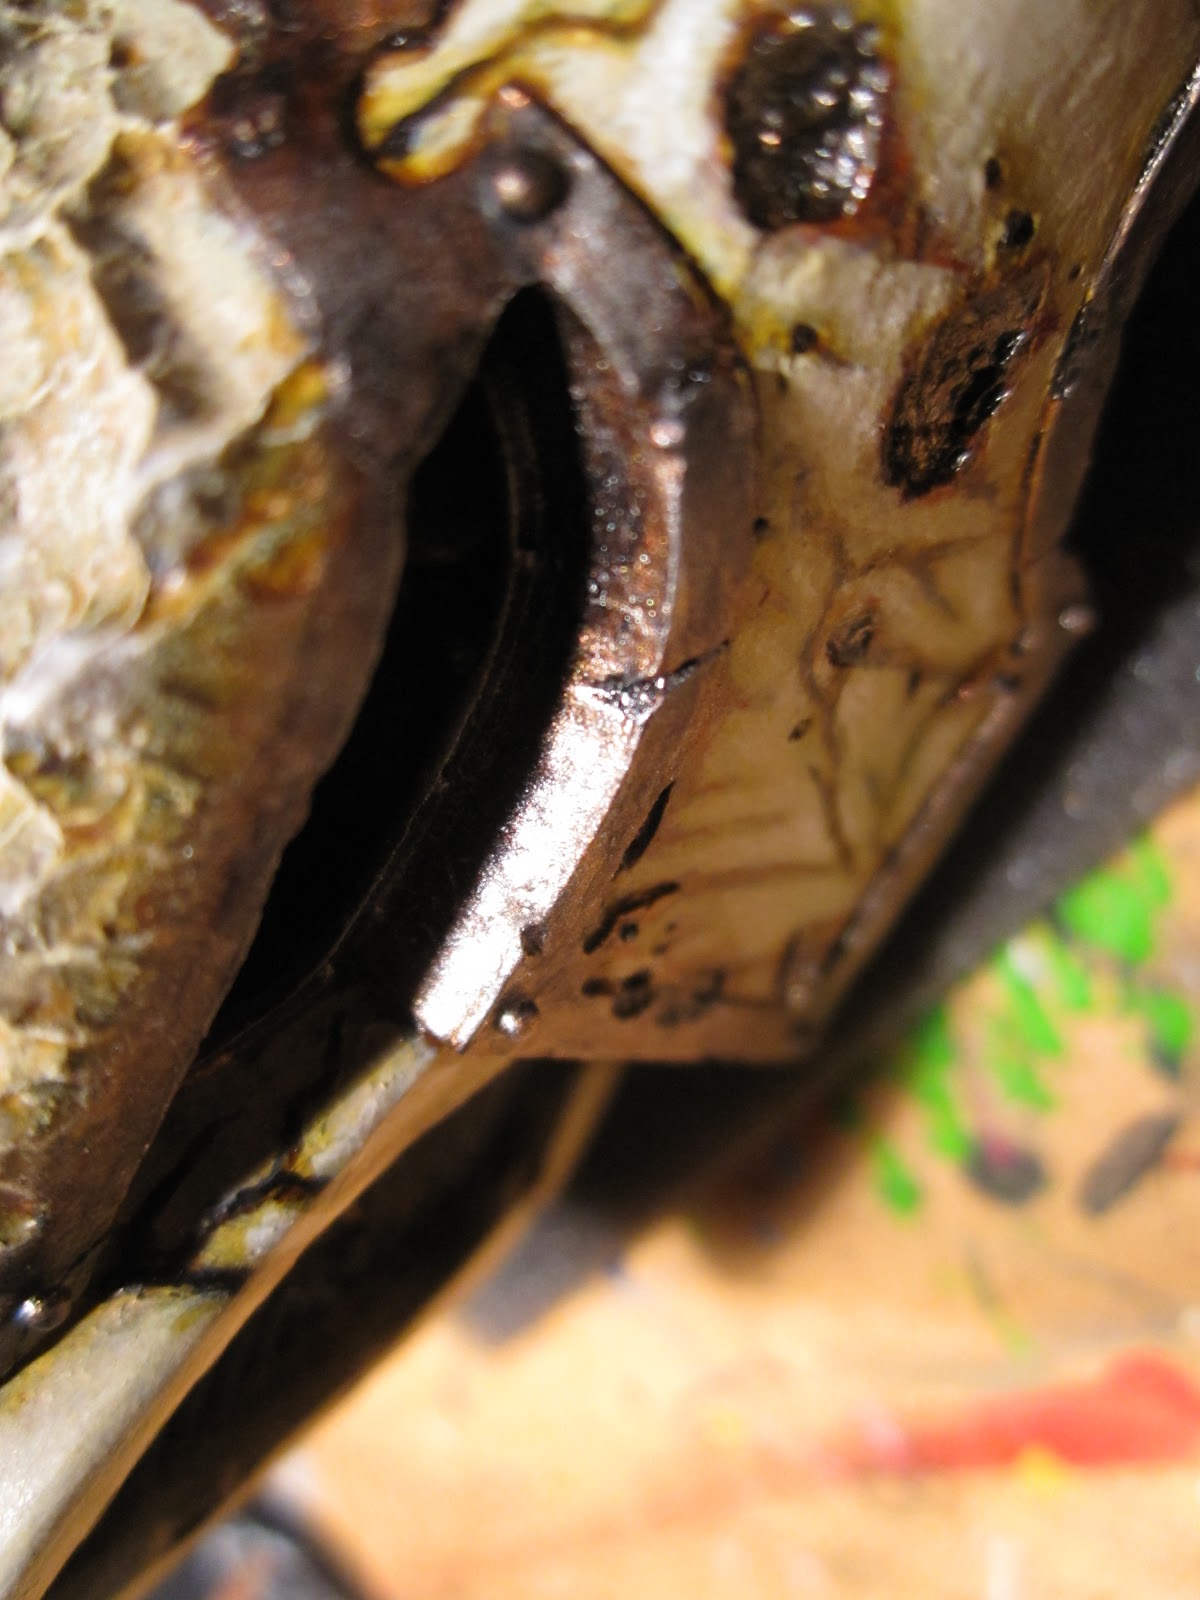
 After cleaning the parts of the two warhounds I started with the magnetization. The first thing to do was to put a neodymium magnet into the top of the nose of one of the warhounds so that the covering armor plate would be removable. I use the first warhound, Unbearable desire,a little bit as a test model before moving on to the remaining warhound and reaver. I bought two window drills at the local hardware store, 10 and 20 mm diameter, this matches the diameters of the magnets previously purchased. The magnets have a central hole that I might use to put a guiding pin through at some point. After drilling out a hole in the warhound head I put the magnet in and then I used an iron washer that I attached to the head armor so that it matches the location of the magnet. In this way the armor is attached but can be removed to access the interior of the cockpit. And then, when I was at it I also went ahead and magnetized the waist. I used 20 mm magnet with a 4mm central hole that I attached to the upper body, and a matching washer that went in to the lower leg part. Before attaching the magnet and the washer I drilled out a 20mm hole in to lower leg part so that the upper body rested on the lower part when the magnet and washer was placed inside the waist joint, this also had the benefit that the magnet is guided by the hole in the lower waist when attached. The plan was then to use a 4 mm pin attached to the lower part to guide and hold the upper body while the magnet secured the two parts together. However, after gluing the magnet and the washer to the waist and fitting it together I realized that I might have to use too much force to separate the parts if I use a pin since this will prevent me from tilting the two parts as they are separated. The bond seems to be quite strong.
I still have the option though and I will see how it feels when the whole titan is assembled. I will use a similar scheme with the weapon arms but in this case I will use two 10 mm magnets but I will get around and a pin, if necessary. I have not done this yet however.

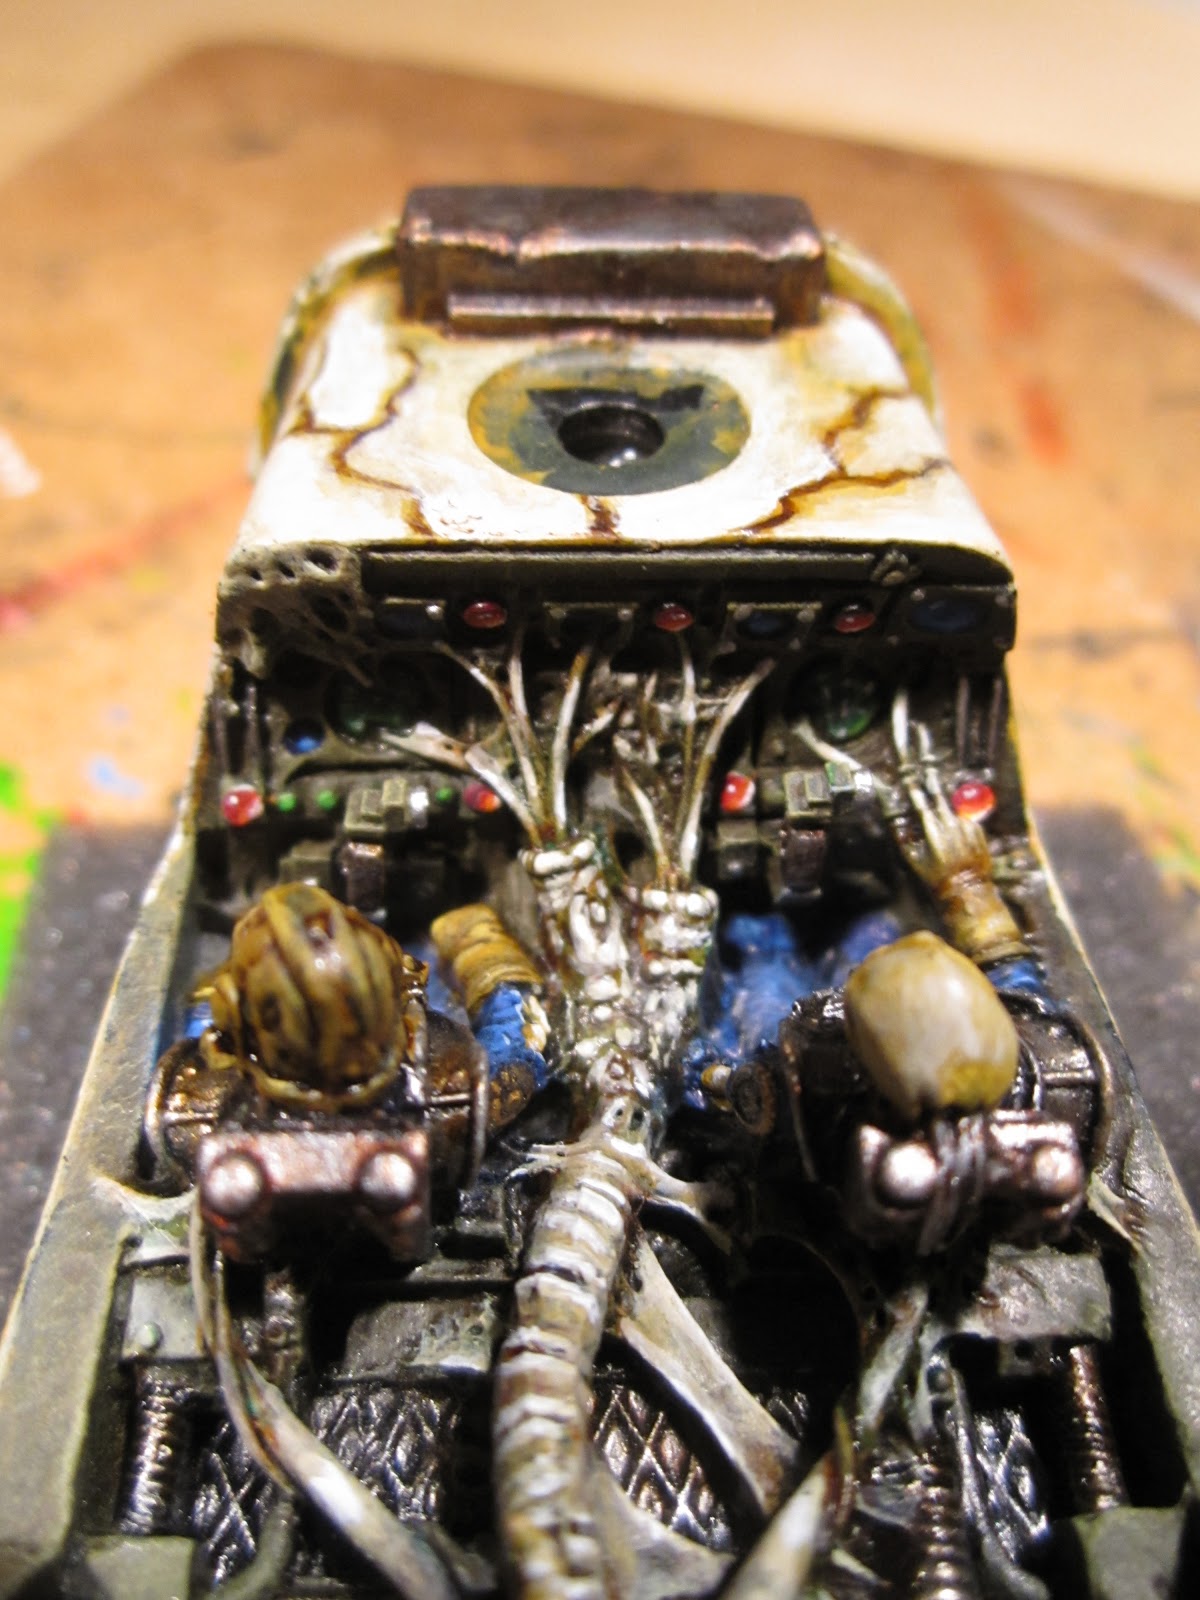
 After this successful magnetization I felt a strong desire to start painting something. Since I plan to paint the interior of the titan I will do this before assembly so I prepared the upper body parts for a spray paint. I used masking tape to cover the areas that will be glued to each other. After spraying the parts I started to paint the head. I had already tried the paint scheme on some chaos space marines so it was only to start out with the head paint scheme. This will be a bone white color with some painted cracks. I will also try to weather the model and so as I paint. I have not done anything like this on such a scale before so it will be interesting to see how it turns out. These models are so detailed that it will take me some time to paint the interior. Meanwhile I will assemble the feet’s and legs. Hopefully I have assembled an assembled upper body with a painted interior when it comes to fix the leg position so that I can see that the titan will balance with the leg position that I want to use. Í will see how things develop; I will have to try to match the progress of assembly to painting without rushing this project. I do it as a type of relaxation after all and I do not want it to turn into something that has a time schedule.
 /M