My work with the Knights continue. This time I worked a bit on the War Dancer Knight, more precisely the legs. I want the knight to look like it is hunting with some grace, not lumbering forward. To achieve this I wanted a more human gait, were on foot is in front of the other, using the hips to walk, rather than swaying back and fort. Of course GW did not make the legs of this kit poseable... So we have to convert them. This conversion is in fact quite easy as the original legs are pointing outward and I wanted them pointing inward I just had to swap them around. This was achieved by first cutting of the hip joints and swapping them around. I then had to adjust the ankle joints a bit as the legs are now pointing inward instead of outward. I also opted to make the back foot a bit raised as if the Knight is about to take a step, this is not strictly necessary. I also opted to adjust the toes of the back foot to look a bit more dynamic.

Then I also played around with the bases. As I will have all Knights with different leg poses I need to have some support from the base for some of them, something to stand on, have the foot on top of etc. As I am not really a huge fan of making bases I normally just put some gravel on them an let it be as it is. Now, on these large bases that tend to look a bit desolate. So I decided to try out the cork method of making concrete slabs / road segments. This is very simple, just take a 4 mm cork sheet, tear it up, put some plaster on top, let dry and paint. For my first base (for my already painted Knight I choose to make it simple, just a few pieces lying around but not to much. I think they turned out ok so I will make the rest of the bases so that I can pose the knight on the rubble.
Well that is as far as I have come this week... next week will be slow as I am away on businesses.


 My work with the Knights continue. This time I worked a bit on the War Dancer Knight, more precisely the legs. I want the knight to look like it is hunting with some grace, not lumbering forward. To achieve this I wanted a more human gait, were on foot is in front of the other, using the hips to walk, rather than swaying back and fort. Of course GW did not make the legs of this kit poseable... So we have to convert them. This conversion is in fact quite easy as the original legs are pointing outward and I wanted them pointing inward I just had to swap them around. This was achieved by first cutting of the hip joints and swapping them around. I then had to adjust the ankle joints a bit as the legs are now pointing inward instead of outward. I also opted to make the back foot a bit raised as if the Knight is about to take a step, this is not strictly necessary. I also opted to adjust the toes of the back foot to look a bit more dynamic.
 Then I also played around with the bases. As I will have all Knights with different leg poses I need to have some support from the base for some of them, something to stand on, have the foot on top of etc. As I am not really a huge fan of making bases I normally just put some gravel on them an let it be as it is. Now, on these large bases that tend to look a bit desolate. So I decided to try out the cork method of making concrete slabs / road segments. This is very simple, just take a 4 mm cork sheet, tear it up, put some plaster on top, let dry and paint. For my first base (for my already painted Knight I choose to make it simple, just a few pieces lying around but not to much. I think they turned out ok so I will make the rest of the bases so that I can pose the knight on the rubble.
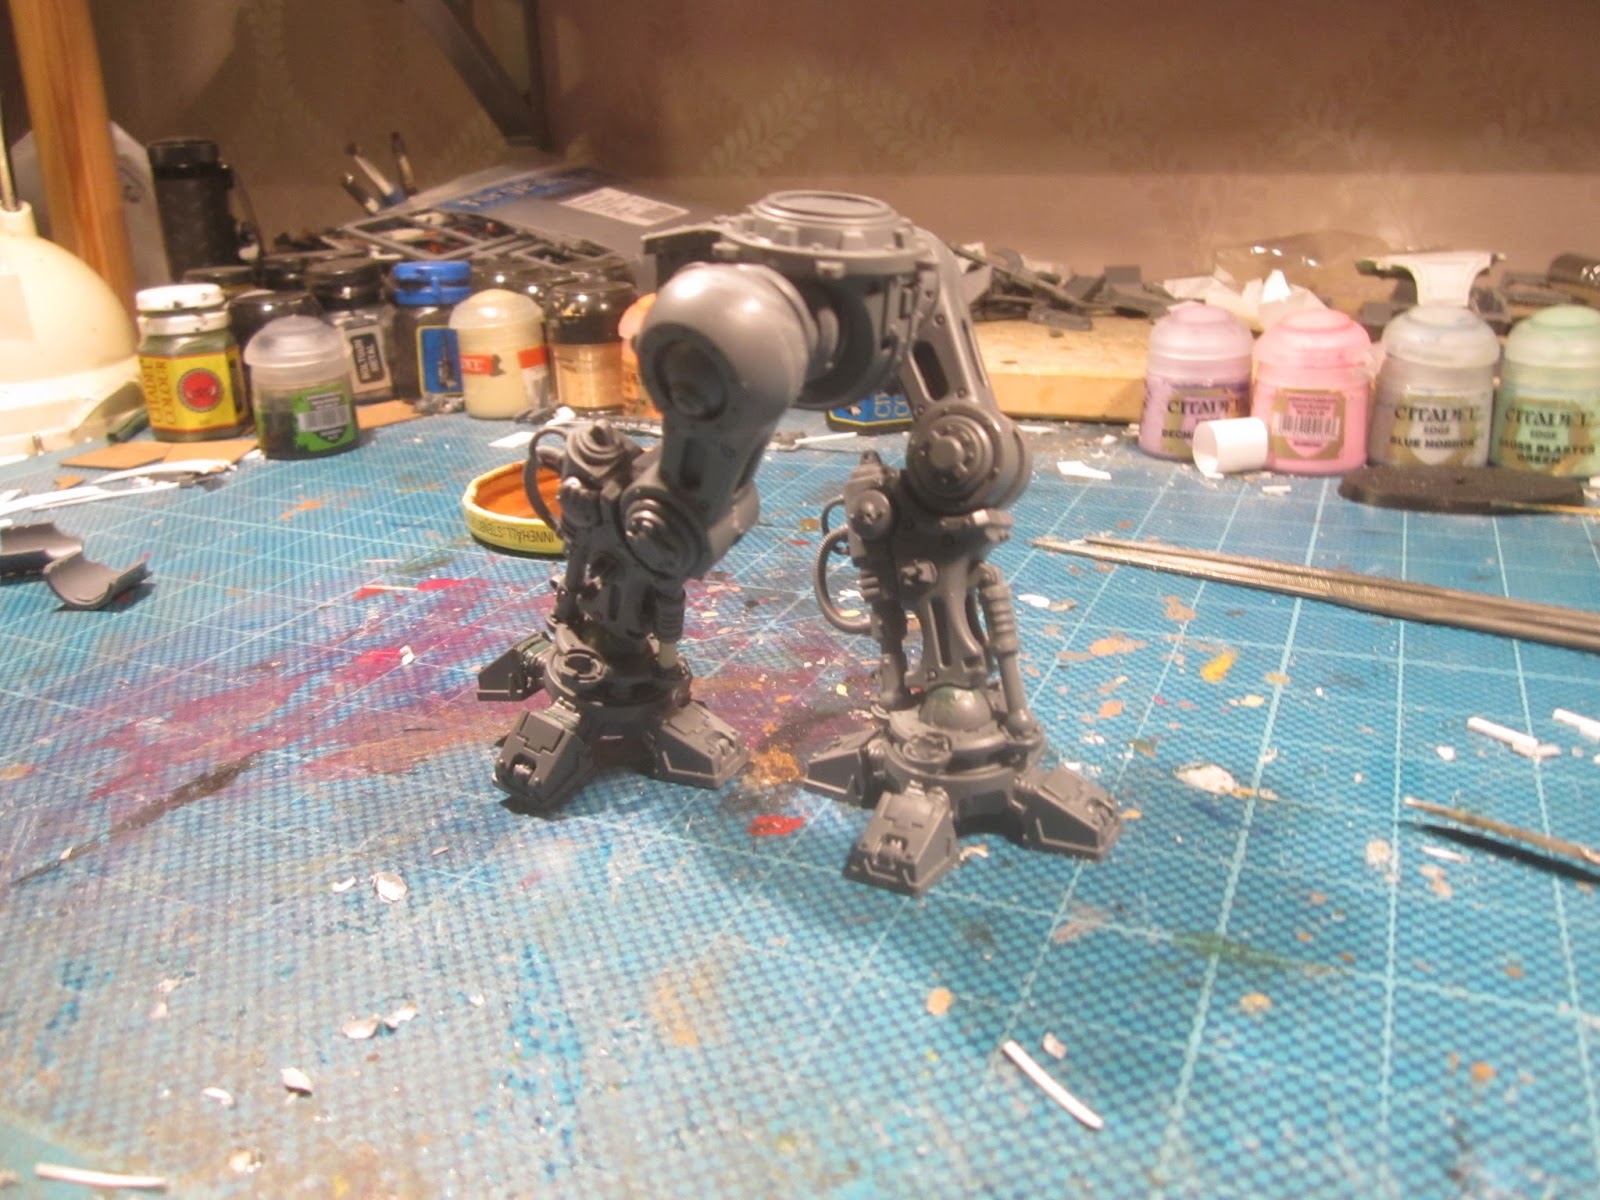


 Once again I find my self building a left arm weapon from a right one. This time it is the rapid firing battle-cannon. Not only is the body of the gun just made to accept the magazine from one side, the original shield is also asymmetric, which would make the guns look out of place if I just build one identical gun and placed it on the other side. Switching side of the magazine was not really difficult and it will just require some GS to fill in the gaps. The shield and the auto-cannon is another matter though. The shield is very hard to convert to get it mirror symmetric so instead I used the shield to the Gatling cannon, which surprisingly is made to fit both right an left arm. This however meant that I could not use the original auto cannons, so instead I use a pair of the back mounted auto-cannons and fitted them to the underside of the cannons instead, All in all I think they look fairly similar.


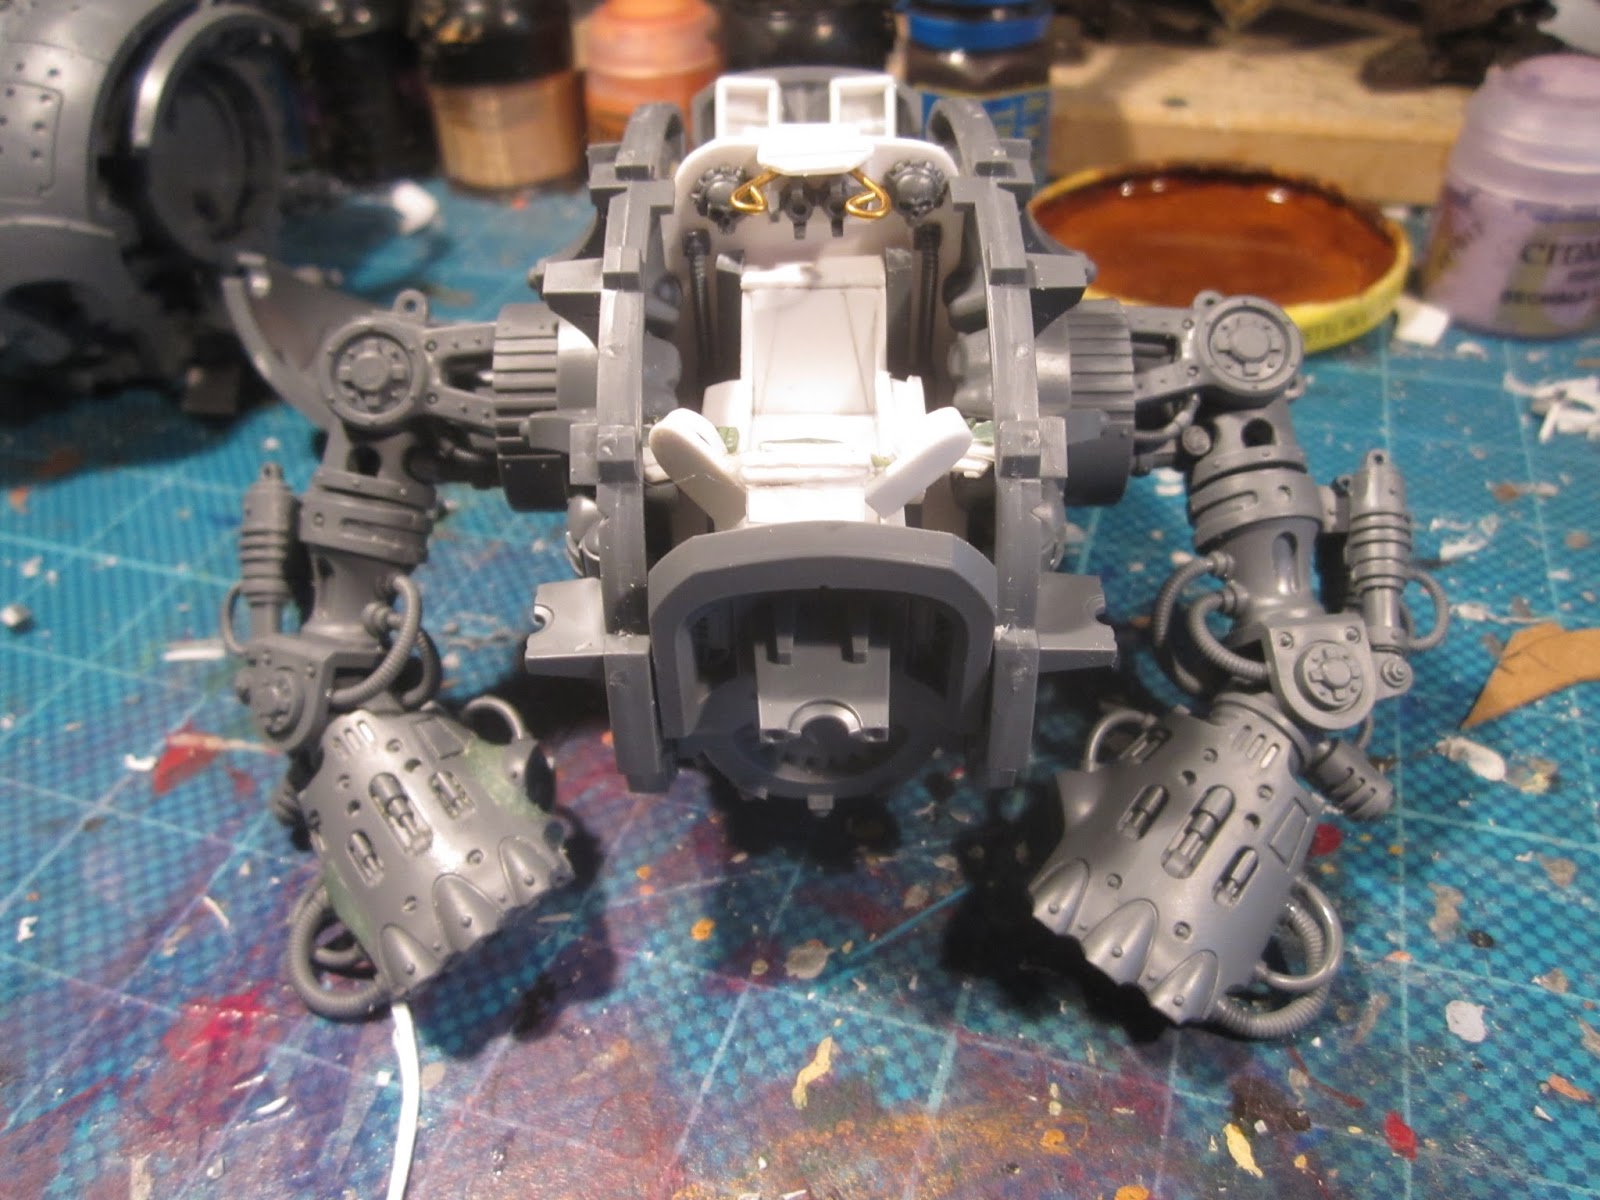
 Just a short update on my Knights build. For the Warlord Knight (WLK) I am currently working on the shoulder armour. To fit the extra weapon hard-points I had to raise the shoulder above it normal position and hence I need to fill the gap beneath with something so that they do not look to high. On the sides towards the body I added extra rims to cover the gap between the body and the shoulders. I made some holes in them to give it some structure. I will add border trim etc with GS. Then I also added some shields beneath the shoulder rim, sort of an homage to the old beetelback Warlord.
 The Warmonger Knight (WMK) got two power fists in the last post, but I could not let it be without some fire power. So I am building some mini-gun like weapon that will be held in the fists. Right now it is mostly mock-up to see how big it will be and how I can make the hands work with holding it.